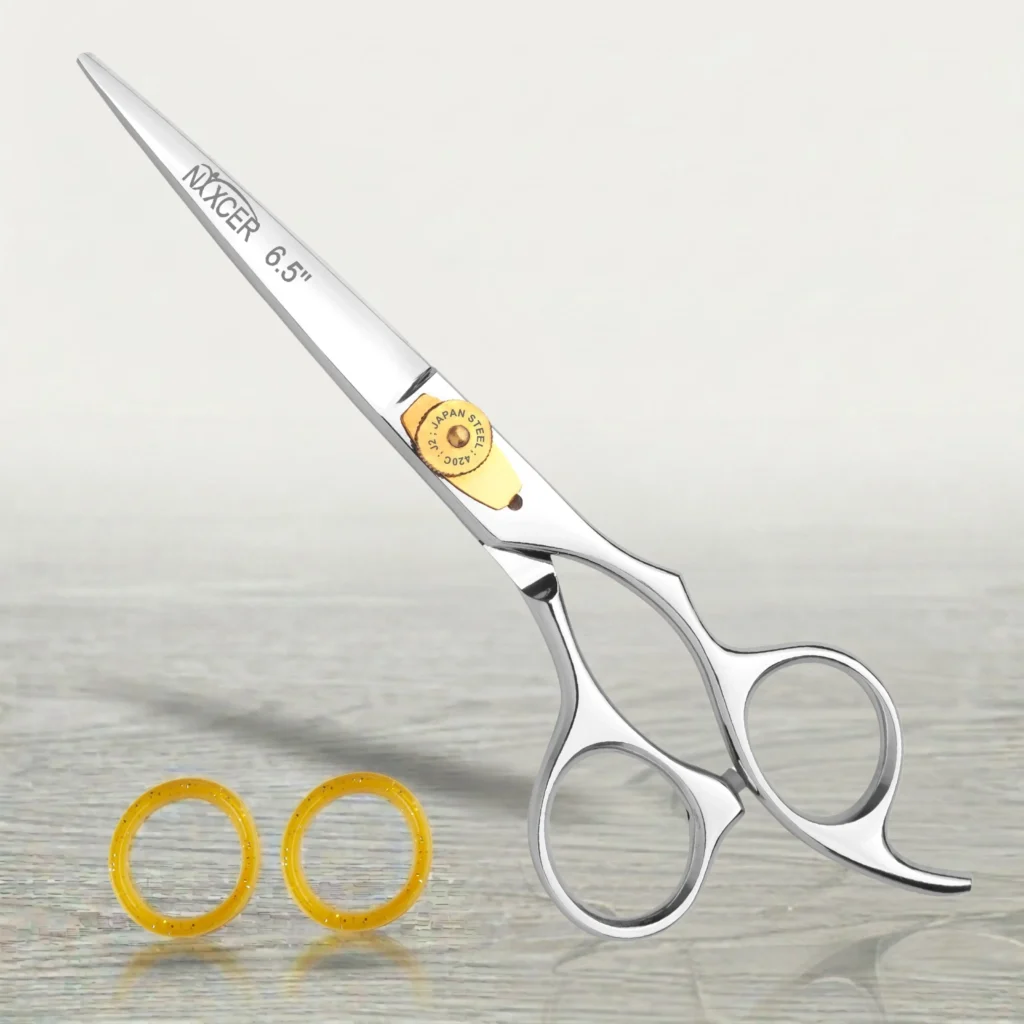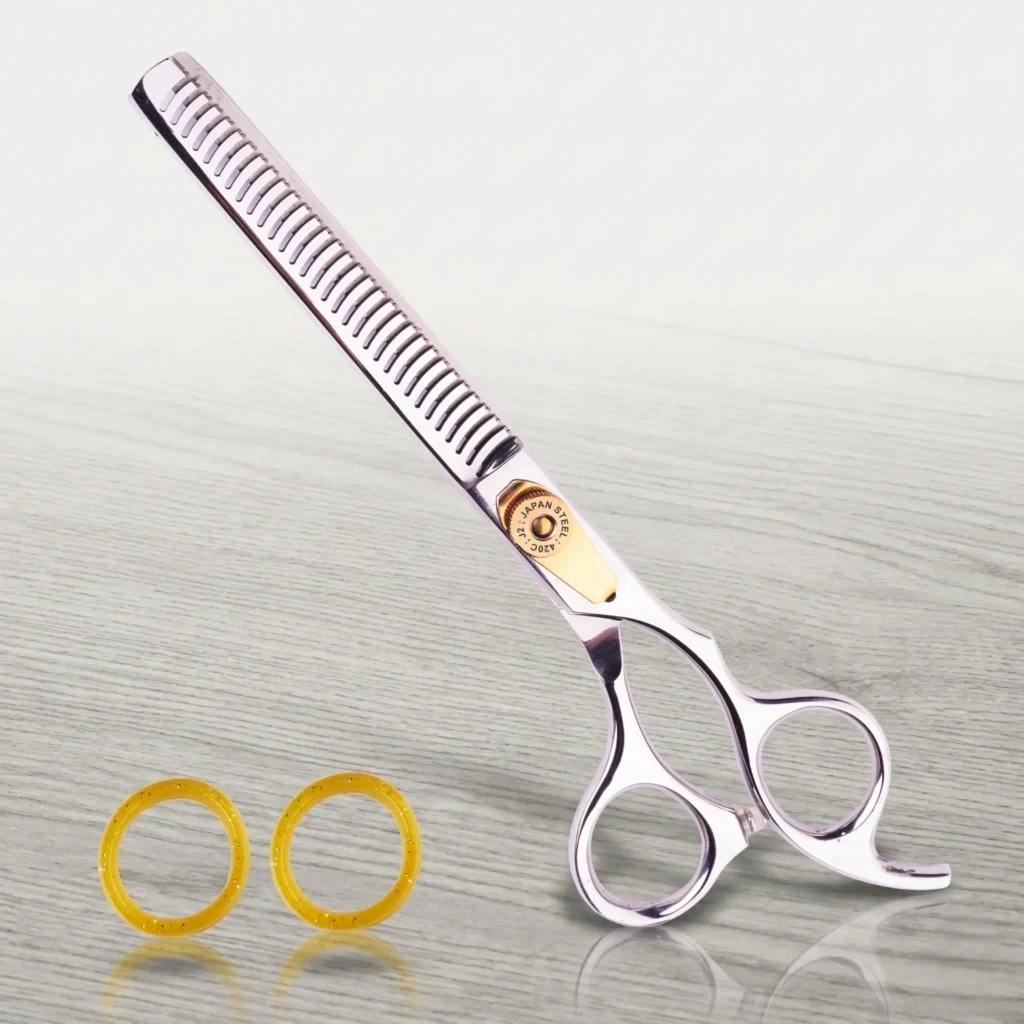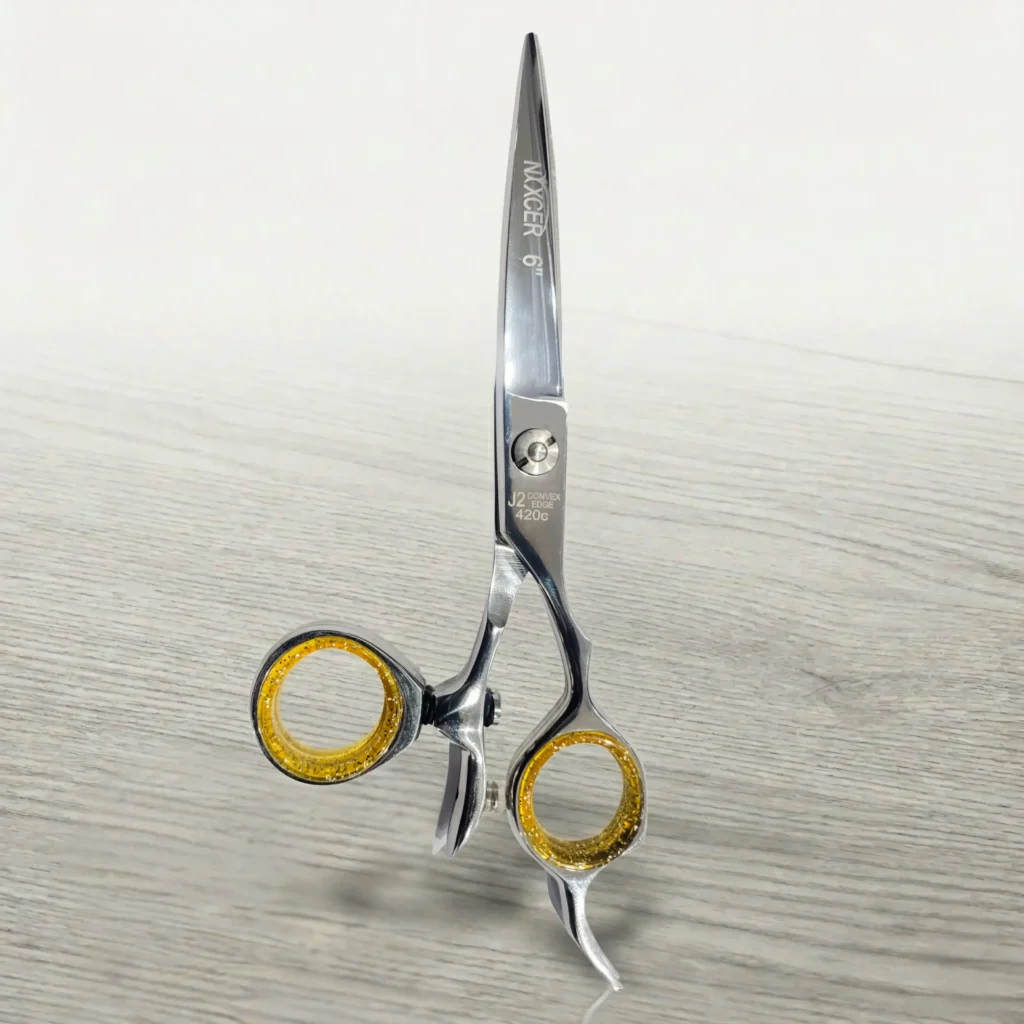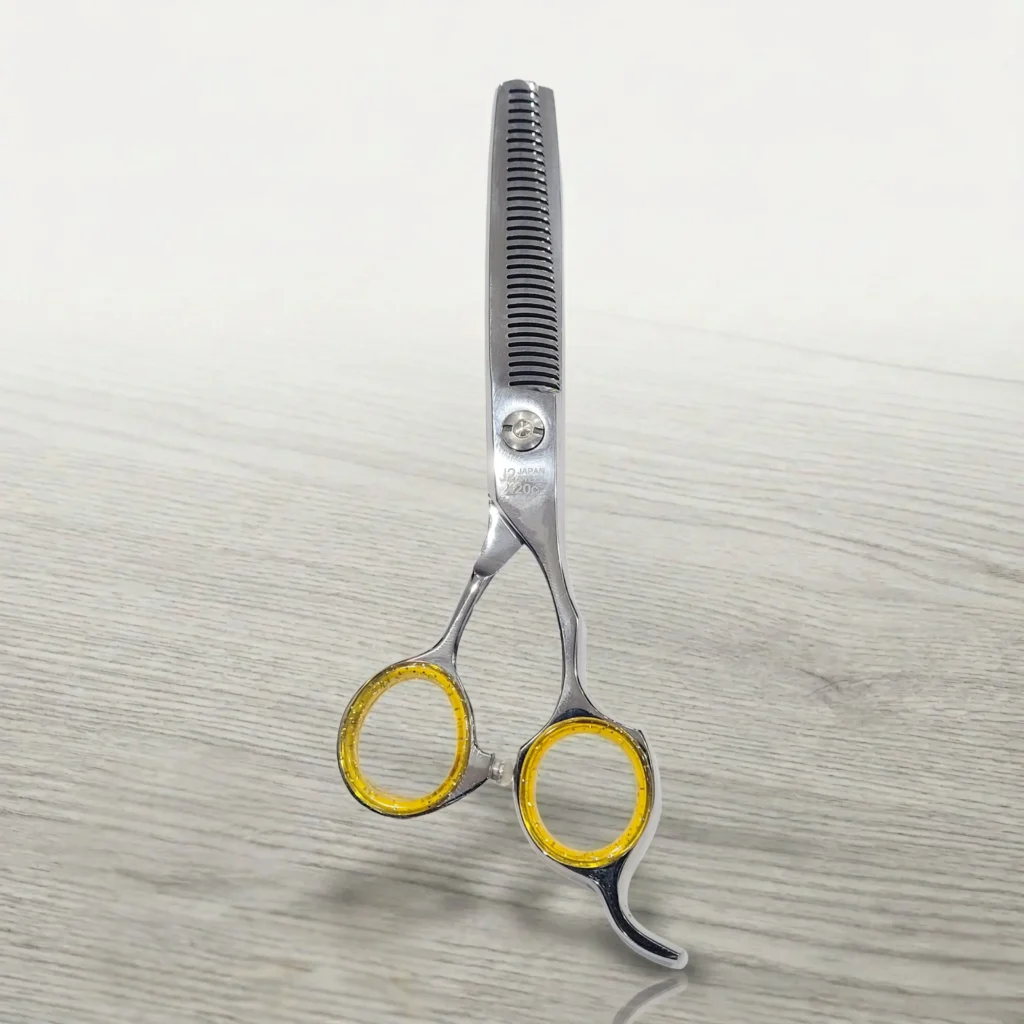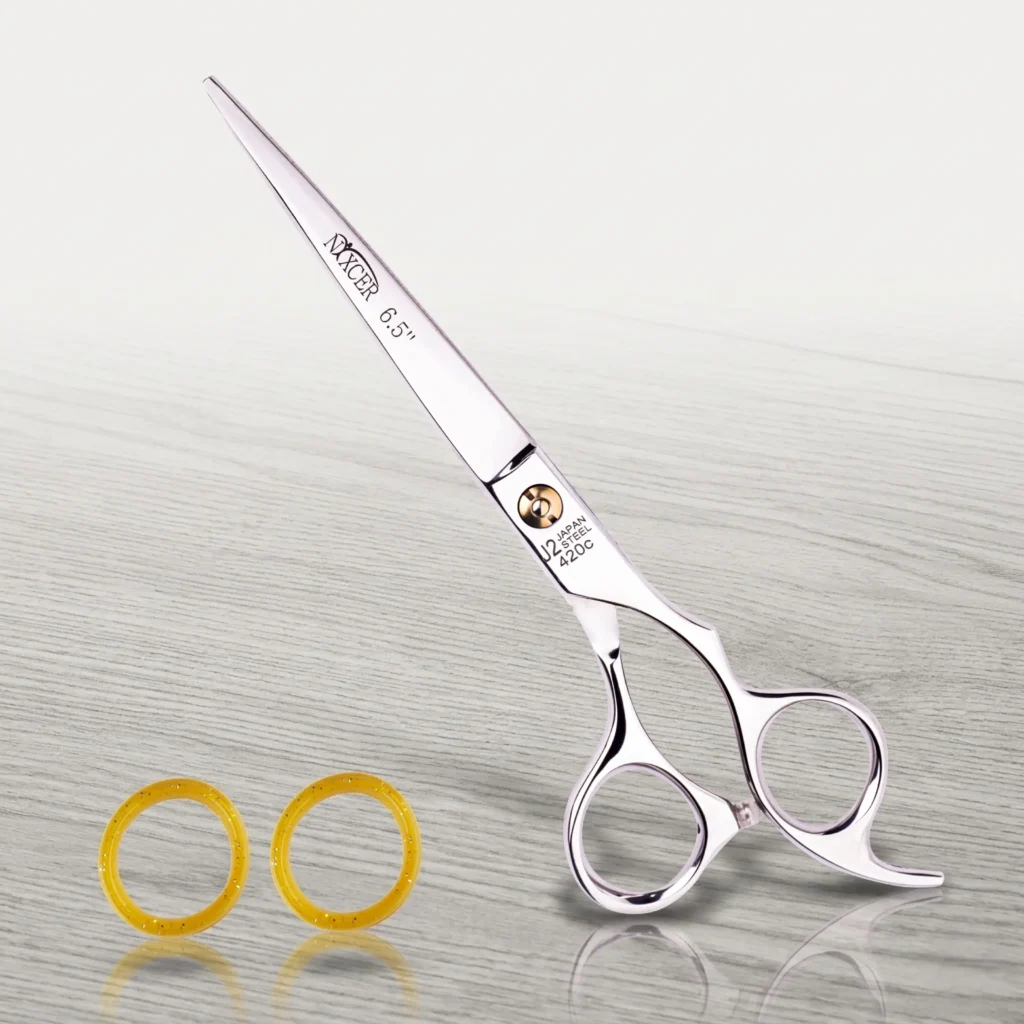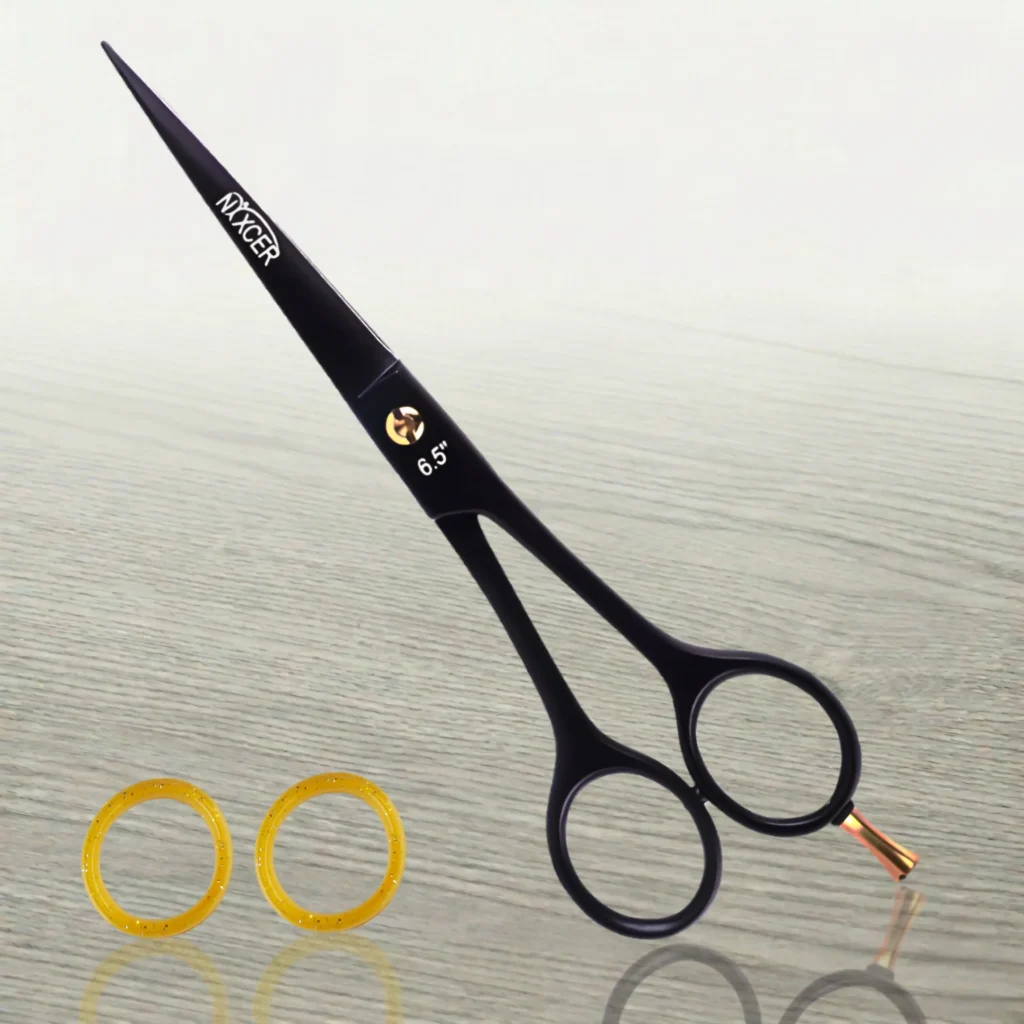
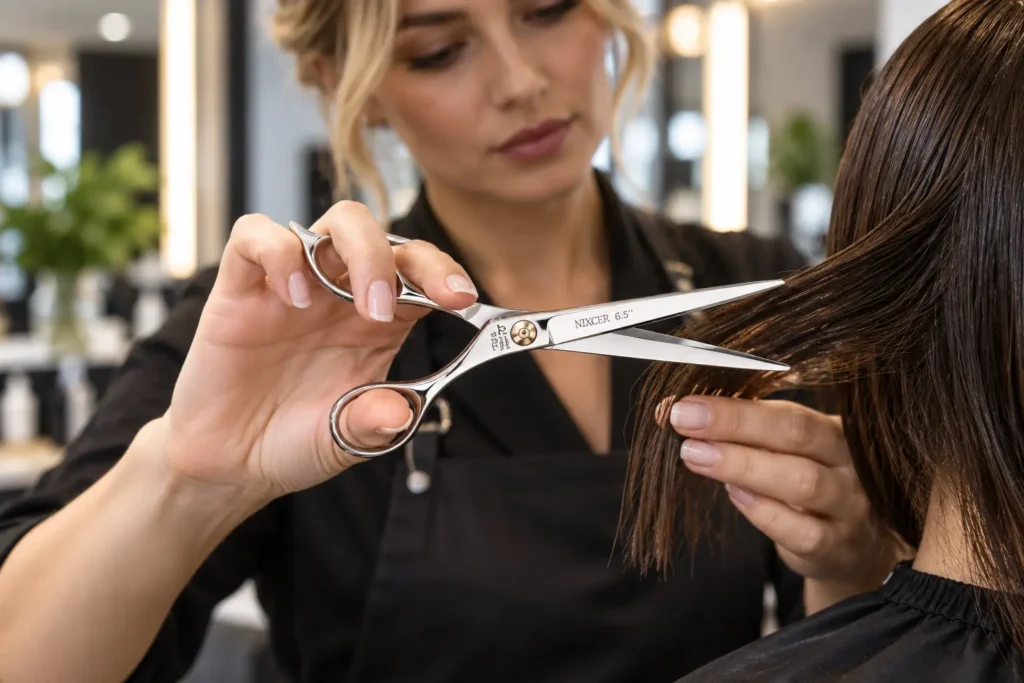
Professional hair cutting scissors work most effectively when the tool fits the hand, the thumb controls the moving blade, the wrist stays near a neutral position, and each section is small enough for the blades to close without force. The shear also needs correct tension, clean aligned edges, and a blade design suited to the technique.
Good scissor work is not created by sharpness alone. A sharp shear can still push hair, leave an uneven line, or tire the hand when the grip, body position, sectioning, or blade angle is wrong. Build a repeatable setup first, then adapt it for blunt cutting, point cutting, slicing, scissor over comb, and texturizing.
Quick Answer
Place the ring finger in the fixed finger ring and rest only the tip of the thumb in the thumb ring. Open and close the shear mainly with the thumb while the finger blade stays stable. Keep the wrist as straight as practical, adjust the client rather than reaching, and cut manageable sections with a relaxed grip. Stop if the blades fold, pull, or push hair. Check cleanliness, tension, alignment, and sharpness before adding more hand pressure.
Start With the Right Scissor Fit
Scissors that fit poorly are difficult to control. The finger rings should support the hand without pinching, and the thumb should enter only far enough to move the blade freely. If the holes feel too large, removable finger inserts can reduce unwanted movement. JOEWELL advises selecting finger hole size for the user and notes that inserts can reduce a regular opening.
The finger rest should support the little finger without lifting it into an awkward position. Do not force the hand to match a handle that feels unstable. Compare opposing, offset, crane, and swivel designs in actual cutting positions. An offset handle shortens the thumb reach for many users, while a classic opposing handle permits more grip changes.
The benefits of offset handle hair cutting scissors explain where this design may help. Ergonomic features can support comfort, but no handle can guarantee that pain or injury will be prevented.
Use a Stable Professional Grip
Most professional cutting grips place the ring finger in the fixed ring and the thumb lightly in the moving ring. The index and middle fingers rest along the shank to guide the shear, while the little finger uses the finger rest when appropriate.
The thumb should create most of the opening and closing action. Keeping the finger blade stable improves the sightline and reduces unnecessary movement. Avoid squeezing both handles with the whole hand. A full hand squeeze can move the still blade, disturb the section, and increase grip force.
Practice the motion away from the client. Hold the shear horizontally and open and close it slowly with the thumb while the other fingers remain relaxed. When the movement becomes smooth, repeat it at vertical and diagonal angles. Speed should follow control rather than replace it.
Set the Client and Your Body Before Cutting
Chair height affects the hand before the first cut. Raise, lower, or rotate the client so the working area is visible without prolonged wrist bending, high elbows, or reaching across the head. Move your feet around the chair instead of twisting through the back and shoulder.
The Canadian Centre for Occupational Health and Safety identifies repetitive hand, wrist, and arm movements, forceful gripping, awkward posture, reaching, and poorly adjusted chairs as ergonomic hazards in hairdressing. A good workstation does not remove all risk, but it can reduce avoidable load.
Keep the shoulders relaxed and the elbow close to a comfortable working height. Change your position as the cutting line moves around the head. The detailed Nixcer guide on preventing hand fatigue with ergonomic scissors covers handle fit, posture, breaks, and maintenance.
Persistent pain, tingling, weakness, or numbness should not be treated as a normal part of cutting. Stop the aggravating activity and seek advice from a qualified health professional or workplace ergonomics specialist.
Match the Scissors to the Technique
One shear can cover several services, but blade length, line, width, edge, and handle change how it behaves. JOEWELL notes that straighter blade lines tend to hold hair, while stronger curves encourage sliding. Wider blades provide more cutting power, and thinner tips support detail work.
| Cutting technique | Useful shear features | Effective use tip |
| Blunt cutting | Stable straight or moderately curved blade with clean alignment | Use a visible guide, consistent section tension, and controlled full closures |
| Point cutting | Precise tips and a length the user can control | Enter the ends at a deliberate angle and keep fingers outside the blade path |
| Slicing and slide cutting | Smooth sharp edge with a blade line that releases hair | Keep the blades partly open and move continuously without forcing the edge |
| Scissor over comb | Longer stable shear with smooth tension | Keep the shear aligned with the comb and use short overlapping passes |
| Dry detail cutting | Precise sharp shear with good tip visibility | Work conservatively because the finished fall is immediately visible |
| Thinning and texturizing | Predictable tooth pattern and suitable cut ratio | Make limited placements and reassess after each pass |
| Curly and wavy finishing | Controllable shear suited to the stylist’s dry or damp method | Respect natural fall and shrinkage and avoid excessive section tension |
Read the guide to hair cutting scissor blade types and the convex and beveled edge comparison before selecting an edge for a specific technique.
Build Clean Sections and a Visible Guide
The scissors can only cut what the section presents. Use clean partings, sufficient lighting, and a section width that remains controlled from base to tip. If hair spills away from the guide or the blades hesitate, reduce the section before changing the angle or applying more force.
Maintain the intended elevation, overdirection, and finger angle through each subsection. Inconsistent tension can change the apparent length. This matters especially on fine hair, strong growth patterns, and curls that contract after release.
Cross check the shape from a different direction once the main line is complete. Cross checking should verify the design rather than erase it. Repeatedly trimming every small visual difference can remove more length than planned.
Control the Blade Instead of Forcing It
A well prepared shear should close smoothly through an appropriate section. Let the edge do the work. Excess grip pressure is a warning that the section may be too large, the pivot too tight, the blades dirty, or the edge dull or damaged.
Use the strongest part of the blade for the load. The tips provide detail but are not the best place to force through a dense section. Keep the entire blade path visible around the ear, neckline, and fingers. Never close the shear where skin is hidden by hair or the comb.
If the shear has been dropped, catches at one point, makes an unusual sound, or shows a nick, remove it from client use. Forcing a damaged shear can worsen alignment or the edge.
Set and Check Scissor Tension
Pivot tension keeps the two blades in controlled contact. When tension is too loose, hair may fold, push, or slide between the blades. When it is too tight, the shear requires more effort and may increase wear.
There is no universal number of screw turns because pivot systems and blade designs differ. Clean and lightly lubricate the pivot first, then follow the manufacturer’s adjustment method. Make very small changes and test the movement after each one. Do not tighten the screw simply to compensate for a dull edge or damaged alignment.
The Nixcer balance test for hair cutting scissors helps assess control, while the sharpness test guide explains when performance needs closer inspection.
Improve Core Cutting Techniques
Blunt Cutting
Comb the section into its intended fall and establish a clear guide. Hold the fingers or comb steady and align the blade with the planned perimeter. Use clean, controlled closures rather than many nervous snips. JOEWELL describes blunt cutting as a basic technique for creating the haircut’s shape.
Avoid excessive section tension, especially when cutting around the ear, natural growth patterns, or textured hair. Release and check the line before refining it. A stable blade that holds hair is generally easier to control for a solid perimeter.
Point Cutting
Point cutting softens or breaks a solid edge by entering the ends with the scissor tips. Use a controlled depth and angle that match the amount of texture required. Shallow point cutting produces a subtler change; deeper insertion removes more material and requires greater awareness of fingers and head position.
Keep the holding fingers outside the path of both tips. Start conservatively and comb the section into natural fall before taking more. The Nixcer guide to point cutting with hair scissors provides a focused technique breakdown.
Slicing and Slide Cutting
Slicing moves a partially open shear along the hair to release weight or create movement. It requires a smooth suitable edge and continuous hand control. Do not clamp the blades fully closed and drag them through the section. That action can pull hair and place unnecessary load on the edge.
Work on a small visible section, use light pressure, and keep the movement away from the scalp and fingers. Strongly curved blade lines and smooth convex style edges may support sliding, but the individual shear must be designed and maintained for the method. See the Nixcer guide to slicing techniques with hair cutting scissors.
Scissor Over Comb
The comb controls the hair and establishes the cutting plane. Lift the hair with the comb, keep the shear parallel or appropriately aligned to it, and cut only the hair presented beyond the comb. Move through short overlapping passes so the transition stays connected.
Longer barber shears can cover more of the comb, while shorter models can improve access around tight contours. JOEWELL recommends long scissors developed for barbers for scissor over comb. Choose the longest blade you can guide accurately, not simply the longest size available.
Thinning and Texturizing
Thinning scissors remove selected strands according to their tooth design and cut ratio. Establish the main shape with cutting shears before refining density unless the haircut plan requires another sequence. Place the thinning shear deliberately and comb out the released hair after each pass.
Avoid repeated closures at the same height because they can create a visible band or sparse area. Fine hair often needs fewer placements, while dense hair still benefits from staged removal. Tooth count alone does not define removal; spacing, geometry, edge finish, hair characteristics, and technique also matter.
Work Differently on Wet and Dry Hair
Wet hair can provide compact sections and a clear cutting line, but it may stretch and change as it dries. Use consistent moisture and section tension so adjacent areas are compared fairly. Consider shrinkage and growth patterns before establishing the final length.
Dry cutting shows natural fall, texture, and movement immediately. It can help with detail and personalization, but the stylist must avoid removing too much while reacting to individual strands. Dry hair and product residue can also change cutting feel, so keep the blades clean and use a shear intended for the technique.
Whether cutting wet or dry, pause if hair pushes, bends, or pulls. Diagnose the section, tension, edge, and alignment instead of increasing force.
Maintain the Scissors Every Working Day
Routine care keeps the pivot moving freely and helps the user notice damage early. Follow the scissor manufacturer’s instructions and salon infection control requirements.
- Remove loose hair from the blades and pivot after use.
- Clean and disinfect with a method compatible with the tool and local rules.
- Dry the scissors completely before storage.
- Apply the recommended scissor lubricant to the pivot and wipe away excess.
- Check opening action, tension, alignment, and visible edge damage.
- Store the scissors closed in a fitted case where the blades cannot strike other tools.
- Use a professional sharpener familiar with the original edge geometry.
Read the Nixcer article on regularly oiling hair cutting scissors for a simple pivot care routine. Oil reduces friction at the pivot, but it does not repair a dull, chipped, or misaligned edge.
Avoid Common Professional Mistakes
- Inserting the thumb too deeply and losing a light release.
- Squeezing both handles with the whole hand.
- Working with the wrist bent because the chair is too low or too high.
- Taking sections wider or denser than the blade can control.
- Using a curved sliding blade when the hair must remain firmly controlled.
- Point cutting without a clear view of the fingers and blade tips.
- Closing the shear fully during a slicing movement.
- Repeating thinning cuts at one height without checking the result.
- Overtightening the pivot to hide dullness or poor alignment.
- Using a household or knife sharpener on a precision scissor edge.
- Continuing to cut after a drop, nick, catch, or unusual change in sound.
Choose Nixcer Scissors by Task
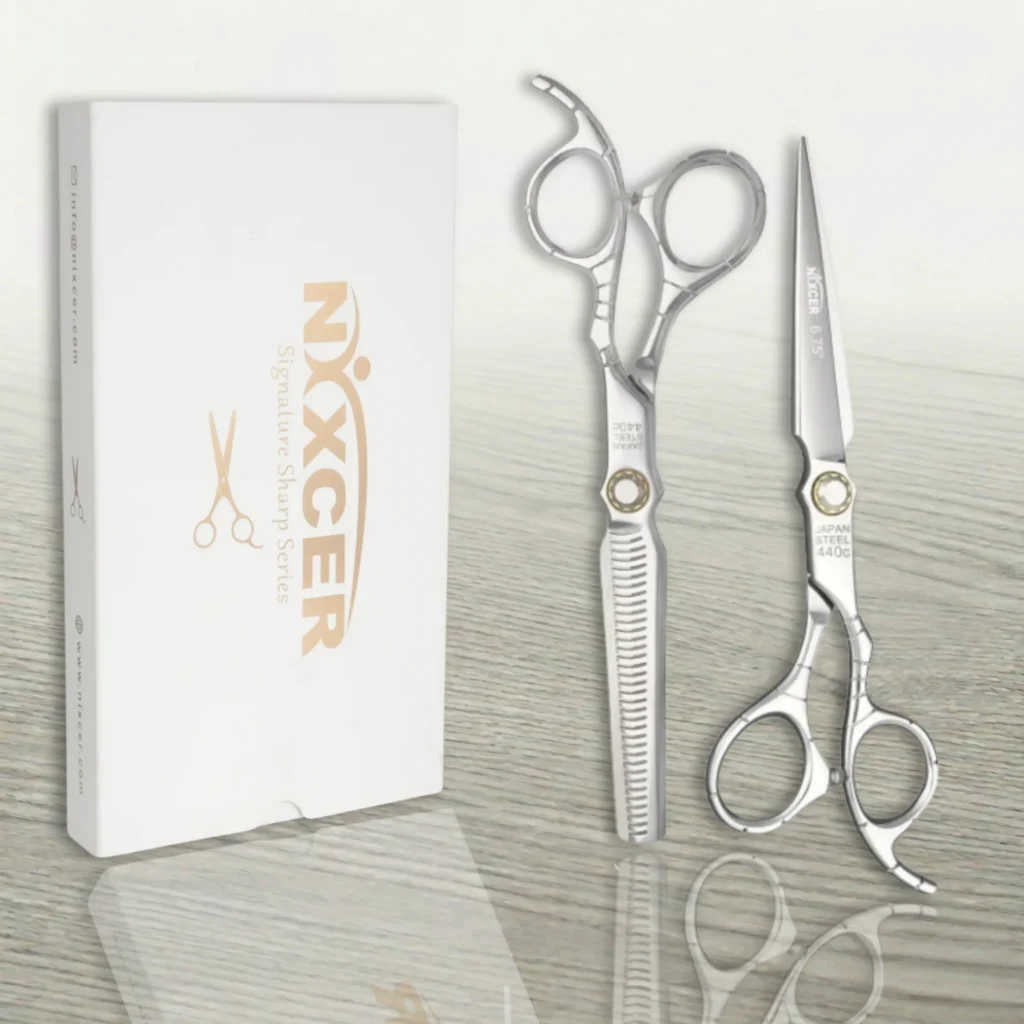
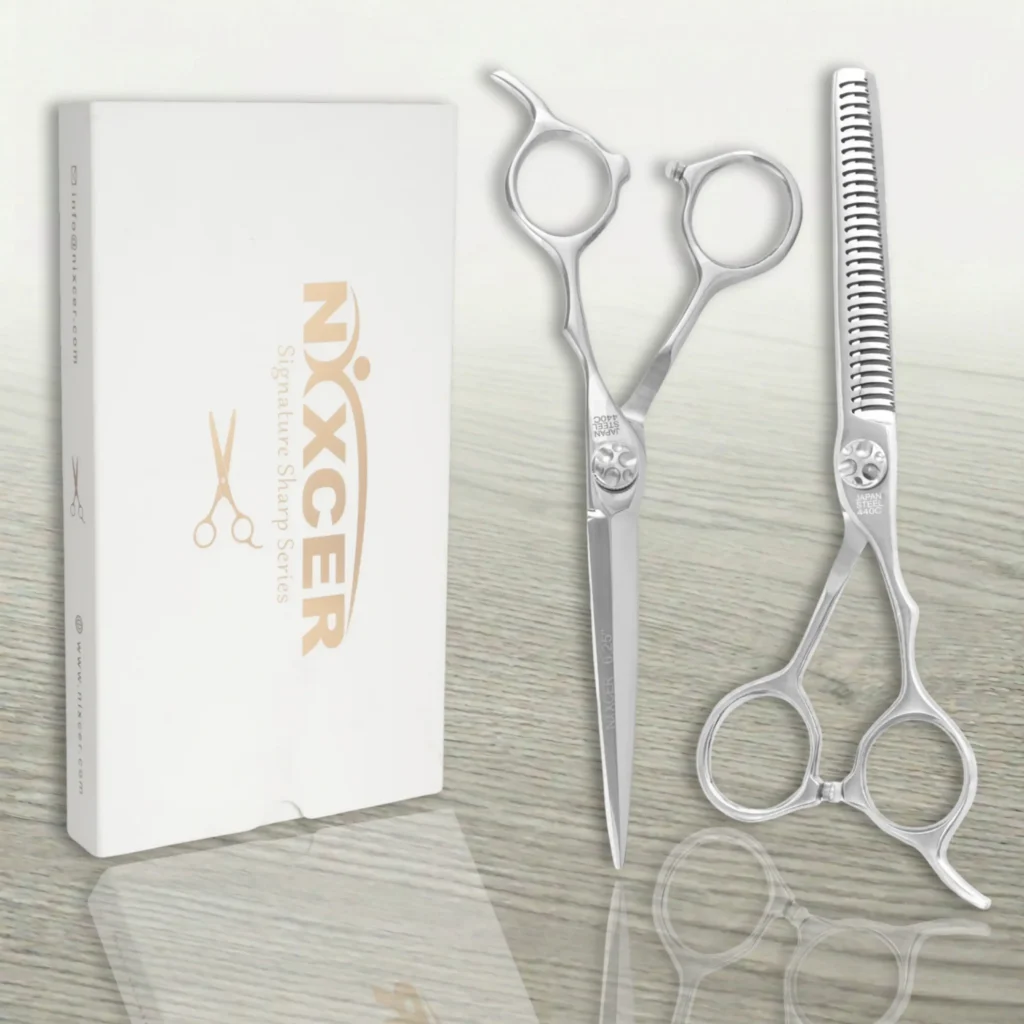
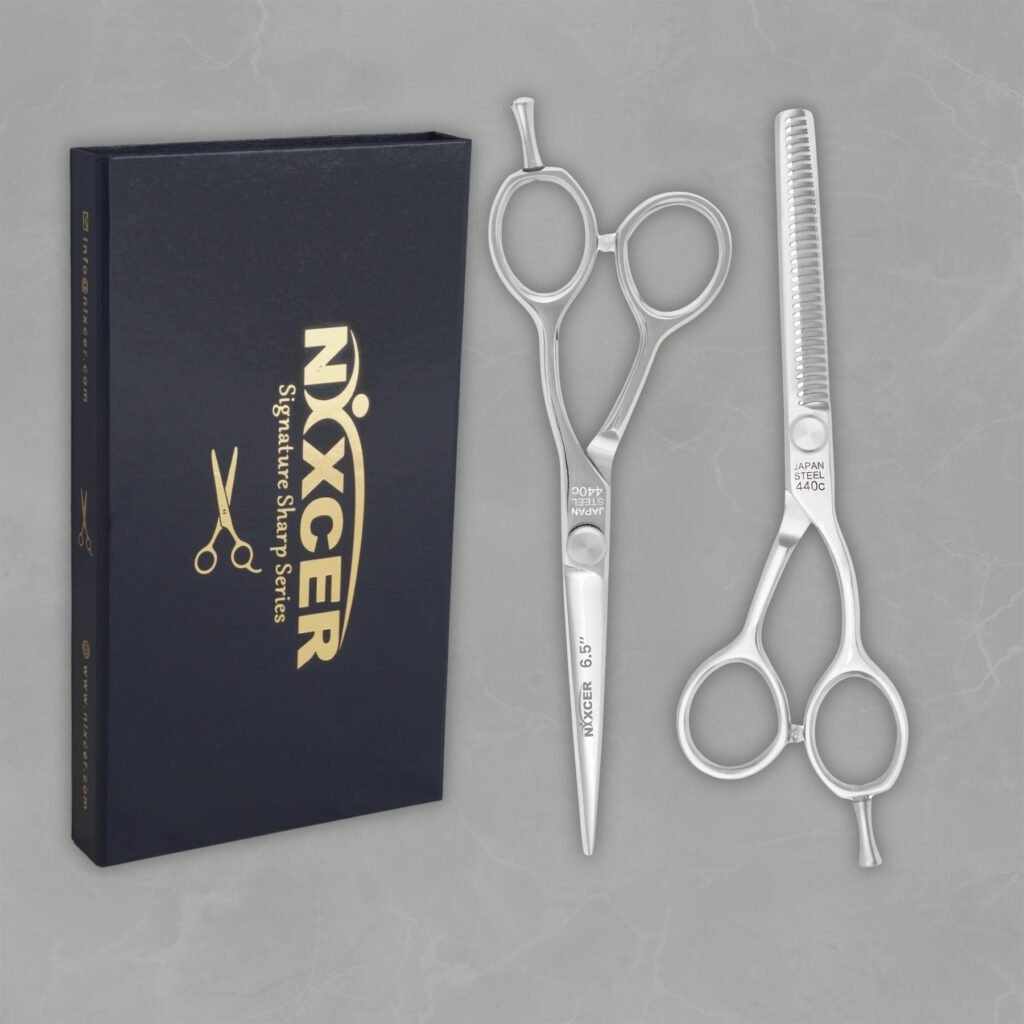
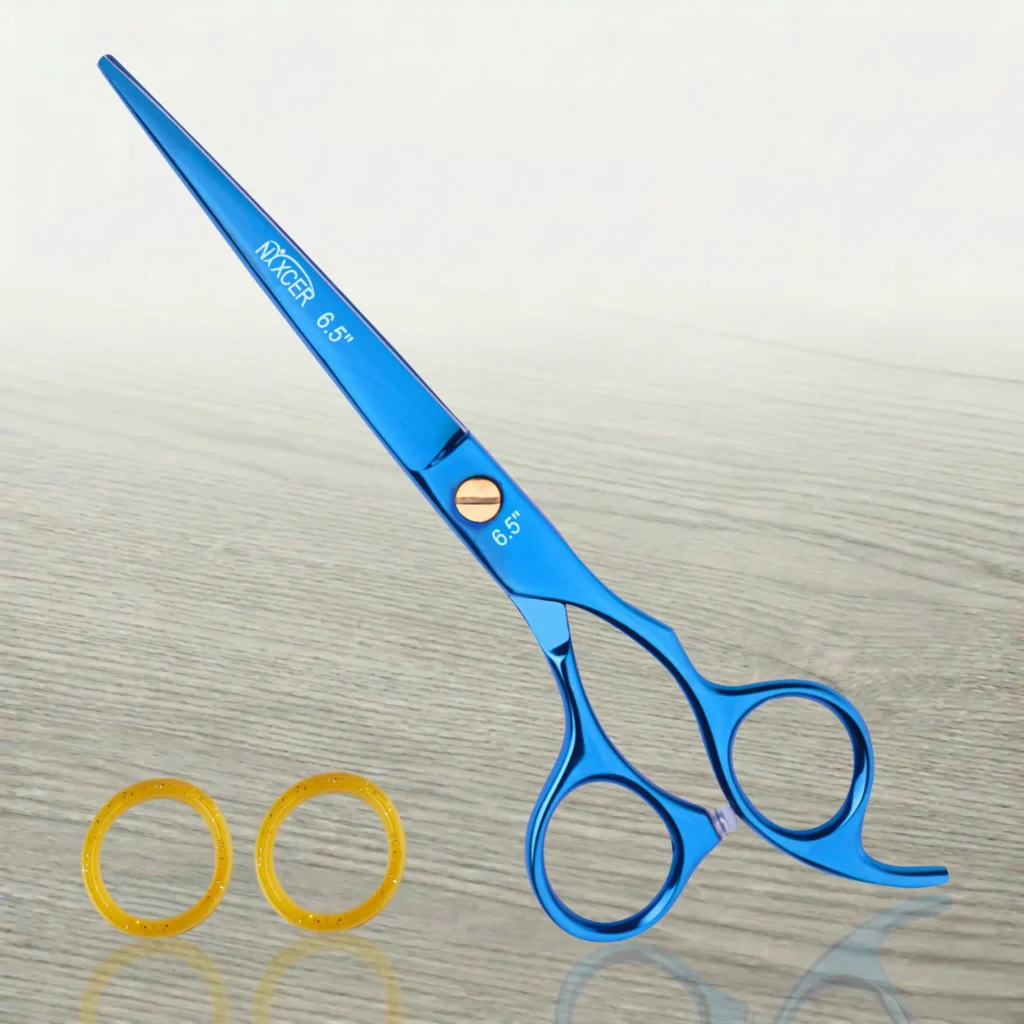
These Nixcer options illustrate different lengths and blade formats. They are products to compare, not independent performance rankings.
- The Nixcer Arc Hair Cutting Shears offer a 6.25 inch format to compare for general salon cutting and controlled movement.
- The Nixcer Korean Hair Cutting Shears offer a 6.5 inch option for users comparing general cutting with added reach.
- The Nixcer Sword Hair Cutting Shears provide a longer sword style format for users who prefer reach and blade stability.
- The Nixcer Broad Blade Hair Cutting Scissors provide a 6.25 inch broad blade option for comparison on controlled dense sections.
- The Nixcer Barber Hair Cutting Scissors provide a 6.5 inch barber format for scissor over comb and short hair comparison.
Browse the complete hair cutting scissors collection and confirm current dimensions, edge, handle, handedness, pivot, warranty, return terms, and availability on each product page.
Professional Scissor Use Checklist
Before and during a service, confirm that:
- The scissor length, edge, blade line, and handle suit the planned technique.
- The finger rings fit without pinching or excessive movement.
- Only the thumb needs to move for a controlled closure.
- The client and chair allow a comfortable working position.
- Sections remain clean, visible, and within the blade’s capacity.
- The pivot moves smoothly without looseness or excessive resistance.
- The blades cut cleanly without pushing, folding, or pulling hair.
- The cutting path remains clear of the client’s skin and the stylist’s fingers.
- The shear is cleaned, dried, lubricated, and stored safely after work.
- A damaged or poorly performing shear is removed from service for professional inspection.
Effective scissor use comes from matching the tool, body position, and cutting action to the section in front of you. A relaxed grip and reliable maintenance support control, but deliberate sectioning and a visible guide determine the haircut. Choose the technique first, then select and handle the scissors for that job.
Frequently Asked Questions
Correct Way to Hold Hair Cutting Scissors
Place the ring finger in the fixed ring, rest the index and middle fingers along the shank, and insert only the thumb tip into the moving ring. Keep the grip light and let the thumb operate the moving blade while the finger blade remains stable.
Thumb Movement When Cutting Hair
For the standard professional grip, the thumb should create most of the opening and closing motion. The other fingers guide and stabilize the shear. Some advanced techniques use grip changes, but full hand squeezing is usually less controlled.
Best Scissor Length for Professionals
There is no single best length. Many salon cutters compare sizes around 5.5 to 6.5 inches, while barbers often consider longer shears for scissor over comb. Hand size, technique, comb length, and tip control should decide the final choice.
Proper Hair Scissor Tension
Proper tension lets the blades move smoothly while maintaining controlled contact. Hair should not fold between loose blades, and the hand should not need excessive force to close tight blades. Follow the manufacturer’s test and adjustment instructions for the specific pivot.
Frequency of Scissor Oiling
Oil the pivot on the schedule recommended by the manufacturer and after cleaning when appropriate. Many professionals inspect and care for their primary shears daily, but the correct frequency depends on the model, workload, cleaning method, and environment.
Signs Hair Scissors Need Sharpening
Common warning signs include pushing, folding, pulling, snagging, or an inconsistent cut along the blade. First rule out residue and incorrect tension. Chips, catches, or alignment problems need professional inspection rather than routine sharpening alone.
Hair Cutting Scissors for Wet and Dry Hair
A sharp, aligned professional shear may handle both when its design supports the techniques. Wet cutting benefits from consistent moisture and tension. Dry cutting needs a smooth controllable edge, conservative removal, and frequent checks of natural fall.
Safe Use Around Ears and Neckline
Keep the blade tips visible, use the comb or fingers to control hair and protect the working area, position the client for a clear sightline, and make small deliberate cuts. Never close the shear where skin is hidden.
Editorial and Publishing Notes
Suggested schema: Article plus FAQPage only if the visible page includes the same questions and answers. Structured data must follow current Google eligibility and content policies.
Suggested image concepts: Correct professional scissor grip, thumb only movement sequence, neutral wrist and chair height, scissor over comb alignment, and daily cleaning and oiling routine.
Suggested image alt text: Hairstylist using a relaxed professional grip on hair cutting scissors with the thumb controlling the moving blade.
Internal linking plan: Link to the blade type, edge comparison, offset handle, hand fatigue, balance test, sharpness test, oiling, point cutting, slicing, and hair cutting scissors collection pages. Use descriptive anchors instead of repeated exact match phrases.