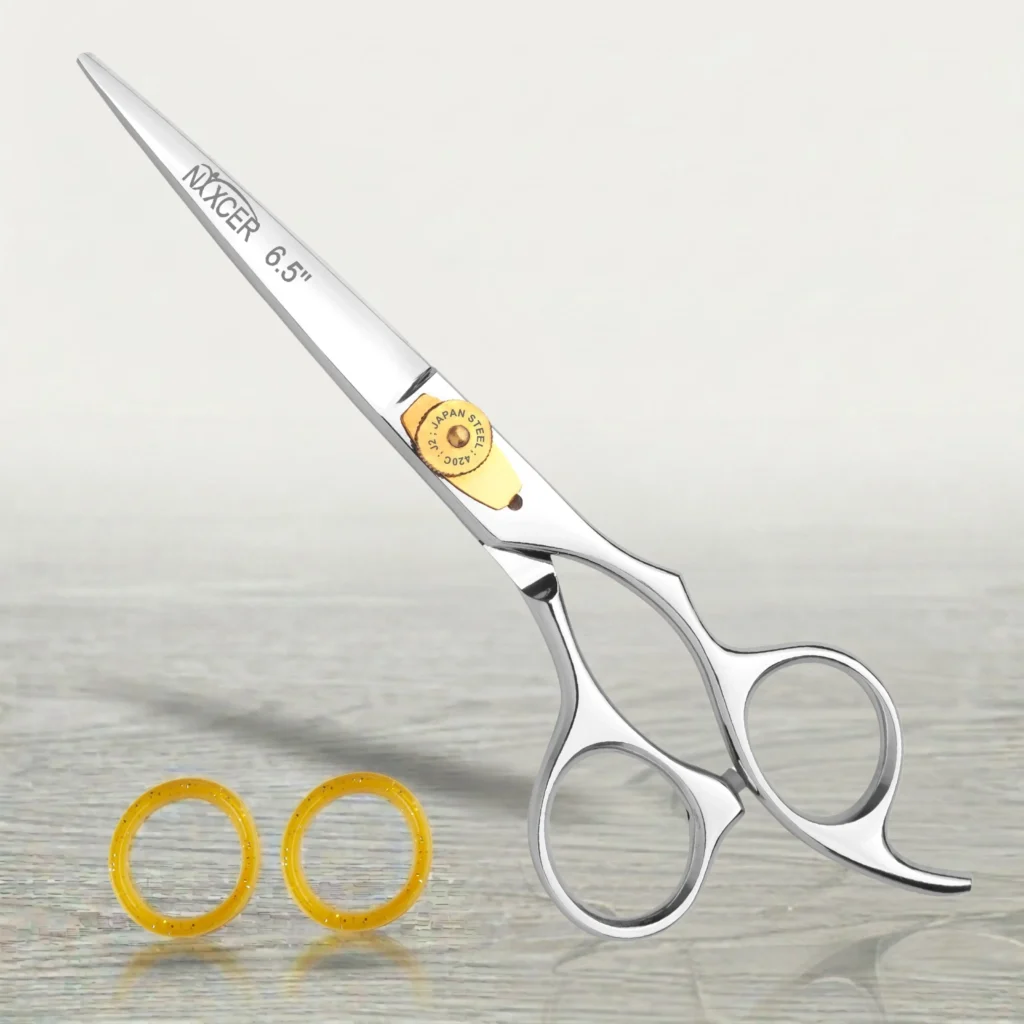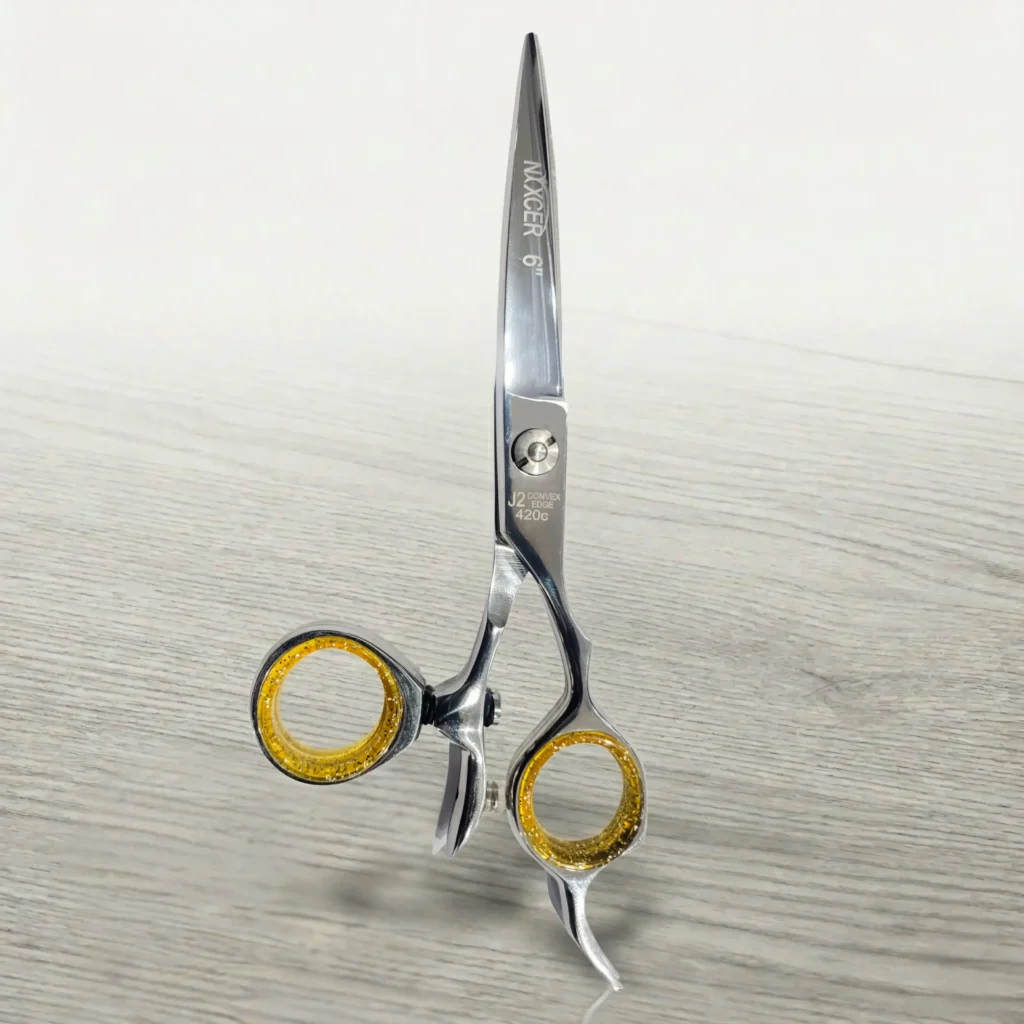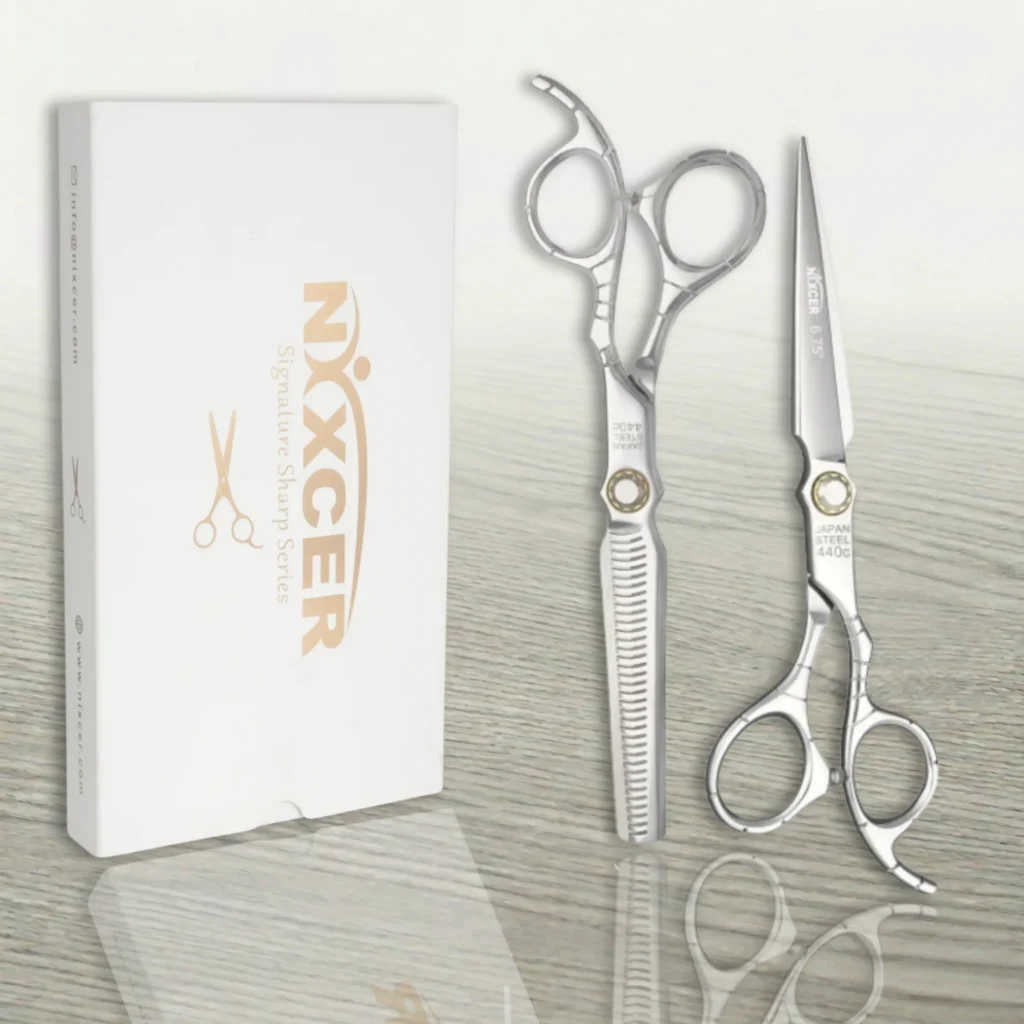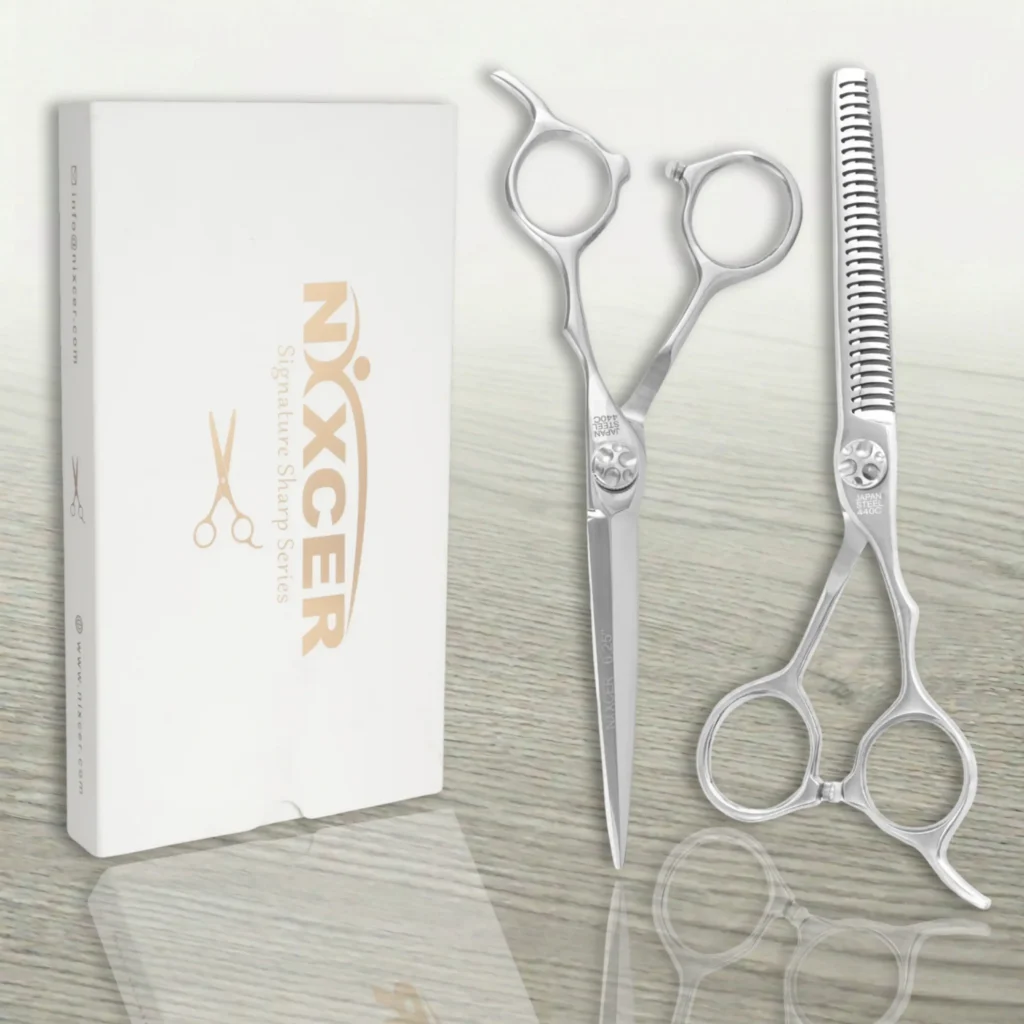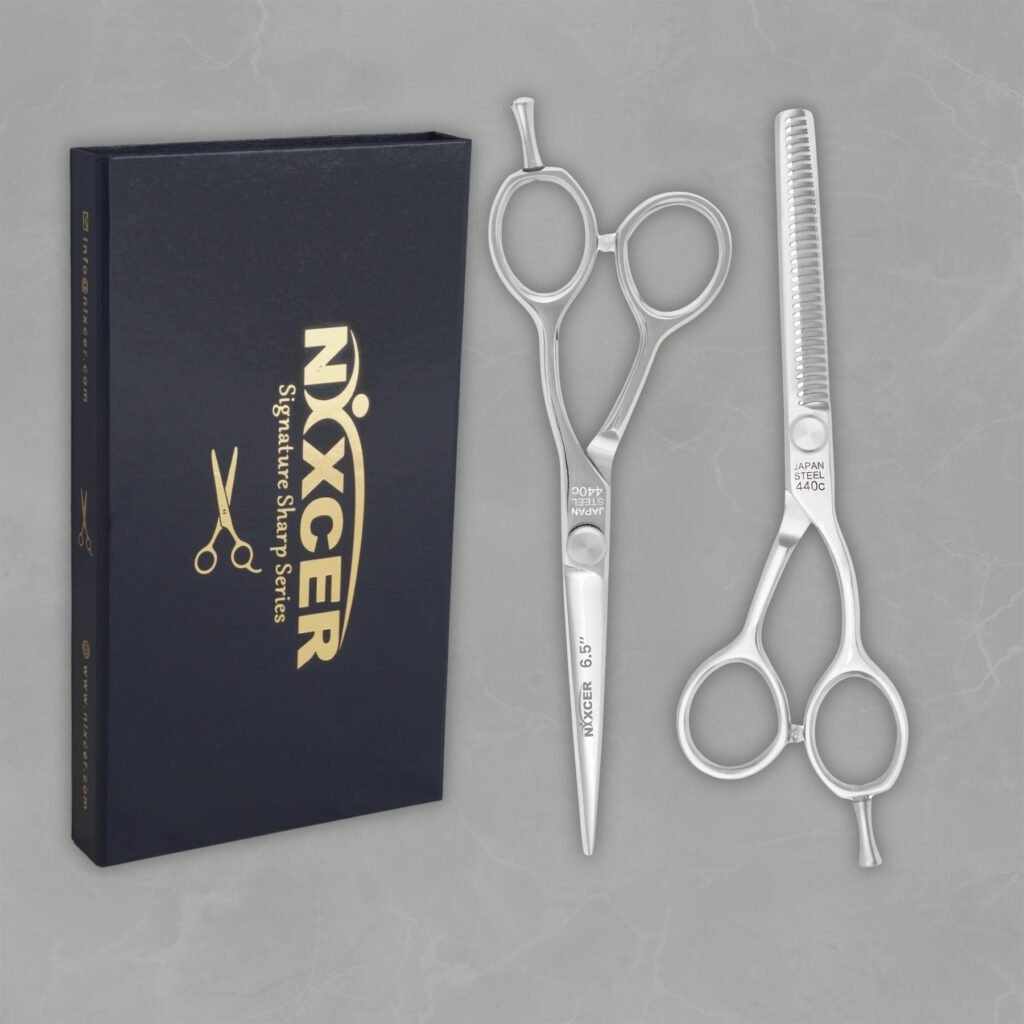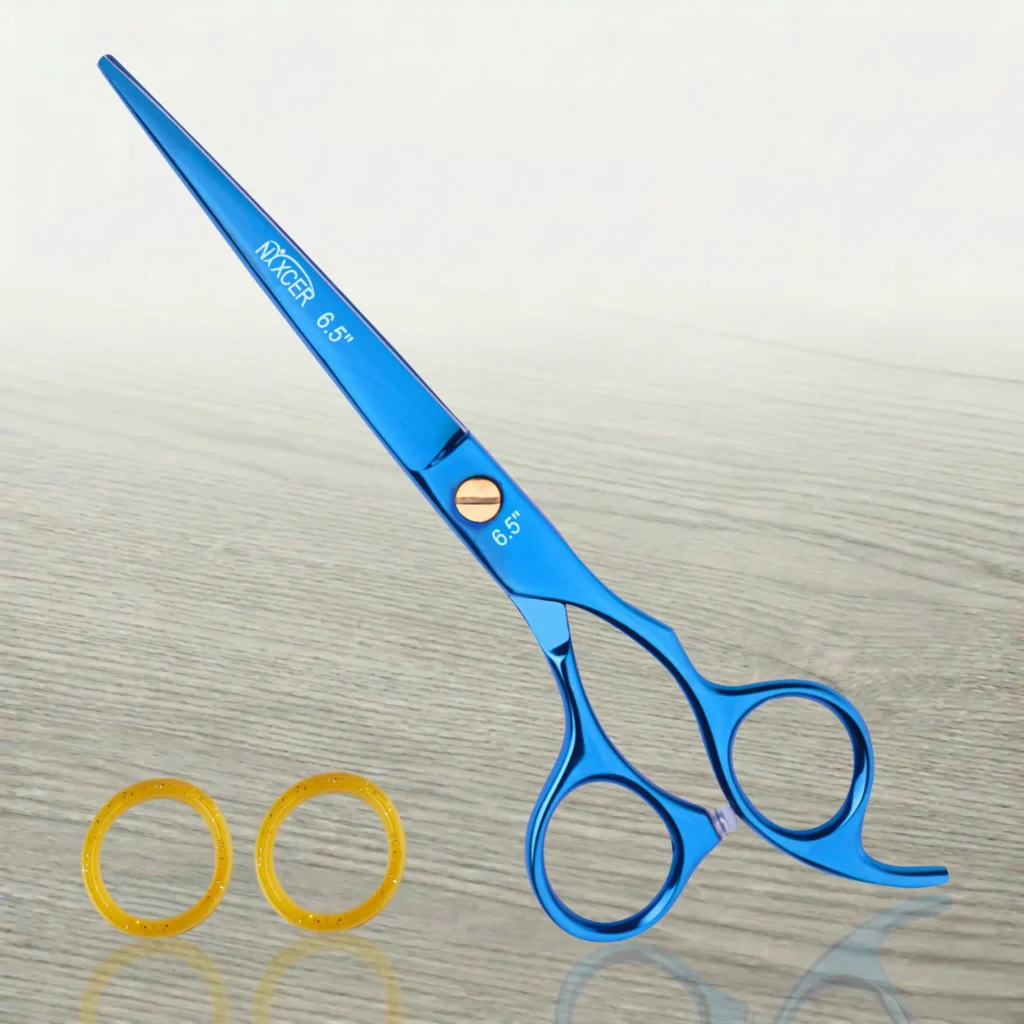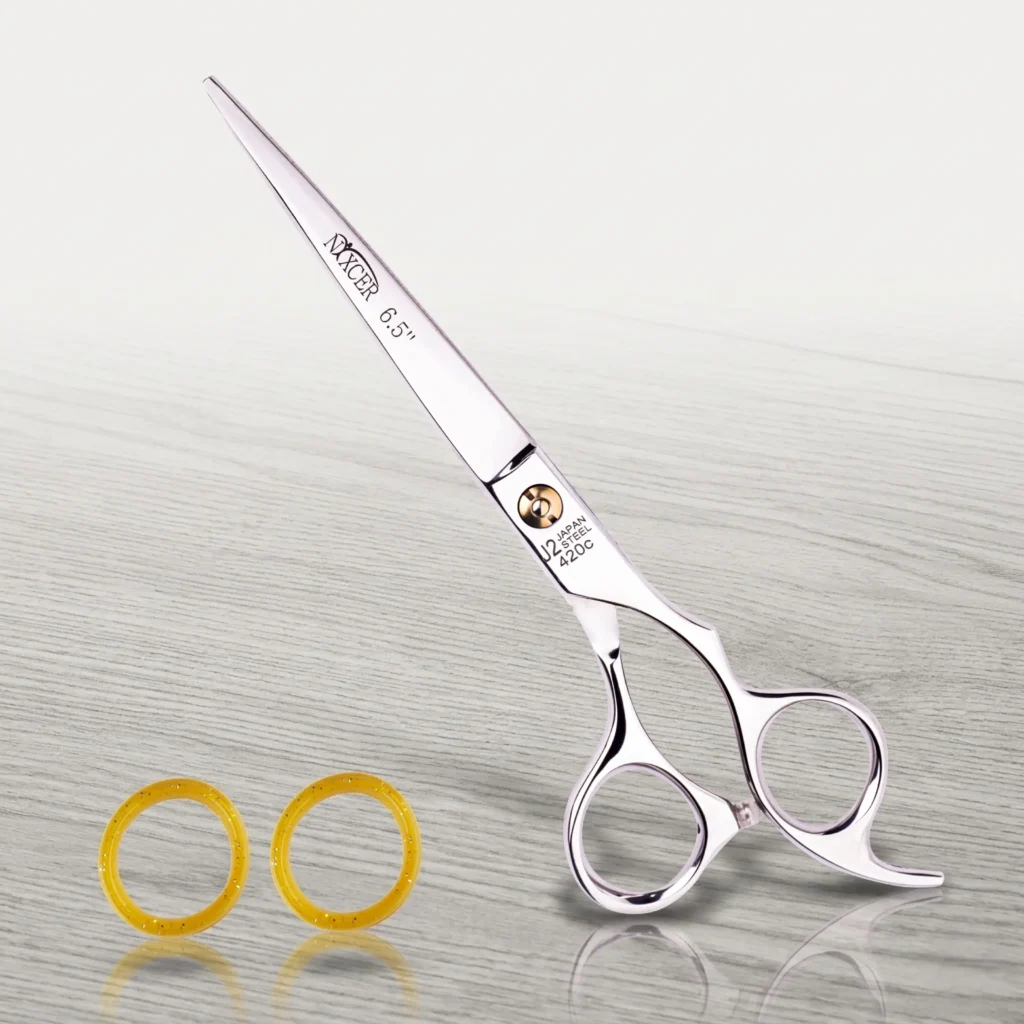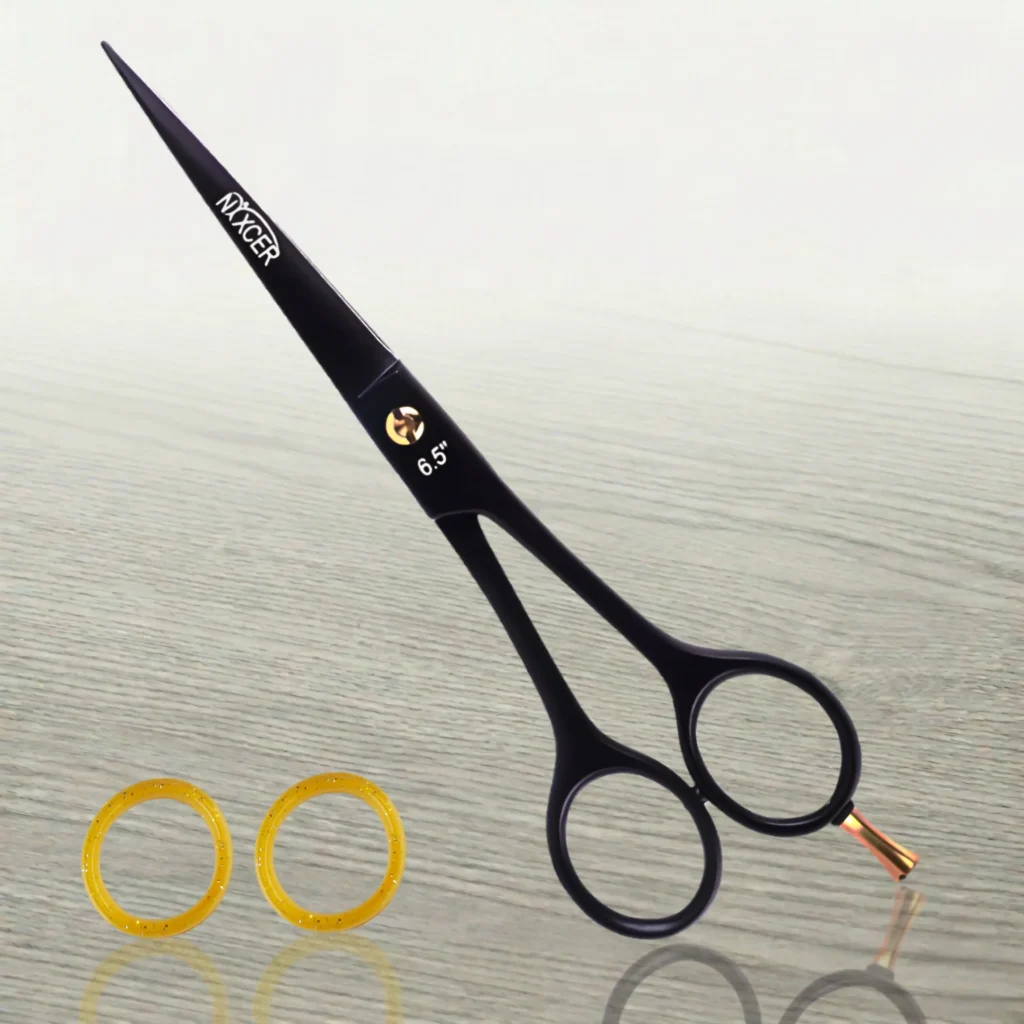
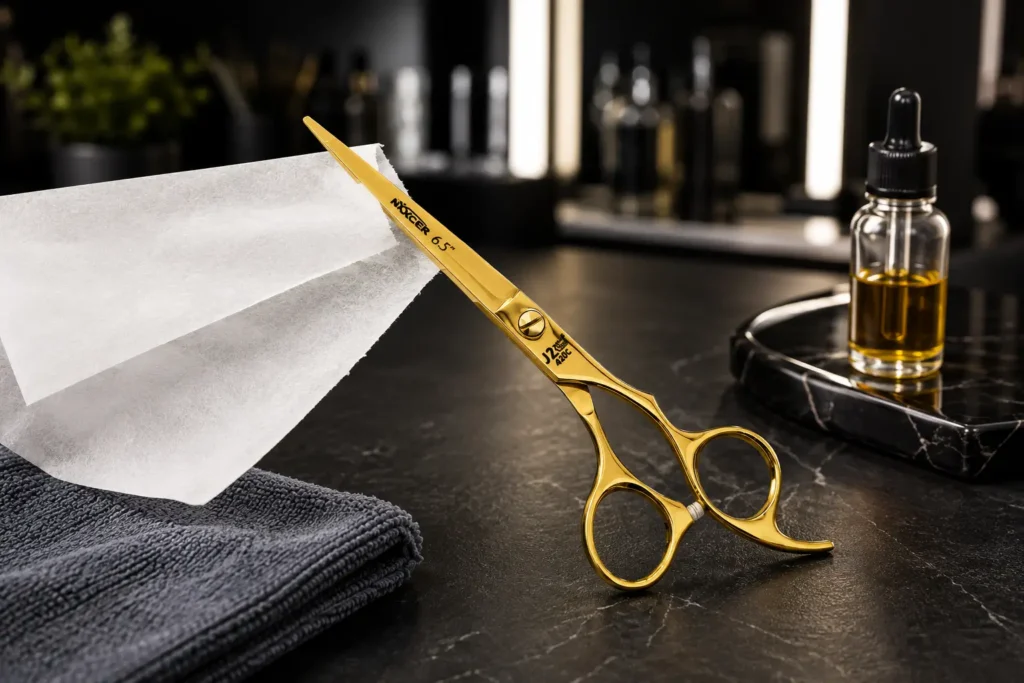
A safe hair cutting scissors sharpness test begins with clean, dry, correctly tensioned shears. After that preparation, cut a plain single-ply tissue slowly from the heel of the blades through the middle and toward the tips. Sharp, well-aligned scissors should make a continuous cut without pushing, folding, tearing, or catching the tissue. Confirm the result on a small section of clean test hair before returning the scissors to client work.
The test is diagnostic, not a complete verdict. Poor cutting can come from product buildup, a dry pivot, incorrect tension, blade misalignment, a nick, or an edge that has genuinely worn dull. Testing in the right order helps identify the difference and prevents unnecessary sharpening.
Quick answer: Clean and dry the scissors, place one drop of approved scissor oil at the pivot if needed, verify tension, inspect the edge under bright light, and then cut single-ply tissue from heel to tip using light normal hand pressure. A clean continuous slice is a pass. Pushing, bunching, tearing, a repeatable catch, or a tip that folds the tissue means the shears need further diagnosis and possibly professional service.
Why Test Hair Cutting Scissors for Sharpness?
Professional shears usually lose performance gradually. A stylist may begin squeezing harder, taking smaller sections, making extra passes, or avoiding the tips without realizing the tool has changed.
Regular testing provides a neutral reference. It can reveal a problem before an important precision service, after a drop, when a new sound appears, or when hair starts to move in front of the blades. It also gives the stylist useful information to share with a sharpening technician: where the catch occurs, whether the tissue folds, and whether the issue remains after cleaning and tension adjustment.
A sharpness test should answer three practical questions:
- Does the shear cut cleanly along the full working length of the blades?
- Is a poor result caused by the edge, or could tension, debris, lubrication, or alignment be responsible?
- Is the tool safe to keep in service, or should the stylist switch to a backup and arrange inspection?
Signs Your Hair Shears May Be Dull or Damaged
Do not wait for the scissors to stop cutting completely. Early warning signs include:
- Hair pushes forward instead of staying where the blades are placed.
- A section folds between the blades or needs more than one closure.
- The tips catch, tug, or leave a few uncut strands.
- Blunt lines require repeated correction.
- Slide cutting feels rough or stops gliding smoothly.
- The scissors need noticeably more thumb pressure.
- The closing sound changes to scraping, grinding, squeaking, or crunching.
- A bright glint, nick, gap, or uneven tip appears during inspection.
- Performance changes immediately after a drop or impact.
These symptoms do not all mean the edge is simply dull. A gritty pivot can create drag, loose tension can let hair fold, excessive tension can increase effort, and damaged alignment can cause one area to catch. That is why preparation comes before the actual cutting test.
What You Need for a Safe Sharpness Test
Prepare a clean, well-lit work surface away from clients and foot traffic. Gather:
- A soft lint-free or microfiber cloth
- Manufacturer-approved scissor oil
- The correct tension key if the model is adjustable
- Plain, lotion-free single-ply facial tissue or a clean salon tissue
- Clean water for an optional lightly damp tissue test
- A small clean section of discarded hair or mannequin hair
- A protective case and a serviced backup pair
Do not use aluminum foil, cardboard, abrasive paper, fabric, wire, or a kitchen sharpener. Do not run a finger or thumb along the cutting edge. The objective is to observe cutting performance without risking injury or changing the blade.
Step 1: Clean, Disinfect, and Dry the Scissors
Hair fragments, spray, color residue, moisture, and disinfectant deposits can change how the blades move. Testing dirty scissors may produce a false failure.
Follow the hygiene rules that apply to your salon and the product instructions for your shear-safe disinfectant. Remove visible debris with a soft cloth, clean around the pivot without touching the sharp edge, and dry the entire tool thoroughly. Avoid trapping liquid around the screw.
If you need a complete hygiene routine, review how to properly clean and disinfect hair cutting scissors.
Step 2: Lubricate the Pivot When Needed
Place a small drop of approved scissor oil at the pivot or ride area according to the manufacturer’s instructions. Open and close the blades several times, then wipe away loosened debris and excess oil.
Lubrication reduces friction and helps the blades move as designed. It does not sharpen a worn edge, but it can eliminate stiffness or noise caused by a dry, contaminated pivot. Retest after oiling before deciding the scissors are dull.
Use a light oil made for scissors or precision cutting tools. Cooking oil, heavy household lubricants, and improvised products can leave residue or interfere with cleaning. See why regular oiling matters for the full care process.
Step 3: Check Tension Before Testing Sharpness
Tension controls how the two blades remain in contact as they close. If it is too loose, hair or tissue can fold or push even when the edge is sharp. If it is too tight, the shear may feel dull because the thumb must overcome excessive friction.
Perform the manufacturer-recommended drop or closure test. A common check is to hold one handle steady, raise the moving blade to roughly a right angle, and release it carefully. The blade should move in a controlled way rather than slamming fully closed or barely moving. Exact stopping position varies by model, blade, and manufacturer, so do not force every shear to match one universal angle.
Adjust only in small increments with the correct tool, then repeat the test. Read the dedicated guide on performing a tension test before changing the pivot.
Step 4: Inspect the Blades Under Bright Light
Open the scissors and look along both cutting edges without touching them. Rotate the tool slightly under a bright, steady light.
A refined sharp edge usually reflects very little light at its apex. A visible bright spot can indicate a flat area, rolled edge, or nick, although lighting and polish can also create reflections. Compare both blades and inspect the tips for a gap, overlap, bend, or lateral offset.
Also check the ride line and pivot area for debris, scoring, or an unusual contact mark. If a defect is visible, stop using the scissors. Closing damaged blades repeatedly can make a nick or alignment problem worse.
Step 5: Perform the Dry Single-Ply Tissue Test
The tissue test is useful because thin tissue exposes pushing and localized catches with very little resistance.
- Use fresh, plain single-ply tissue without lotion, embossing, or heavy folds.
- Hold a small section taut with one hand, keeping fingers well away from the cutting path.
- Open the shears comfortably; do not force them beyond their normal range.
- Begin near the heel of the blades and close slowly using normal, light thumb pressure.
- Continue the cut through the middle and toward the tips so the full edge is evaluated.
- Repeat with fresh tissue, testing the heel, middle, and tip zones separately if one area feels uncertain.
What a passing result looks like
- The cut begins where the blades are placed.
- Tissue does not bunch, slide, or fold ahead of the blades.
- The cut remains continuous from heel through tip.
- No repeatable snag appears at the same point.
- The tips finish the cut cleanly without leaving a connected strand.
What a failing result looks like
- Tissue pushes away before cutting.
- The material tears irregularly instead of separating cleanly.
- A section folds between the blades.
- The scissors stop or catch at the same blade location.
- The tip bends the tissue or leaves it attached.
Do not increase hand pressure to force a pass. Extra squeezing can hide the problem and does not represent comfortable professional cutting.
Step 6: Use a Lightly Damp Tissue as an Optional Sensitivity Check
A lightly damp single-ply tissue can be more demanding than dry tissue and may reveal a small catch or burr. Use this step only after the scissors are clean, lubricated, correctly tensioned, and free from obvious damage.
Moisten the tissue evenly without soaking it. Hold it taut and repeat the slow heel-to-tip cut. The blades should move through the tissue without bunching or tearing. A repeatable catch at the same point suggests a localized edge or alignment issue.
Wet tissue is not a perfect simulation of hair, and a pass does not guarantee excellent cutting on every texture or technique. It is one piece of evidence. After the test, dry the shears completely and reapply pivot oil if the manufacturer’s care instructions require it.
Step 7: Confirm Performance on Clean Test Hair
Hair is the material the scissors are designed to cut, so the final confirmation should use a small section of clean discarded hair or mannequin hair rather than a client’s head.
Test the shear in the way it is normally used:
- Make a controlled blunt cut through a modest section.
- Test the tips on a smaller section.
- If the edge is designed for it, try one gentle point-cutting or slide-cutting motion.
- Observe whether the hair stays at the intended cutting line.
A serviceable shear should cut without tugging, folding, pushing, or leaving a predictable row of uncut hairs. Very large sections, heavily coated hair, or a technique that does not suit the blade can create a false failure, so use clean hair and a realistic section size.
Never use the test as an excuse to experiment on a client. If the result is uncertain, switch to a known-good backup pair.
How to Interpret the Results
| Test symptom | Possible cause | Safe retest | Recommended action |
| Tissue pushes or folds along most of the blade | Loose tension, general dullness, or excessive section width | Clean, oil, verify tension, and use fresh single-ply tissue | If failure remains, stop client use and arrange professional inspection |
| Catch occurs at the same point every time | Nick, burr, damaged ride line, or localized misalignment | Inspect under bright light and test that zone with fresh tissue | Do not force the blades; use a backup and send for service |
| Tip will not finish the cut | Tip damage, poor tip alignment, or worn tip edge | Check closed-tip alignment and repeat with light pressure | Professional tip and alignment assessment |
| Scissors feel stiff everywhere | Excess tension, dry pivot, contamination, or blade rubbing | Clean, oil, and perform the tension test | Adjust only within guidance; service if stiffness or rubbing remains |
| Scissors slam closed or fold tissue | Tension may be too loose | Repeat the controlled drop test | Make a small approved adjustment and retest |
| Tissue passes but hair still pushes | Edge angle may be worn, blade may not suit the technique, or section is unsuitable | Test clean hair with a smaller section and normal technique | Ask a qualified shear technician to evaluate cutting geometry |
| Grinding or crunchy sound remains after cleaning | Debris, nick, damaged ride line, or alignment problem | Stop repeated closures and inspect visually | Professional service before further use |
No single test isolates every variable. Look for a consistent pattern across cleaning, tension, tissue, and hair performance.
Sharpness, Tension, and Alignment Are Different
These three conditions are often confused.
Sharpness
Sharpness describes the condition and geometry of the cutting edge. A worn, rolled, or poorly finished edge may need professional sharpening.
Tension
Tension controls blade contact during closure. Incorrect tension can cause folding, pushing, excessive wear, or hand strain even when the edge itself is usable.
Alignment
Alignment describes how the blades, tips, and ride surfaces meet. A drop or improper adjustment can create a gap or twist that sharpening alone may not solve.
This distinction matters because repeated sharpening removes metal. A shear that only needs cleaning, lubrication, or tension correction should not be ground unnecessarily. Conversely, a nicked or misaligned shear should not be disguised with extra tension.
What Not to Use for a Sharpness Test
Aluminum foil
Folded foil is often promoted online as a way to test or even sharpen scissors. It is not an appropriate routine diagnostic for professional hair shears. It can leave residue, change a delicate edge, hide a defect, or create new wear.
Cardboard or thick printer paper
These materials are more abrasive and resistant than hair. Repeated cuts can dull a refined edge and do not reliably reproduce salon performance.
Fabric, thread, plastic, or packaging
Professional hair scissors should be dedicated to hair. Mixed materials can contaminate or damage the cutting edge.
A finger, thumb, or fingernail
Never feel along the blade to judge sharpness. Professional shears can cut skin before you have time to react.
DIY stones, pull-through sharpeners, or rotary tools
Hair shears may use convex, beveled, semi-convex, or micro-serrated geometry. Untrained sharpening can remove the wrong angle, erase the ride line, round the tips, disturb the set, or overheat the steel. Use a technician equipped for professional hairdressing scissors.
Learn how blade construction changes service requirements in the guide to different hair cutting scissor blades.
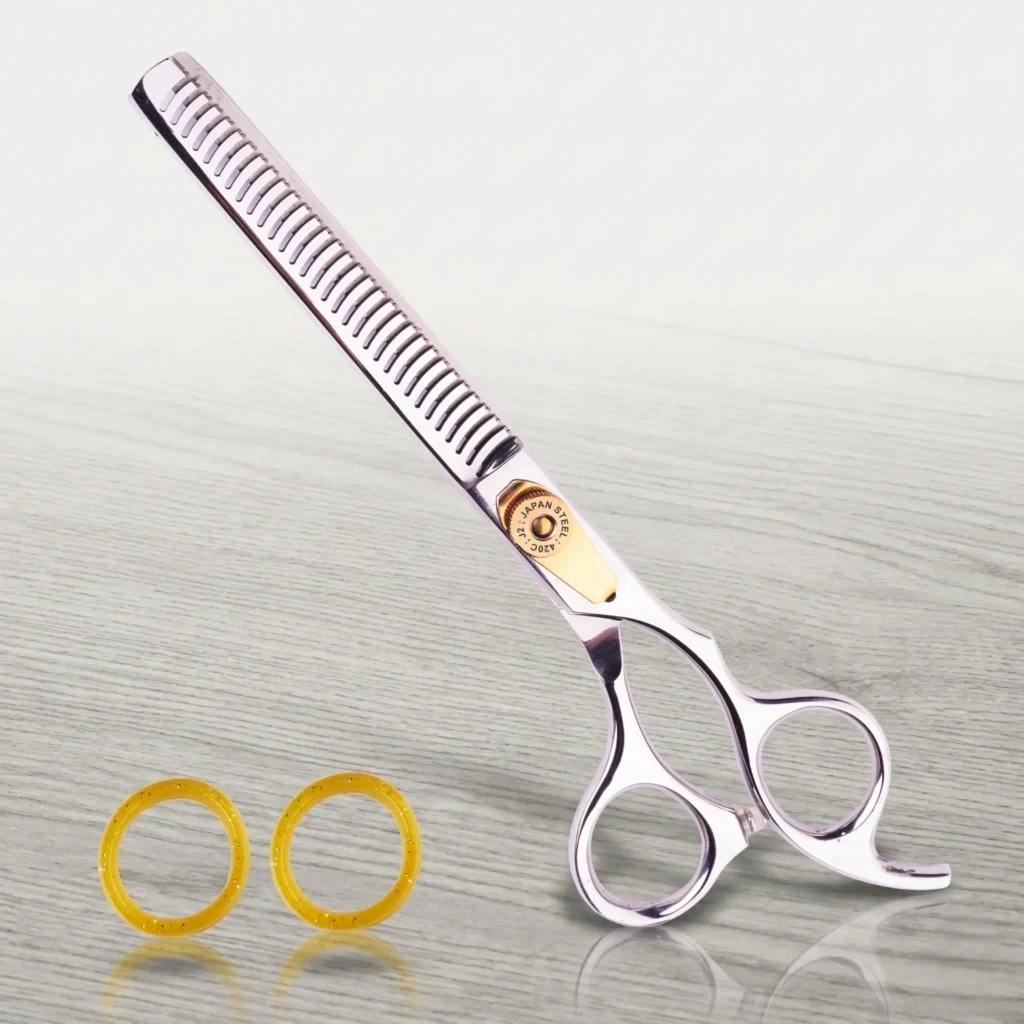
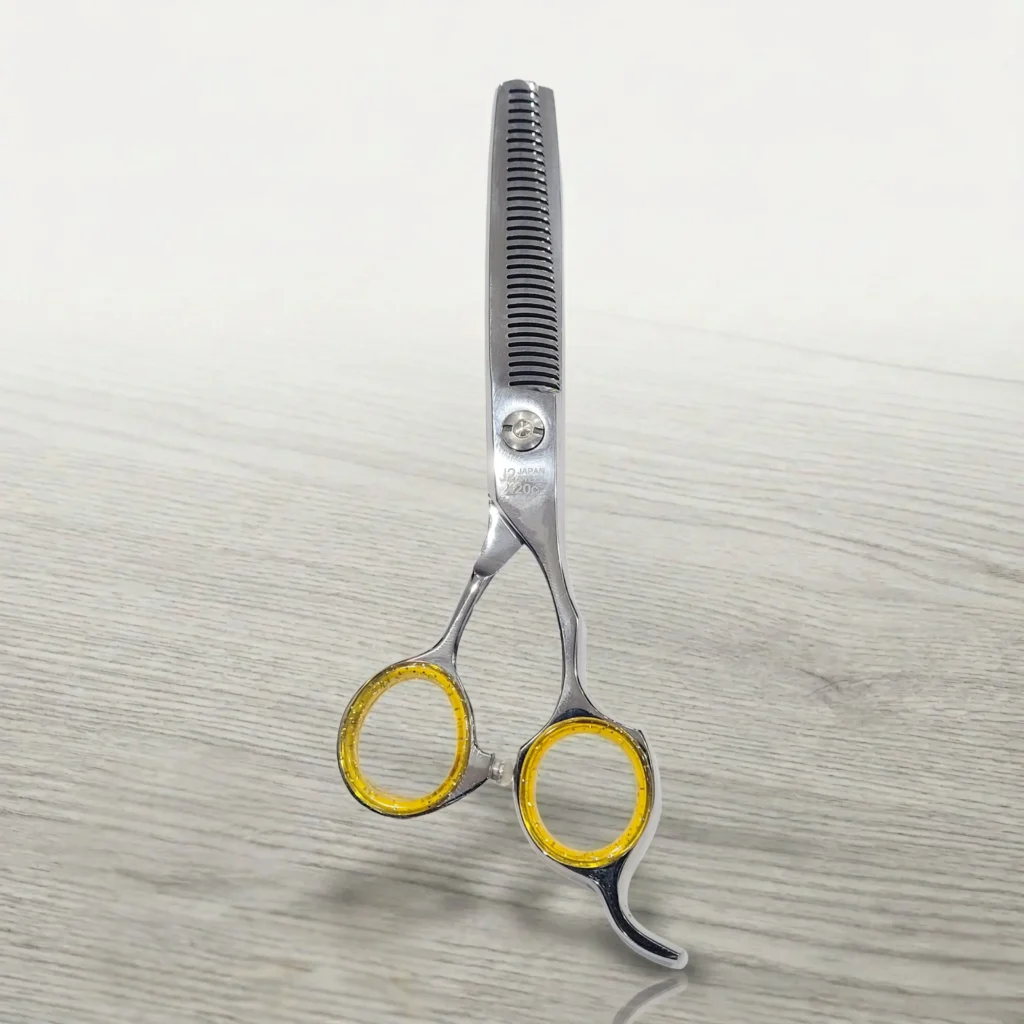
Testing Thinning and Texturizing Shears
Standard tissue results do not translate directly to thinning or texturizing shears because the toothed blade is designed to leave some material uncut. Do not expect a continuous straight tissue line from a tool that selectively removes hair.
Instead:
- Clean the teeth and pivot carefully.
- Inspect for bent, chipped, or overlapping teeth.
- Check tension according to the model’s instructions.
- Test on a clean, modest section of mannequin or discarded hair.
- Look for smooth closure, predictable removal, and no tugging or jamming.
If teeth collide, hook, or resist closure, stop immediately. Specialized toothed shears need a technician familiar with their tooth profile and blade contact.
When Should You Test Your Hair Cutting Scissors?
Use performance-based checks rather than relying only on a date.
- Before a high-precision service if the tool has recently felt different
- When hair begins to push, fold, snag, or require extra pressure
- After a drop, impact, or unsafe storage incident
- After cleaning and tension adjustment when diagnosing a change
- When a newly sharpened pair does not perform as expected
- Periodically as part of a salon maintenance log
Busy professionals may perform a quick operational check daily and a more formal tissue test when symptoms appear or on a scheduled maintenance review. Frequency depends on workload, edge type, steel, cutting technique, hair textures, storage, and previous damage. There is no single sharpening interval that fits every stylist.
What to Do If Your Shears Fail
Follow this sequence:
- Stop using the scissors on clients.
- Switch to a clean, sharp, correctly tensioned backup pair.
- Clean and dry the failing shear.
- Lubricate the pivot and retest tension.
- Repeat the tissue test once with fresh material.
- Record the failing location and symptoms.
- Arrange inspection by a professional hair-shear sharpener or the manufacturer.
Do not keep increasing tension or forcing the blades to close. This can accelerate wear and turn a small repair into a larger one. Nixcer’s guide to sharpening and maintaining professional hair cutting scissors explains the broader service routine.
How to Keep Scissors Sharp Between Tests
- Use professional hair shears only on hair.
- Wipe the blades after services so residue does not dry on the metal.
- Follow local disinfection rules and the product’s contact-time instructions.
- Dry the pivot and inner blade surfaces completely.
- Oil with a shear-safe product at the recommended interval.
- Check tension in small, controlled steps.
- Store the closed scissors in a fitted protective case.
- Keep each shear from striking combs, clips, razors, or other metal tools.
- Use a backup immediately after a drop or suspicious change.
- Choose a sharpener who understands the model’s edge geometry.
A practical hair cutting scissor maintenance kit makes these steps easier to repeat. Proper handling and storage also protect the tips and alignment between appointments.
Frequently Asked Questions
What is the best test for hair cutting scissor sharpness?
Use a sequence rather than one test: clean and oil the pivot, verify tension, inspect under light, cut fresh single-ply tissue from heel to tip, and confirm on clean test hair. This separates edge wear from common maintenance problems.
Should I use wet or dry tissue to test hair shears?
Dry single-ply tissue is a useful first diagnostic. Lightly damp tissue can be a more sensitive optional follow-up for small catches or burrs. Neither perfectly reproduces hair, so confirm the result on clean test hair and dry the scissors fully afterward.
Can I test hair scissors on regular paper?
Avoid routine cuts through printer paper or cardboard. They are more abrasive than the light tissue used for diagnosis and may dull a refined salon edge. Use only fresh, thin tissue and clean test hair.
Does aluminum foil sharpen hair cutting scissors?
No. Cutting folded foil is not a controlled professional sharpening method. It can contaminate, burnish, or damage a delicate edge and cannot restore correct geometry, alignment, or the ride line.
Why do my scissors pass the tissue test but push hair?
The tissue test does not reproduce every hair type or cutting technique. The edge angle may be worn, the section may be too large, the blade may not suit the motion, or alignment may change under load. A qualified technician can assess the complete shear.
How can I tell whether tension or dullness is the problem?
Clean and oil first, then perform the model-appropriate tension test. If correct tension restores clean cutting, the edge may still be serviceable. If tissue and hair continue to push or catch at correct tension, professional inspection is appropriate.
How often should professional hair shears be sharpened?
Sharpen according to performance, workload, edge type, and technician guidance rather than one universal date. Book service when clean, correctly tensioned shears consistently push, fold, snag, or require extra force, or immediately after visible damage.
Can thinning shears be tested with tissue?
Not in the same way as straight cutting shears. Their teeth are designed to leave part of the material uncut. Inspect the teeth and test smooth, predictable removal on a clean section of mannequin or discarded hair.
Can I sharpen professional hair scissors myself?
Do not attempt it unless you are trained and equipped for the specific edge. Convex, beveled, and toothed shears require different processes, and incorrect work can permanently alter the blade. Use an experienced professional shear technician.
Final Thoughts
A useful hair cutting scissors sharpness test is controlled, repeatable, and gentle on the edge. Start with maintenance, not assumptions: clean, dry, oil, check tension, inspect, test tissue, and confirm on hair. Evaluate the full blade from heel to tip and pay attention to where a symptom repeats.
If the scissors still push, fold, tear, catch, grind, or require extra force, stop using them on clients. Switch to a dependable backup and arrange professional service. Stylists who need a replacement or second working pair can browse Nixcer’s collection of professional hair cutting scissors and use the precision-cutting selection guide to compare blade, size, tension, fit, and technique.