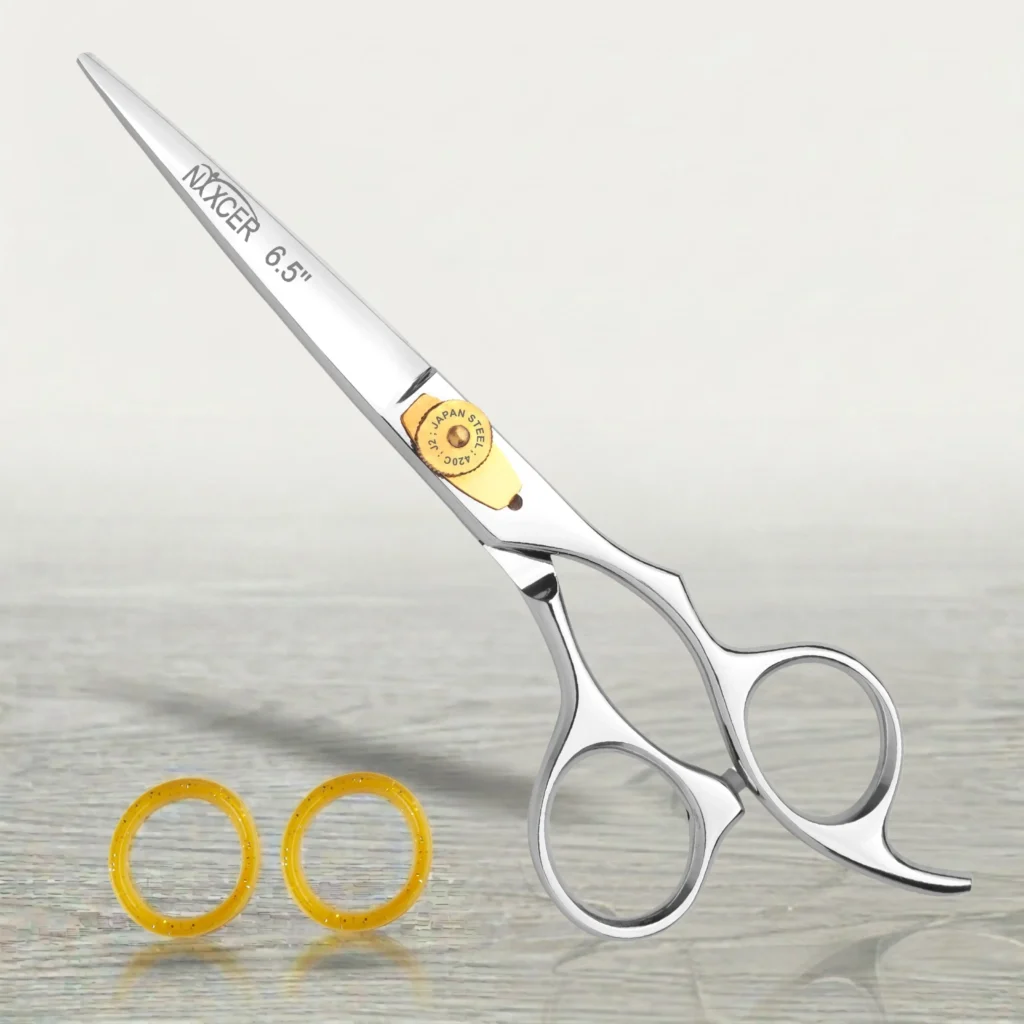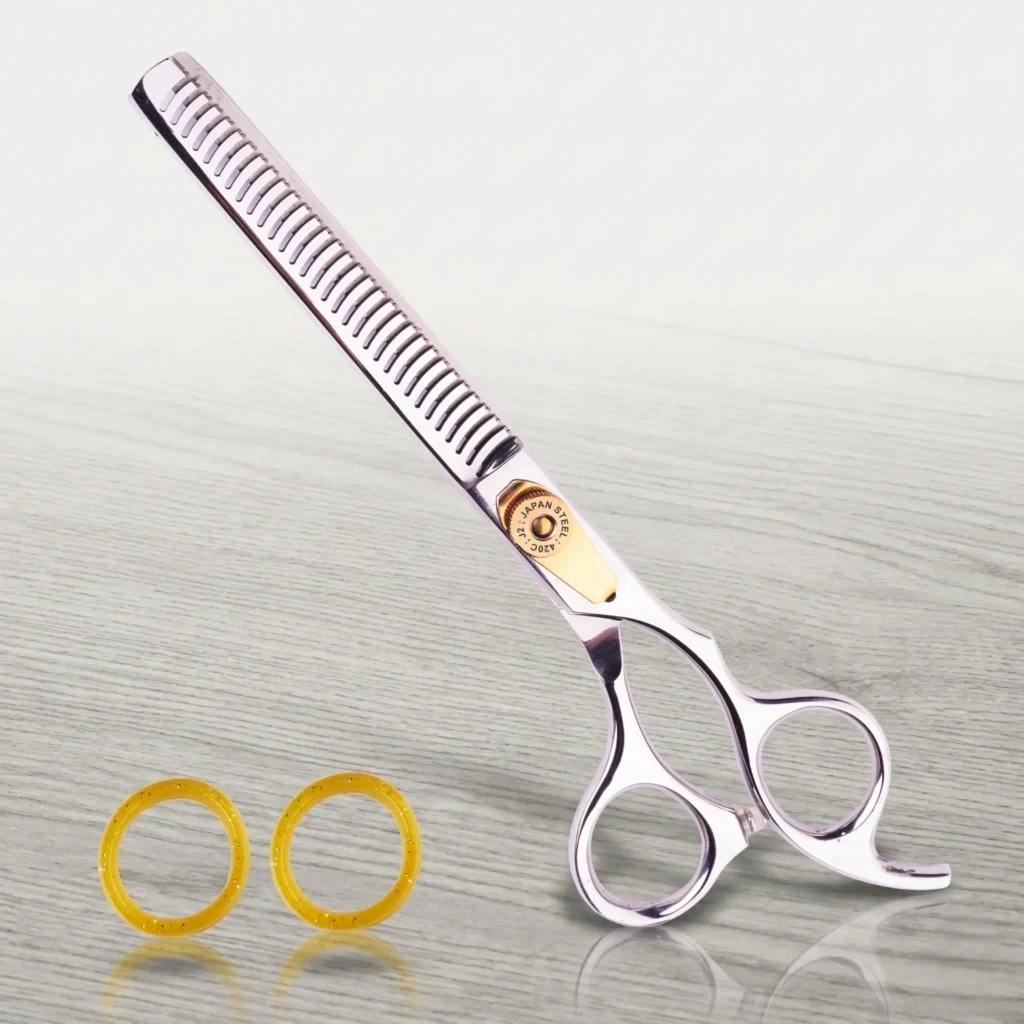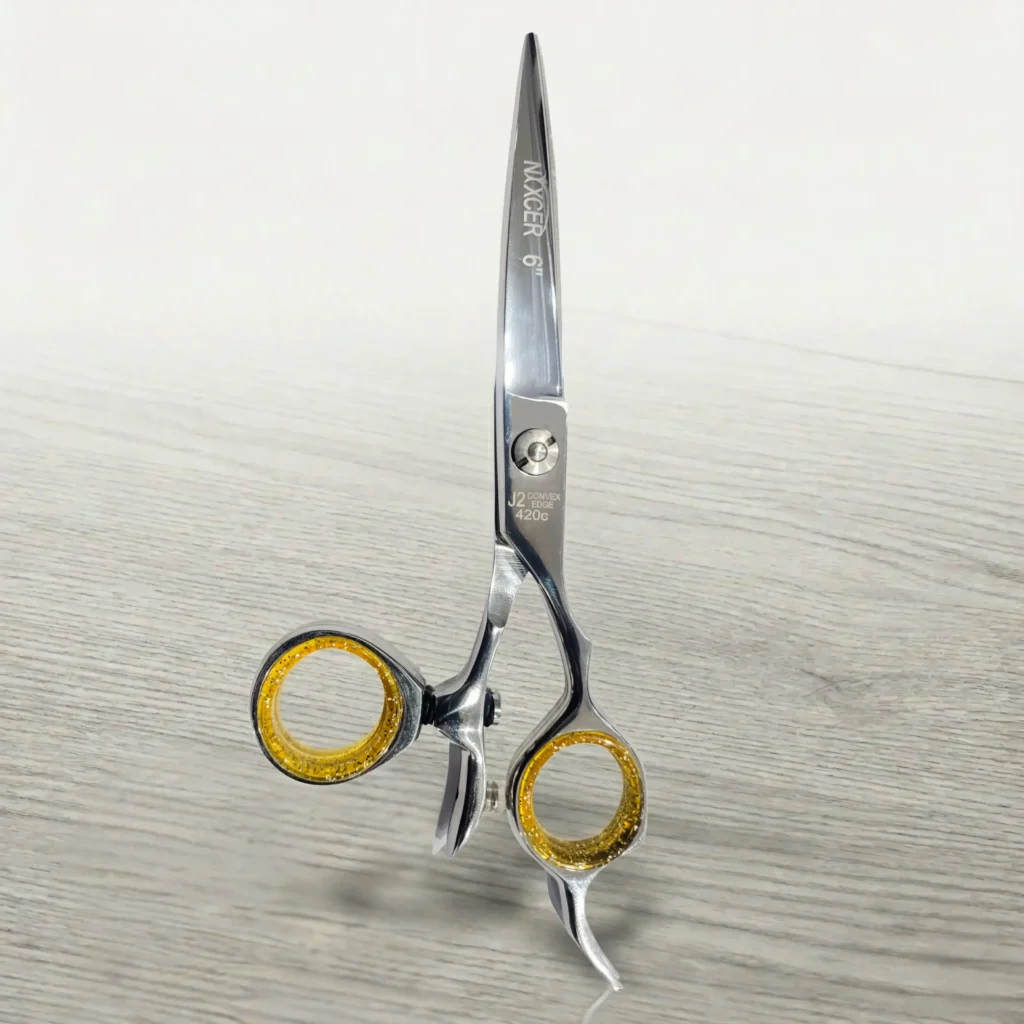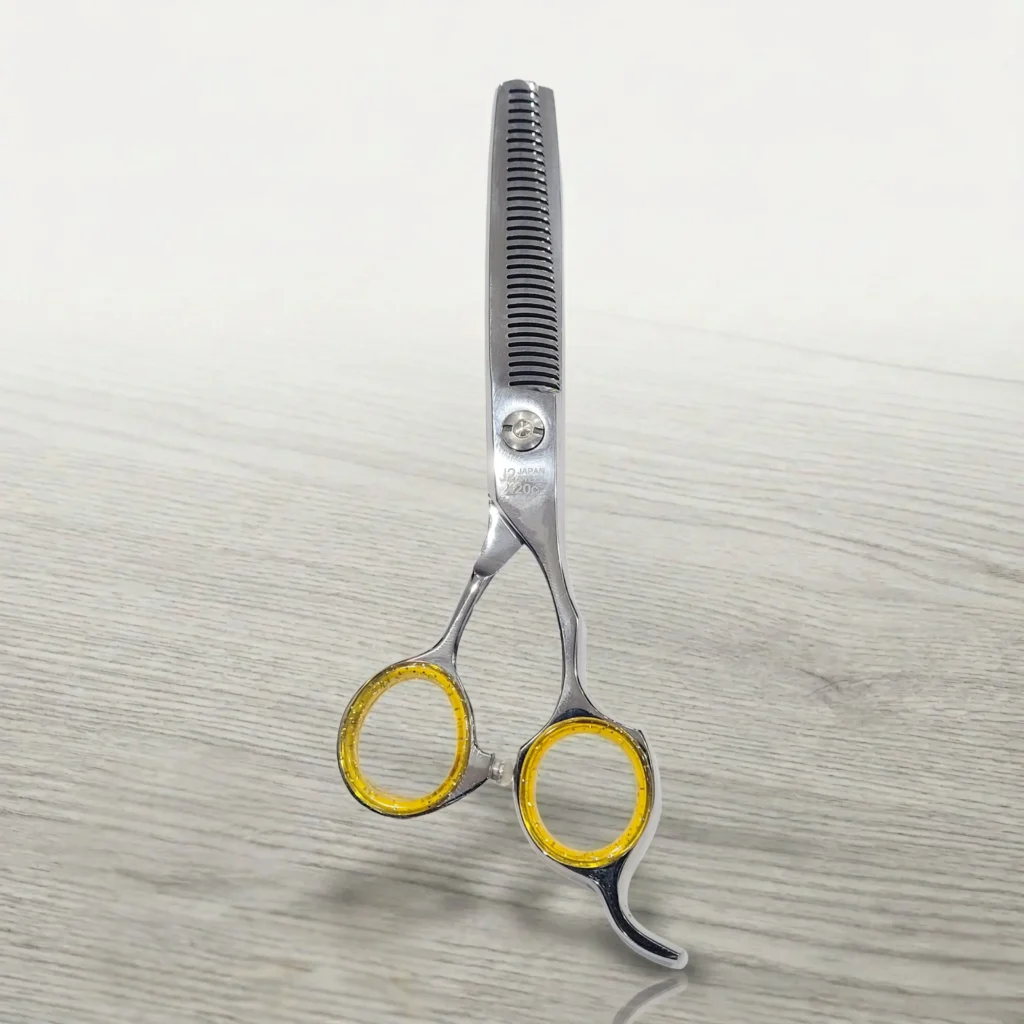
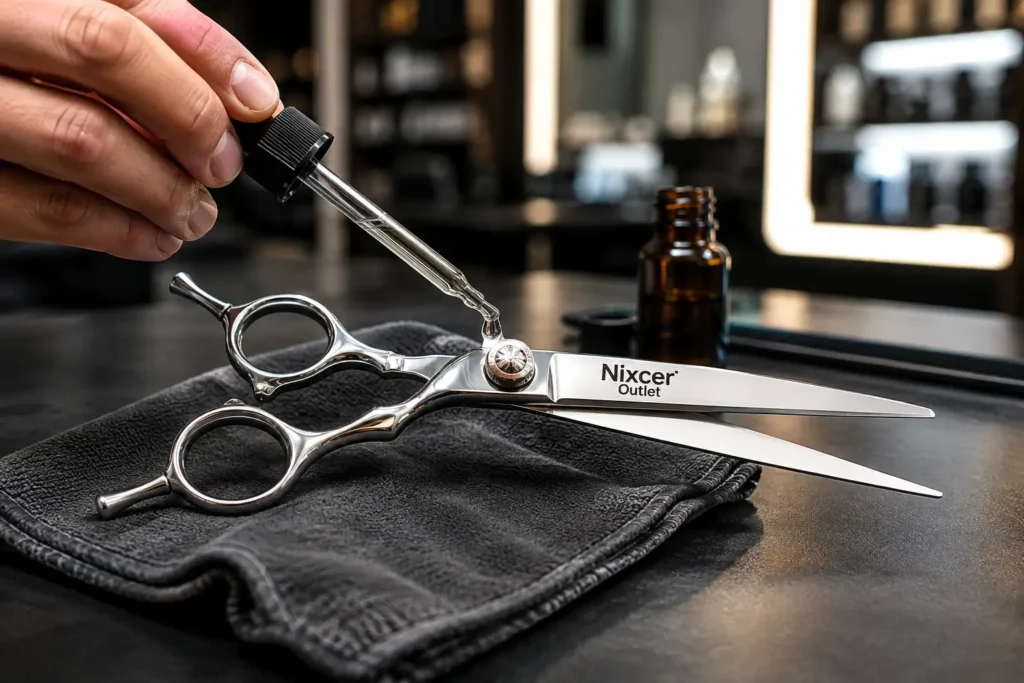
Regularly oiling hair cutting scissors reduces friction at the pivot, supports smooth blade movement and helps protect the joint from moisture and fine debris. For most professional shears, the correct method is to clean and fully dry the tool, place one small drop of manufacturer-approved shear oil at the pivot, open and close the blades several times, and wipe away every trace of excess oil.
Oiling takes less than two minutes, but it affects how the shear feels through hundreds of repeated openings and closures. It is not a substitute for cleaning, disinfection, correct tension or professional sharpening. Each part of the maintenance routine has a different job.
Why Hair Cutting Scissors Need Oil
Professional hair shears are precision tools. The blades rotate around a pivot while controlled tension keeps the cutting surfaces in the intended relationship. Hair fragments, product residue, moisture and repeated movement can make this joint feel dry or gritty.
Compatible shear oil forms a thin lubricating film at the pivot. That film helps the moving parts travel smoothly and may carry very fine debris away from the contact area when the blades are worked open and closed. Regular lubrication supports the pivot, but it does not change the blade edge itself.
| Maintenance action | Main purpose | What it cannot do |
| Cleaning | Removes visible hair, dust and product residue | Does not reliably disinfect |
| Disinfection | Reduces microorganisms when the correct product and contact time are used | Does not lubricate the pivot |
| Oiling | Reduces pivot friction and supports smooth movement | Does not sharpen a dull edge |
| Tension adjustment | Controls how the blades meet and move | Does not repair chips or alignment damage |
| Professional sharpening | Restores the cutting edge and checks blade condition | Does not replace daily care |
Seven Benefits of Oiling Hair Cutting Scissors
1. Smoother Pivot Movement
The pivot carries the mechanical load every time the shear opens and closes. A small amount of compatible lubricant helps reduce friction in that joint. The movement should feel controlled and even, without grinding, squeaking or sudden tight spots.
2. Less Unnecessary Wear at the Joint
Dry metal contact can increase wear around the pivot and tension system. Oil does not make a shear indestructible, but it helps protect the moving surfaces from avoidable friction during normal use.
3. More Consistent Cutting Feel
When the joint moves evenly, the stylist can use lighter, more repeatable thumb motion. This supports control during precision cutting, scissor-over-comb and repeated salon work. A smooth pivot should not be confused with loose tension; the blades still need correct contact.
4. Help Removing Fine Debris
Very small hair particles and dried product can collect near the tension screw. After cleaning, a drop of oil followed by several slow closures may help move remaining fine debris out of the pivot. Wipe away the dark or dirty-looking excess instead of leaving it on the tool.
5. Added Protection After Cleaning
Some cleaning and disinfecting processes remove existing lubricant. Once the shear has been rinsed if required and dried completely, reapplying the correct oil helps restore lubrication at the joint. Review our guide to cleaning and disinfecting hair cutting scissors for the full workflow.
6. Support Against Moisture and Corrosion
Stainless steel is corrosion resistant, not corrosion proof. Moisture, humidity, sweat and chemical residue can still affect a finish or pivot area. Cleaning, complete drying and appropriate lubrication work together. Oil should never be used to trap moisture inside the joint.
7. Better Protection for a Professional Investment
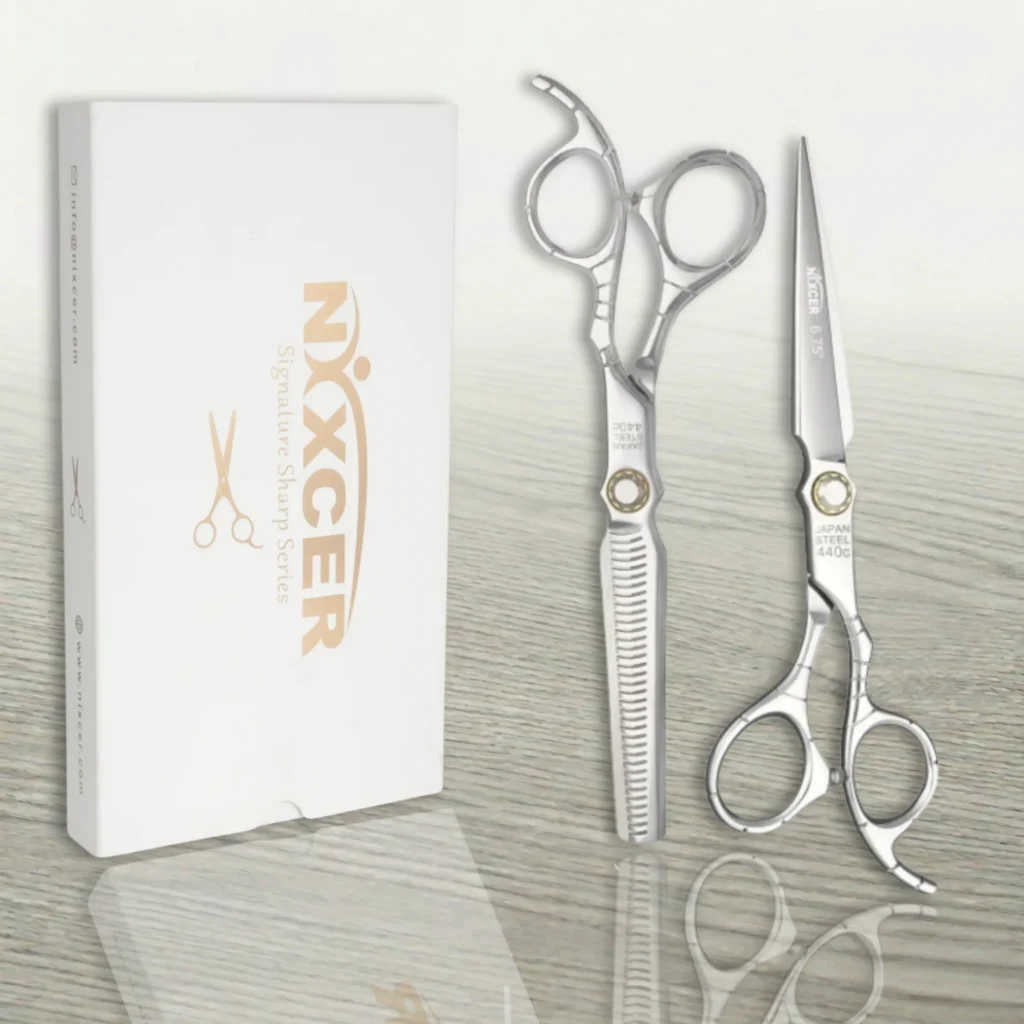
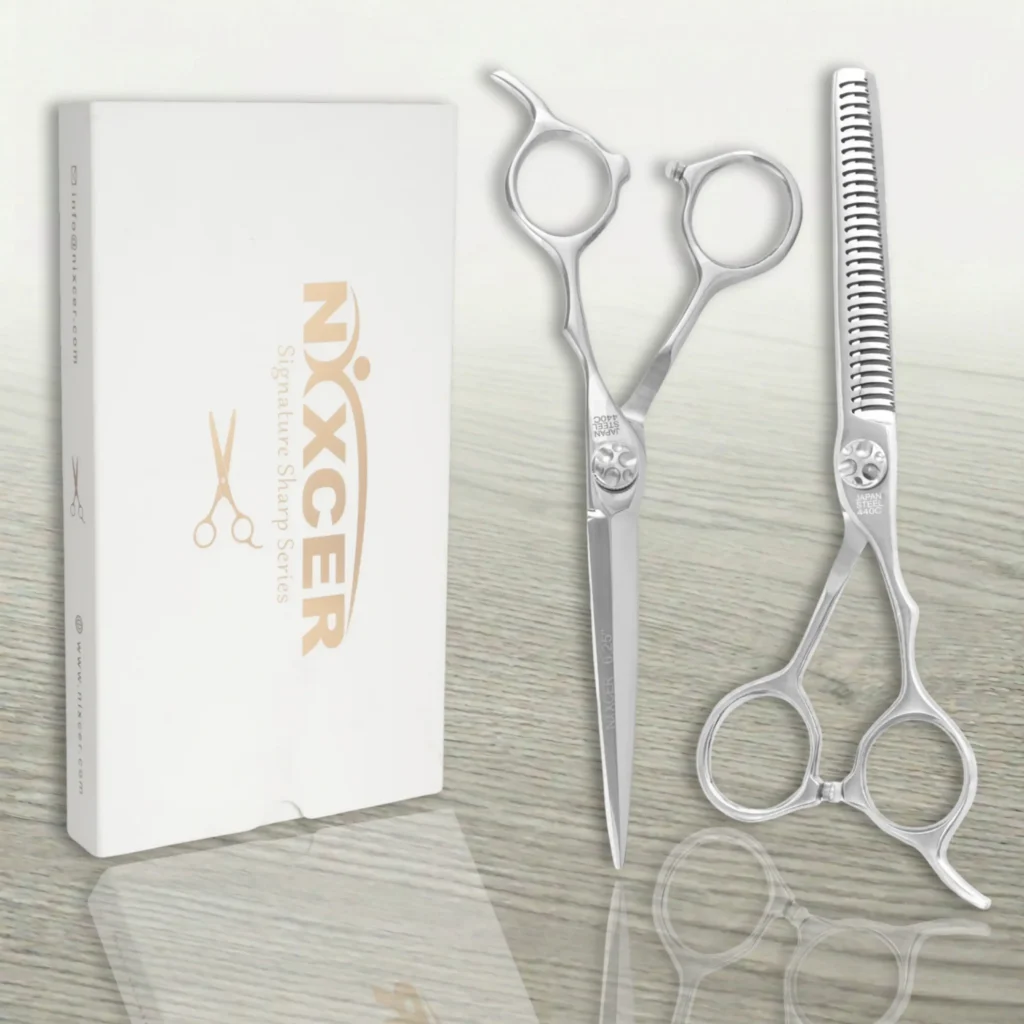
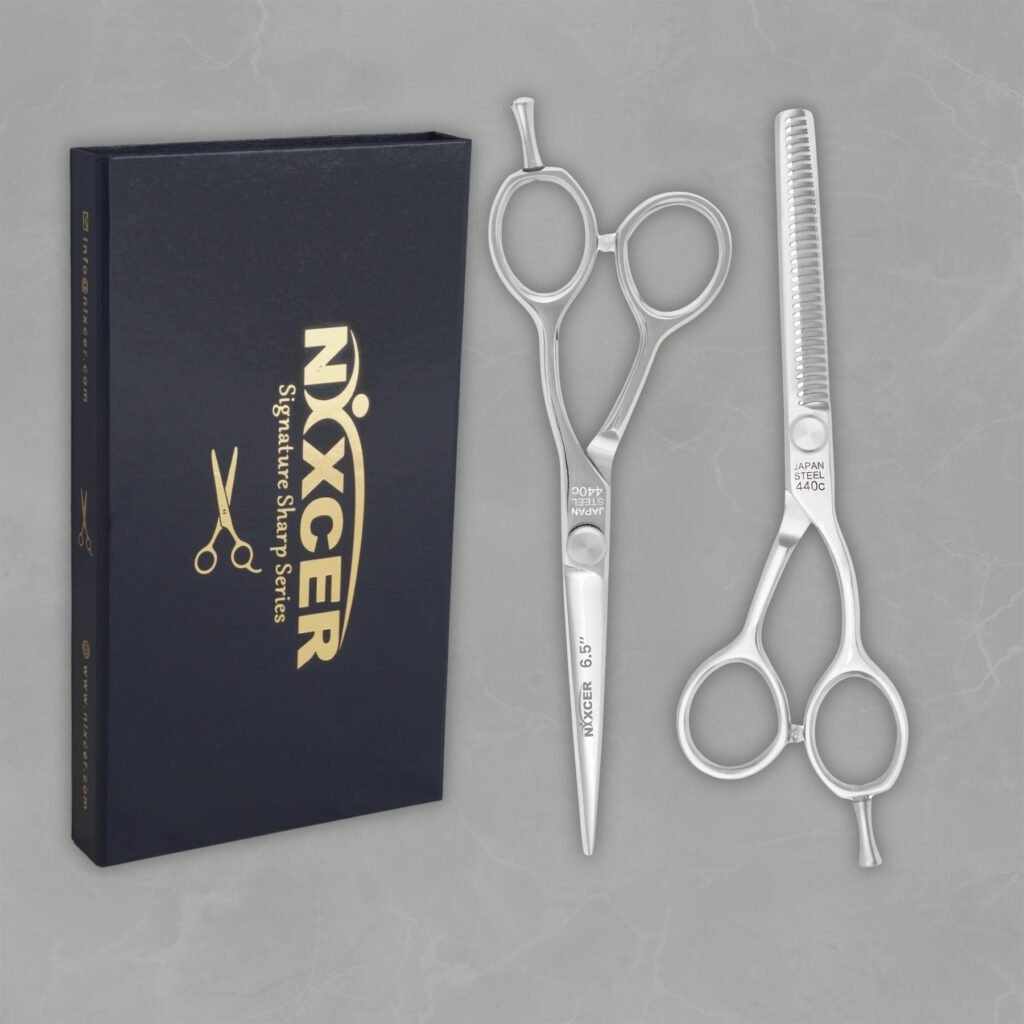
Good shears are expected to perform through many services. A consistent care routine can reduce preventable problems and help the tool stay serviceable between professional sharpening appointments. The same principle applies to cutting shears and toothed tools such as Nixcer Professional Series Hair Thinning Scissors.
How Often Should You Oil Hair Cutting Scissors?
There is no universal interval for every pair. Follow the instructions for the exact model first. Then consider workload, cleaning frequency, salon products, local humidity and how the pivot feels.
| Usage pattern | Practical starting point | Also oil when… |
| Heavy professional use | Inspect daily and lubricate at the end of the workday when needed | A full cleaning or disinfecting process removes lubricant |
| Moderate salon or barber use | Check every few working days | The pivot begins to feel dry, rough or noisy |
| Occasional home use | Oil after cleaning and before extended storage | The tool has been exposed to moisture or a drying cleaner |
| Thinning or texturizing shears | Inspect frequently because fine hair can collect around the pivot and teeth | Movement becomes uneven after the teeth are cleaned |
More oil is not better. Excess lubricant attracts lint and dust, can collect hair fragments and may transfer to the client’s hair or the user’s hand. A light film inside the pivot is the goal, not a greasy coating.
What Oil Should You Use on Hair Scissors?
Use a light, clean lubricant made for precision scissors or specifically approved by the shear manufacturer. If the product manual names a particular oil, use that product or an approved equivalent.
Suitable Options
- Manufacturer-supplied shear oil
- Professional scissor oil intended for salon shears
- Another light precision-tool lubricant only when the shear manufacturer confirms compatibility
Products to Avoid
- Cooking oils, which can oxidize and become sticky
- Hair or cosmetic oils containing fragrance, botanical extracts or conditioning ingredients
- Motor oil and thick grease
- Household penetrating or water-displacing sprays used as routine lubricant
- Any product that leaves a waxy, gummy or staining residue
- An unverified clipper oil; use it only if the shear manufacturer approves it for that model
WD-40 is not the default maintenance oil for professional haircutting shears. It is a multipurpose water-displacing product, not a dedicated shear lubricant. Do not experiment with a precision pivot when compatible shear oil is inexpensive and easy to control.
How to Oil Hair Cutting Scissors Step by Step
Step 1: Read the Model Instructions
Check the care card, manual or manufacturer guidance. Some pivots use ball bearings, sealed systems, decorative tension dials or removable components that require specific treatment.
Step 2: Make the Tool Safe
Work on a clean, stable surface with good lighting. Keep the tips pointed away from the body. Close the shear while preparing supplies, and handle the cutting edges carefully.
Step 3: Remove Hair and Product Residue
Use a soft, lint-free cloth or suitable small brush to remove visible debris. Pay close attention to the pivot and the area where the blades meet. Do not drag a cloth carelessly along a sharp edge.
Step 4: Clean and Disinfect Correctly
Clean first, then use a compatible disinfectant according to its label, required contact time and local salon rules. Oiling does not kill microorganisms. For between-client hygiene, follow our guide to sanitizing hair cutting scissors.
Step 5: Dry the Shears Completely
Remove all moisture from the blades, handle and pivot area. Give liquid trapped near the screw enough time to evaporate. Applying oil over moisture or disinfectant can trap residue in the joint.
Step 6: Apply One Small Drop at the Pivot
Open the blades to expose the joint. Place one small drop where the blades rotate around the tension screw. If the manufacturer directs oiling from a specific side, follow that instruction. Do not coat the entire blade or cutting edge unless the care guide explicitly calls for it.
Step 7: Work the Oil into the Joint
Open and close the scissors slowly five to ten times. Keep the motion controlled. The oil should move into the pivot while fine debris is pushed outward.
Step 8: Wipe Away All Excess
Use a fresh lint-free cloth to remove visible oil from the outside of the joint, handles and blade faces. The shear should feel smooth, not greasy. Inspect the cutting area before the tool returns to service.
Step 9: Check Movement and Tension
After oiling, assess whether the blades move evenly. If the model permits tension adjustment, use the supplied key or dial and make only very small changes. Our hair cutting scissor tension test explains the basic drop-test method.
Step 10: Store the Shears Safely
Close the shear and place it in a clean, dry protective case or stable holder. Do not toss it into a drawer with combs, clips or other metal tools. Correct handling and storage protect the edge and alignment after maintenance.
Where Exactly Does the Oil Go?
The primary oiling point is the pivot, where the two scissor halves rotate around the tension screw. That is the area experiencing repeated movement and mechanical friction.
Do not assume that visible oil should be run along the entire cutting edge. A greasy blade can attract debris, stain a case or transfer lubricant to hair. If the manufacturer recommends a protective wipe on a blade surface before long-term storage, use the smallest amount specified and remove it before the next service.
Swivel-thumb models or shears with another moving joint may need a separate drop at that mechanism. Oil only where the manufacturer instructs, and never force lubricant into a sealed bearing system.
Signs Your Hair Shears May Need Oiling
- The pivot feels dry, gritty or uneven
- The scissors squeak or make a faint grinding sound
- The action is stiffer after cleaning or disinfection
- Fine hair or dark residue appears around the tension screw
- The blades require more thumb pressure even though the tension has not changed
- Thinning or texturizing shears stop moving freely after trapped hair is removed
These signs justify inspection and cleaning before oiling. They do not prove that lack of oil is the only problem.
Problems Oiling Cannot Fix
| Symptom | Possible issue | Correct next step |
| Hair folds or pushes after cleaning and oiling | Dull edge, loose tension or alignment issue | Stop using the shear and arrange professional inspection |
| Blades catch at one point | Nick, burr, bent blade or incorrect set | Do not force the closure; use a qualified shear technician |
| Tips do not meet | Alignment, pivot or impact damage | Have the shear assessed before the next client |
| Pivot remains extremely tight | Incorrect tension, damaged hardware or contaminated bearing | Follow model instructions or seek service |
| Visible rust or pitting | Moisture or chemical damage | Isolate the tool and obtain professional advice |
| Repeated hand pain despite smooth action | Fit, handle, technique or medical concern | Reassess ergonomics and seek appropriate professional advice |
Oil cannot sharpen a dull edge. It also cannot correct a dropped shear, a chipped convex edge, misaligned blades or a damaged tension screw. Continuing to force a faulty shear can worsen the damage.
Oiling Thinning and Texturizing Shears
Thinning and texturizing scissors need the same pivot care as cutting shears, but the teeth require extra attention. Hair can lodge between teeth or near the notches and create resistance that feels like a dry joint.
Remove trapped hair with a soft brush before applying oil. Place the drop at the pivot, not across the teeth. Open and close the tool carefully, making sure the teeth enter their intended spaces without contact or bending. If the teeth touch, catch or scrape, stop using the shear and seek professional service.
Common Oiling Mistakes
- Applying oil before removing hair, product and disinfectant residue
- Oiling a wet shear
- Flooding the joint with several drops
- Leaving excess oil on the blades or handles
- Using cooking oil, hair oil or thick grease
- Treating oil as a substitute for disinfection
- Tightening the tension to compensate for a rough, dirty pivot
- Trying to oil away a dull edge, chipped blade or alignment problem
- Disassembling sealed or unfamiliar pivot hardware
- Returning the shear to a client before checking for oily residue
A Two-Minute End-of-Day Shear Care Routine
- Remove visible hair and styling residue.
- Clean and disinfect according to the product label and salon rules.
- Dry the shear completely, especially around the pivot.
- Inspect the edge, tips, screw and handle for damage.
- Apply one small drop of approved oil at the pivot when needed.
- Open and close the blades slowly five to ten times.
- Wipe off every trace of excess oil.
- Confirm smooth movement and safe tension.
- Store the closed shear in a clean, dry case.
A compact hair cutting scissor maintenance kit can keep the correct cloth, brush, oil and tension tool together so the routine is easy to repeat.
Final Verdict
Regular oiling is important because the pivot is a moving precision joint. A small amount of compatible lubricant can reduce friction, support smooth blade movement, help clear fine debris and protect the joint between professional services. The correct process is simple: clean, disinfect, dry, apply one drop at the pivot, work the blades slowly and wipe away the excess.
Use the model’s care instructions as the final authority. Do not coat the cutting edge by default, over-oil the joint or use an improvised household product. Most importantly, recognize the limit of lubrication. When the shear still folds hair, catches, feels misaligned or shows damage, it needs professional attention rather than more oil.
Ready to compare easy-care professional tools? Shop Nixcer Outlet hair cutting and thinning scissors and review each model’s blade, pivot and maintenance features.
Frequently Asked Questions
Why should you oil hair cutting scissors?
Oil reduces friction at the pivot and supports smooth, controlled blade movement. It can also help move fine debris out of the joint and restore lubrication removed during cleaning. It does not sharpen the cutting edge.
How often should professional hair shears be oiled?
Follow the manufacturer first. For heavy daily use, inspect the pivot at the end of the workday and oil when needed. Moderate or occasional users may oil every few working days, after thorough cleaning, or before storage. Workload and environment matter more than a universal calendar.
Where do you put oil on hair scissors?
Place one small drop at the pivot where the two halves rotate around the tension screw. Work the blades open and closed several times, then wipe away the excess. Do not coat the cutting edge unless the manufacturer specifically instructs it.
What is the best oil for hair cutting scissors?
The best choice is the shear manufacturer’s own lubricant or a light professional scissor oil approved for that model. It should be clean, residue-free and easy to apply in a controlled drop.
Can I use clipper oil on hair scissors?
Only if the shear manufacturer confirms that the exact clipper oil is compatible. Clipper and shear mechanisms are different, so a product intended for one tool should not automatically be assumed safe for the other.
Can I use WD-40 on professional shears?
Do not use WD-40 as the routine lubricant for professional hair shears. Use a dedicated shear oil or another product approved by the manufacturer.
Should I oil hair scissors after disinfecting them?
Reapply lubricant when the approved cleaning or disinfecting process has removed it. The shear must be completely dry first. Oil is not a disinfectant and should never be applied over wet chemical residue.
Can oiling make dull scissors sharp again?
No. Oiling improves pivot movement, not edge sharpness. If the shear pushes, folds, snags or pulls hair after cleaning, oiling and a correct tension check, have it assessed by a professional shear sharpener.
Should thinning scissors be oiled differently?
The pivot is oiled in the same controlled way, but clean the teeth carefully before lubrication. Apply oil at the joint rather than across the teeth, and stop if the teeth touch, catch or scrape during closure.