Performing a tension test on your hair cutting scissors is crucial to ensure they are functioning optimally. Proper tension allows for smooth and precise cuts, while incorrect tension can lead to damage, uneven cutting, or cause hand fatigue.
Here’s a step-by-step guide on how to perform a tension test on your hair cutting scissors:
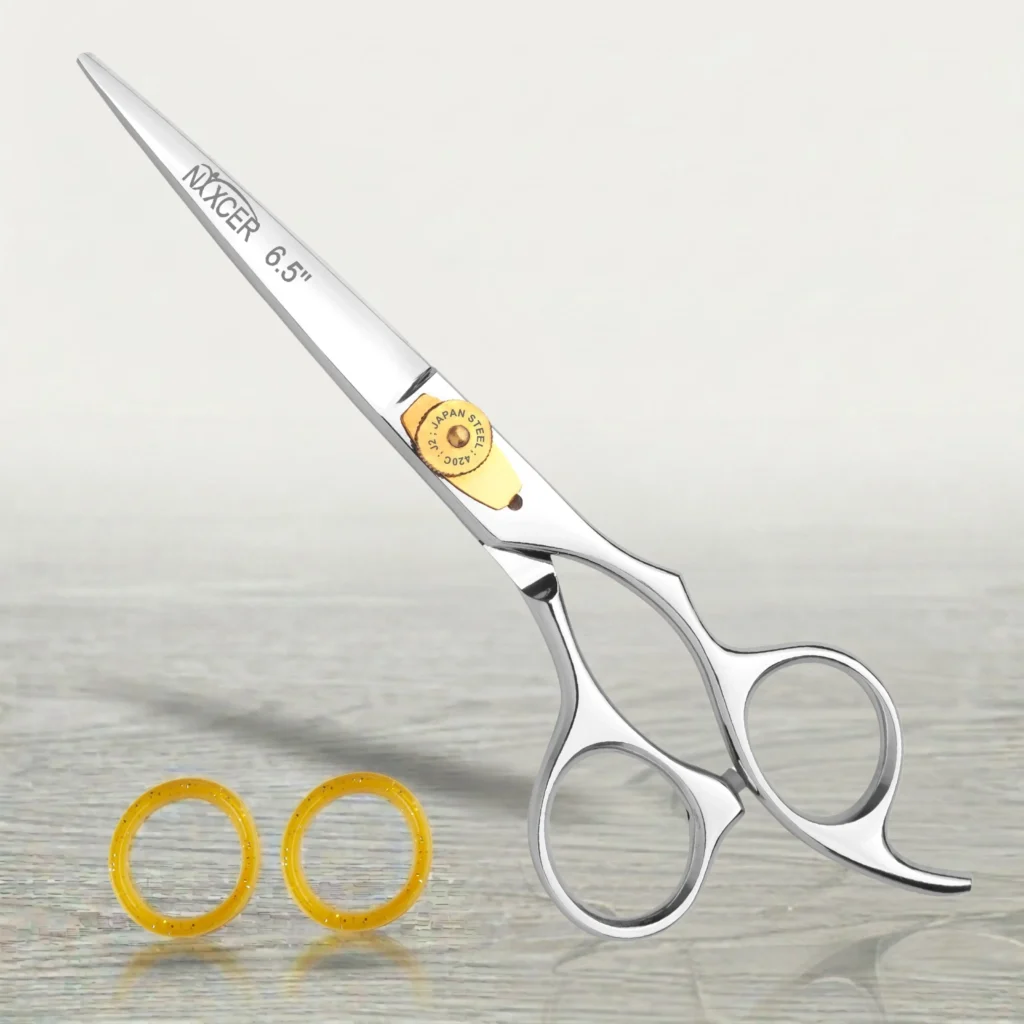
1. Prepare Your Scissors
Start by cleaning your scissors thoroughly. Remove any hair, dirt, or debris that may have accumulated around the blades, hinge, and screw area. Use a soft cloth and a few drops of scissor oil to ensure that the blades are lubricated and can move smoothly.
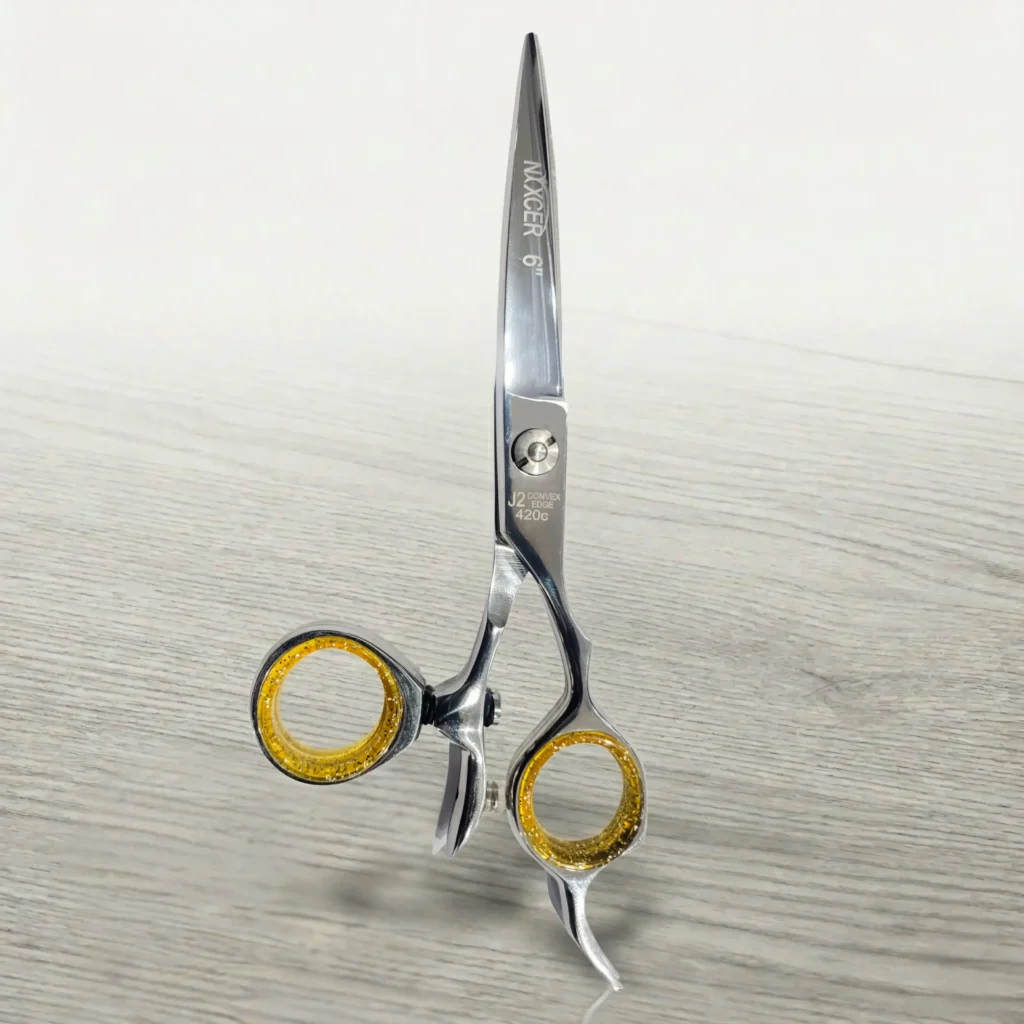
2. Open the Scissors
Hold the scissors in your hand and open them fully so that the blades form a 90-degree angle. The blades should be positioned in an open, relaxed state, without any force keeping them in place.
3. Perform the Drop Test
This is the core part of the tension test.
While holding one handle, gently lift one blade up to its fully open position (at a 90-degree angle).
Now, slowly release the blade and allow it to fall naturally under its own weight.
4. Observe the Blade Movement
Watch carefully how the blade moves.
Correct Tension: The blade should fall about halfway (or to a 45-degree angle) and then stop. This indicates that the scissors have the correct amount of tension, providing a balance between smooth cutting action and controlled precision.
Loose Tension: If the blade falls completely closed without stopping midway, the tension is too loose. Loose tension can cause hair to bend or slip while cutting, leading to uneven or jagged cuts. Additionally, it can result in faster wear of the scissors’ blades.
Tight Tension: If the blade barely moves or doesn’t move at all, the tension is too tight. Tight tension can strain your hand and wrist, causing fatigue, and it will also cause the blades to wear down more quickly due to excess friction.
5. Adjust the Tension (if necessary)
If your scissors fail the tension test, you can adjust the tension screw.
To Tighten the Tension: Turn the adjustment screw clockwise (to the right). This will increase the tension, making the blades less likely to close fully on their own.
To Loosen the Tension: Turn the adjustment screw counterclockwise (to the left). This will decrease the tension, allowing the blades to close more easily.
Make small adjustments and repeat the drop test after each adjustment to avoid over tightening or loosening the scissors.
6. Test on Hair
Once the tension feels correct, try a few test cuts on a strand of hair or a section of a wig. Properly tensioned scissors should glide smoothly through the hair without pulling or snagging. The cuts should be clean and precise, without requiring excessive force.
7. Regular Maintenance
To keep your scissors performing at their best, it’s essential to conduct a tension test regularly. Over time, the screw can loosen due to frequent use, so make sure to check the tension and adjust it as part of your regular maintenance routine. Additionally, clean and oil your scissors frequently to ensure the blades stay sharp and the tension screw functions properly.
Final Thoughts
A properly performed tension test ensures your professional hair cutting scissors remain in peak condition, providing clean, accurate cuts and reducing the risk of damage to both the scissors and the hair. Regularly testing and adjusting the tension will prolong the lifespan of your scissors and ensure they deliver consistent, professional results every time.