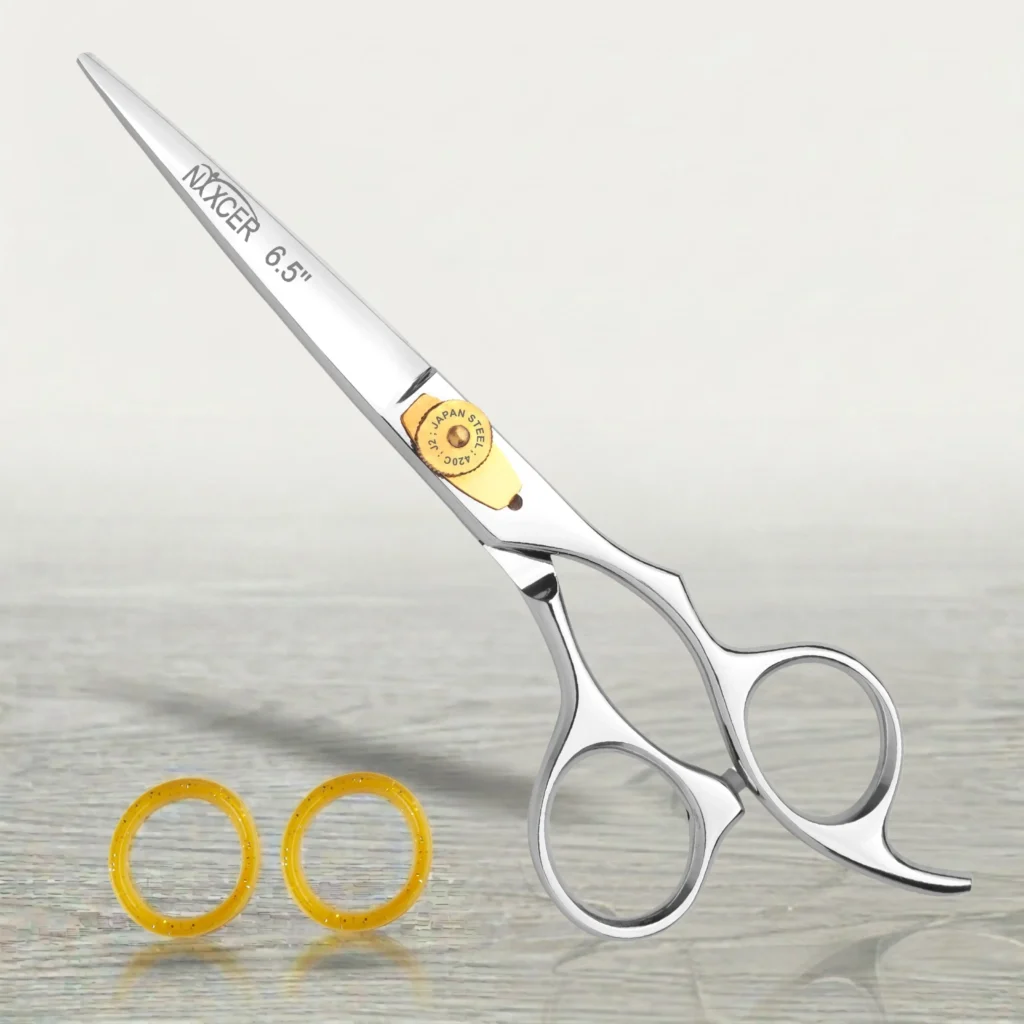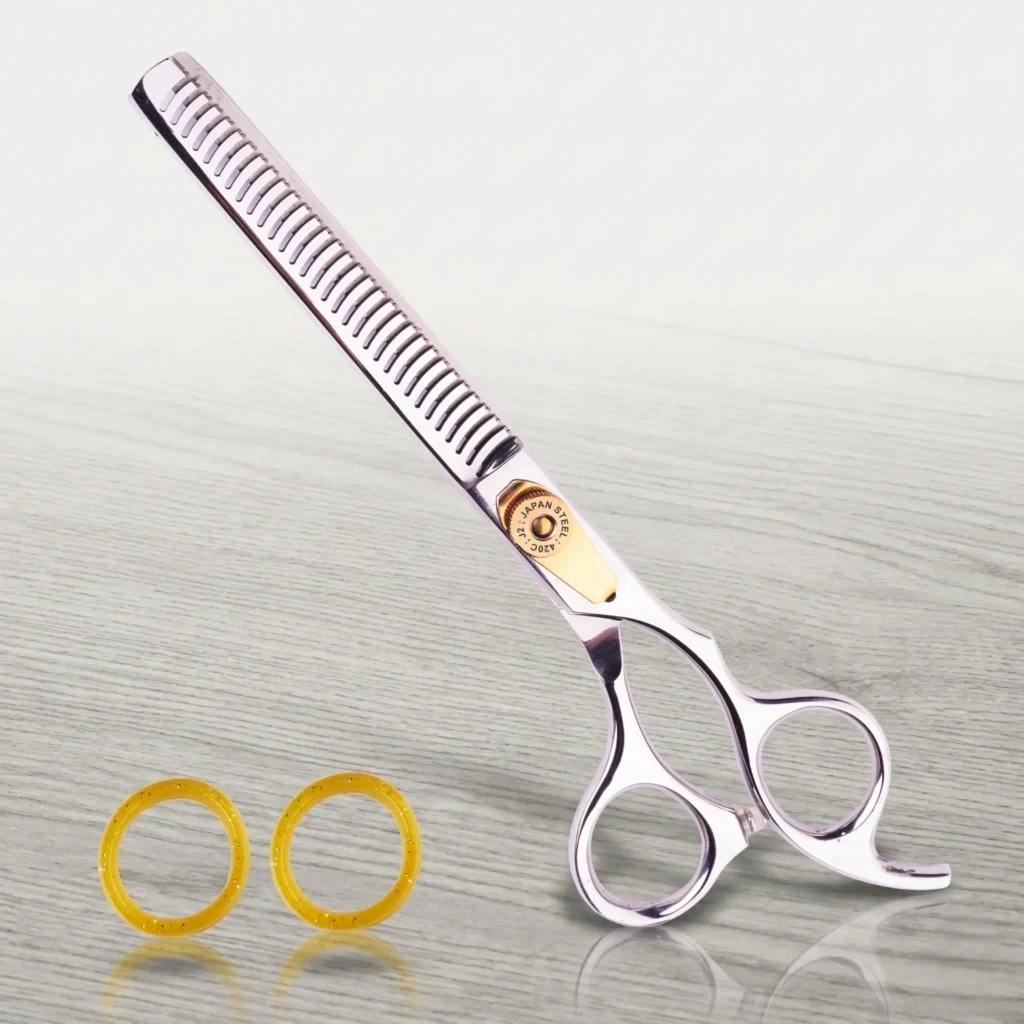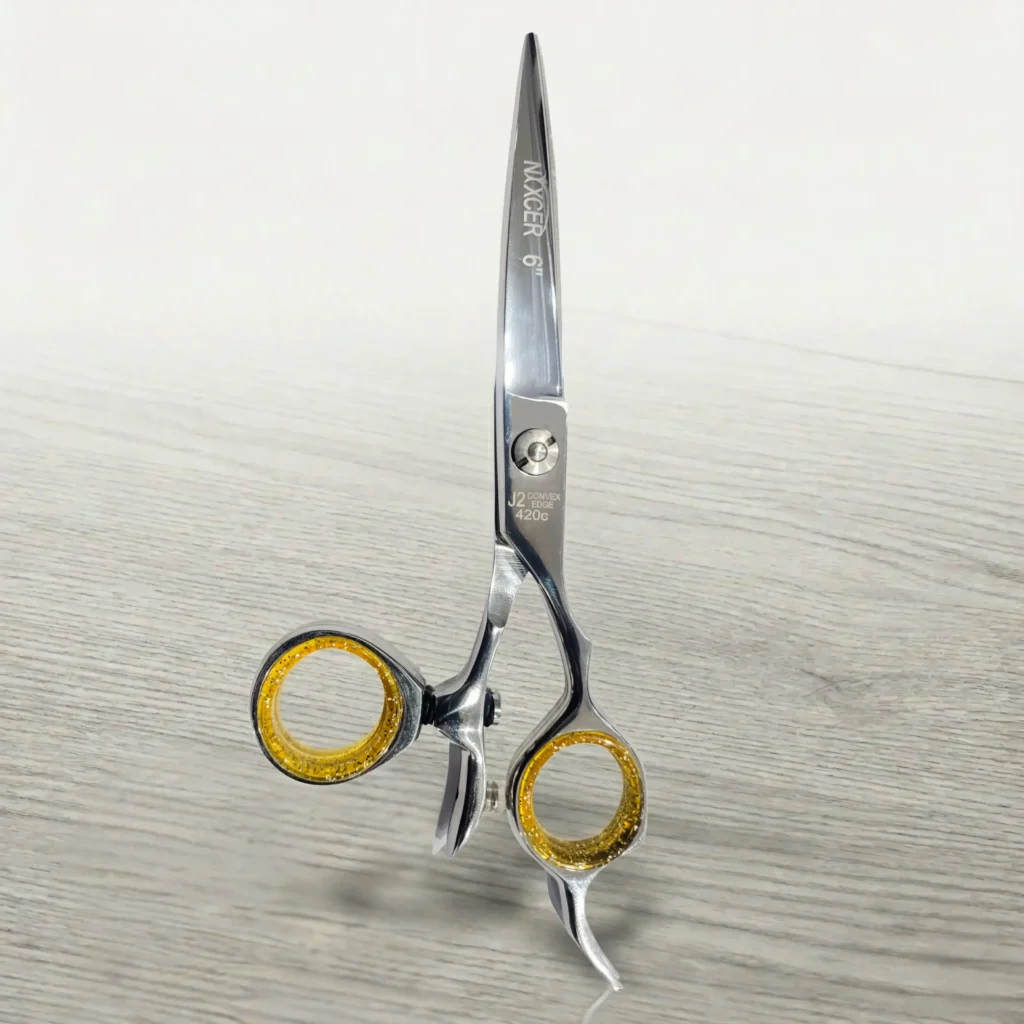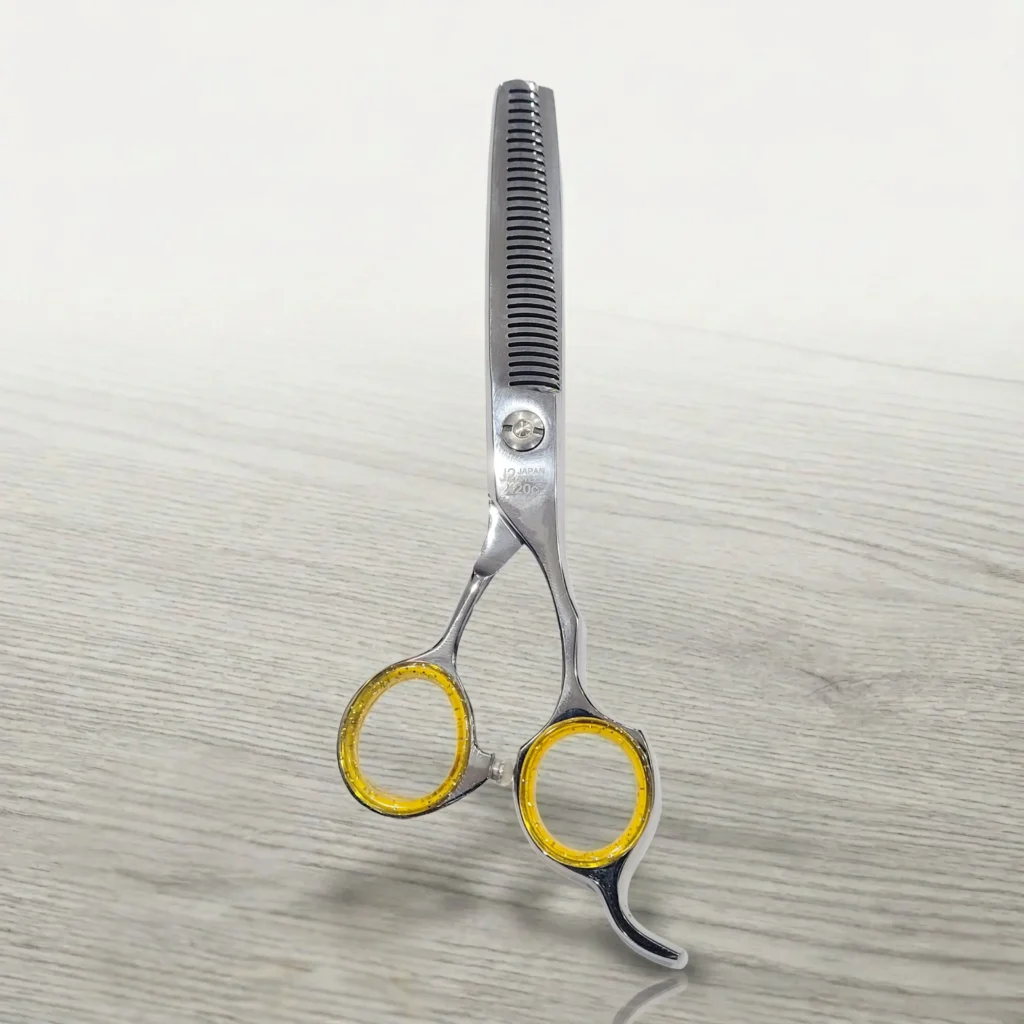
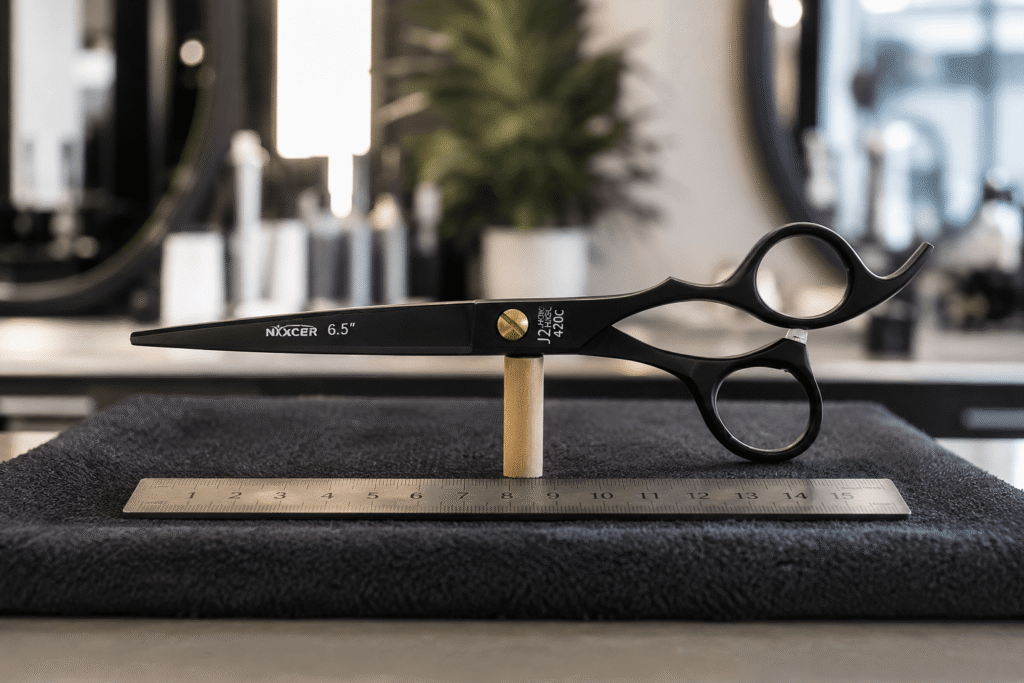
Quick answer: Close the scissors, secure them over a padded surface, and support the complete tool on a narrow, stable dowel near the pivot. Move the support slightly until you find the approximate point where the scissors rest without immediately tipping. Record that point relative to the pivot, then evaluate the scissors in your normal grip and cutting positions. This is a comparison test, not a universal pass/fail standard.
Balance influences how professional hair cutting scissors feel in the hand, but it is one of the most misunderstood tool characteristics. Many guides say a shear must sit perfectly horizontal on a finger at the pivot. That can be a useful quick observation, yet it does not prove quality, predict comfort, or identify a mechanical fault.
The balance point is the approximate center of gravity of the complete assembled scissors. Blade dimensions, handle design, pivot location, screw hardware, finger rest, inserts, coating, and attached components all contribute to the weight distribution.
This guide shows how to compare that distribution safely and then connect the static observation to actual control.
Important Safety Rule
Hair cutting scissors have sharp edges and pointed tips. Keep the blades fully closed during the static balance test. Work low over a padded, uncluttered table, keep hands away from the tips and cutting edges, and do not balance open scissors on a finger.
Use a narrow wooden or plastic dowel, rounded support, or a purpose-made display support rather than the bare edge of a metal object. If the scissors begin to fall, move your hands away instead of trying to catch them. Store the tool closed when the test is complete.
Do not conduct the test around a client, child, pet, sink, hard floor, or crowded station. A product’s manufacturer instructions take priority over this general guide.
What “Balance” Means in Hair Cutting Scissors
Balance describes where the mass of the complete tool is concentrated. If more of the mass lies toward the blades, the scissors may feel front- or blade-heavy. If more lies behind the pivot, the tool may feel handle-heavy. A point near the pivot may feel relatively neutral in some grips.
Ichiro’s professional scissor ergonomics guide notes that two scissors with the same stated weight can feel different because their centers of gravity differ. It also emphasizes that the preferred balance varies with hand size, grip, and technique.
That means balance is descriptive, not a grade. A slightly blade-forward model may feel controlled for broad, direct work, while a different user may prefer a more central feel for detail cutting. The relevant question is not “Is it perfectly level?” but “Can I control it naturally in the tasks I perform?”
Balance, Weight, and Tension Are Different
| Factor | What it describes | What the test can tell you |
| Total weight | Overall mass of the assembled scissors | Whether one model is heavier than another on a scale |
| Balance point | Location where the mass is approximately centered | Whether weight tends toward the blade or handle |
| Pivot tension | Resistance and blade contact during opening and closing | Whether movement feels too loose, too tight, or controlled for that model |
| Fit | Relationship among rings, handle, fingers, and grip | Whether the stylist can hold and operate the tool securely |
| Alignment and edge | How the blades meet and cut | Whether the scissors cut cleanly without pushing, folding, or catching |
These variables interact in the hand, but they are not interchangeable. Adjusting the pivot can change opening resistance and perceived control; it does not materially move enough mass to “rebalance” the tool. Lubrication can improve motion; it does not relocate the center of gravity.
JAGUAR’s quality factors for hairdressing scissors similarly treats smoothness and tension as a precise interaction among the screw connection, blade geometry, and adjustment. Evaluate those factors separately.
What You Need for a Safe Balance Comparison
Prepare:
- Clean, dry, fully assembled hair cutting scissors
- The correct finger inserts and finger rest, if normally used
- A padded mat or folded towel on a stable table
- A narrow rounded wooden or plastic dowel or purpose-made support
- A ruler or removable paper reference scale
- A note sheet or phone for recording observations
- A second pair for comparison, if available
Do not use adhesive directly on the blades or finish. Do not remove permanent parts, loosen the pivot, or disassemble the scissors for this test.
Step 1: Identify the Exact Configuration
Record the model, stated length, handedness, handle type, and any removable parts currently installed. The test is meaningful only when the scissors are configured as you actually use them.
Finger inserts, a removable tang, decorative hardware, or an aftermarket bumper can shift the static balance slightly. More importantly, those parts can change fit and control. Compare like with like: if you normally cut with inserts and a tang, test with them installed correctly.
Do not add washers, charms, tape, or weights to “correct” balance. Unauthorized modifications can interfere with movement, hygiene, warranty, or safe operation.
Step 2: Clean and Inspect the Closed Scissors
Follow the manufacturer’s cleaning, disinfection, drying, and lubrication instructions. Remove surface residue that could affect grip or motion, but do not touch or wipe toward the cutting edge carelessly.
With the blades closed, look for visible damage, loose parts, or a changed resting position. If the scissors were dropped, bent, or are no longer closing normally, stop. A balance comparison is not a repair procedure; have the tool inspected by an experienced scissor technician.
Use Nixcer Outlet’s guide to sharpening and maintaining professional hair cutting scissors for the broader maintenance routine.
Step 3: Set Up a Protected Test Area
Place a padded mat or folded towel on a stable table. Clear the area so the scissors cannot strike another tool if they slide. Position the dowel low—only enough above the padding for the handles and closed blades to move freely.
Keep the closed tips pointed away from your body and away from the table edge. This low setup reduces the distance of a possible fall and makes observation easier.
Step 4: Locate the Approximate Balance Point
Support the closed scissors gently near the pivot using the rounded dowel. Keep your hand clear of the blades. If one end drops, reposition the support a small distance toward that end and try again.
Continue in small increments until the complete tool rests briefly without immediately tipping. Do not force it to remain perfectly horizontal. The location under the tool is the approximate static balance point for that configuration.
Measure or record its position relative to a fixed feature, usually the center of the pivot. For example, write “approximately 8 mm toward the blade from the pivot,” not simply “bad balance.” This makes future comparisons repeatable.
The pivot is a convenient reference, but it is not automatically the center of gravity. Different blade lengths and handles are expected to produce different relationships.
Step 5: Repeat the Test
Lift the scissors safely and repeat the placement at least twice. If the estimated point changes widely, check whether the dowel is rolling, the table is uneven, or the scissors are not resting in the same orientation.
Use the same support, configuration, orientation, and measuring reference for each pair. The method is useful for comparison only when the setup is consistent.
Do not chase false precision. A home balance check gives an approximate location, not a laboratory measurement.
Step 6: Interpret the Static Result
Balance Point Toward the Blades
The complete tool carries more mass forward of the pivot. In the hand, this may feel powerful or stable for broad cutting, but the tips may also seem to pull downward for some users and techniques.
Do not label it defective from the static test alone. Long blades, broad blades, and certain cutting designs can intentionally feel more forward-weighted.
Balance Point Near the Pivot
The tool may feel relatively neutral in a conventional grip. Many users like this for general work, but “near the pivot” has no universal millimeter tolerance and does not guarantee comfort or accuracy.
Balance Point Toward the Handles
More mass sits behind the pivot. Some users may find the tips light and maneuverable; others may feel the handle rolling or resisting a smooth travel path.
Again, the result describes distribution. It is not an automatic failure.
Step 7: Perform an In-Hand Control Check
The static test must be followed by a functional fit check. Keep the scissors closed at first and place them in your trained professional grip. Check whether the ring finger, thumb, supporting fingers, and tang position the tool securely without squeezing.
Move through the cutting planes you use—horizontal, vertical, diagonal, and scissor-over-comb—away from any person. Observe:
- Do the tips stay where you intend, or do they drop?
- Does the handle roll or shift when direction changes?
- Can the thumb operate without being inserted too deeply?
- Do you repeatedly tighten your grip to stabilize the tool?
- Is the blade line visible in your normal working position?
- Does one technique feel controlled while another feels awkward?
Nixcer Outlet’s guide to scissor handle design and performance explains how symmetric, offset, crane, and swivel handles change control.
Step 8: Check Fit Before Blaming Balance
Loose finger holes can make a well-distributed shear feel unstable because it twists in the hand. Tight rings can restrict movement and create pressure. A poorly positioned tang may make the user compensate with the little finger.
Compatible inserts can improve ring fit, but they should not trap the thumb or force an unnatural grip. Compare the scissors in the intended configuration and use Nixcer Outlet’s guide to finding the right finger holes for a fuller fitting check.
True left-handed construction also matters. A handle that looks mirrored does not prove that the blade orientation works correctly in the left hand. Confirm handedness before judging control.
Step 9: Evaluate Tension Separately
Now assess opening and closing action according to the manufacturer’s procedure. Do not use one generic drop angle for every model.
Tension that is too tight can make the scissors feel heavy even when their static balance is unchanged. Tension that is too loose can allow poor blade contact and an unstable sensation. Make only manufacturer-authorized adjustments with the correct tool.
Read Nixcer Outlet’s hair cutting scissor tension test guide and give the instructions for the exact model priority.
If the blades fold hair, catch, scrape, or move unevenly, stop using the scissors and seek technical assessment. Do not keep turning the screw in an attempt to move the balance point.
Step 10: Use a Controlled Cutting Evaluation
Only after the tool passes visual, fit, and tension checks should cutting performance be evaluated. Use a manufacturer-approved test material or a controlled demonstration permitted by the seller. A trained professional may also compare the tool during its intended technique under safe salon conditions.
Do not perform an improvised test on a client, cut your own hair merely to test balance, or use fingers to assess sharpness. Balance cannot be inferred from whether one cut feels smooth: edge condition, alignment, tension, section size, and technique also affect that sensation.
During a professional evaluation, compare:
- Tip control in detail work
- Stability in blunt cutting
- Movement along a comb
- Control during point or slide techniques, if the model is designed for them
- Need for grip correction between positions
- Comfort after a realistic but limited trial
Record observations by task instead of giving the scissors one vague score.
A Repeatable Comparison Scorecard
Use the same five categories for every candidate:
- Static balance location: Measure approximate position relative to the pivot.
- Ring and tang fit: Note secure, loose, tight, or position-dependent fit.
- Closed-tool control: Record tip drop, handle roll, and visibility in each plane.
- Blade action: Describe opening resistance and control separately from balance.
- Technique fit: Note which normal tasks feel stable and which do not.
A written scorecard helps when two models have similar specifications. It also prevents brand, price, or finish from overshadowing functional differences.
Common Balance-Test Mistakes
- Testing with open blades: This adds unnecessary injury and drop risk.
- Using a bare finger as the only support: A low rounded dowel over padding is safer and more repeatable.
- Assuming the pivot must be the exact balance point: It is a reference, not a universal target.
- Calling every blade-forward shear defective: Blade length and geometry may intentionally shift mass.
- Adjusting tension to move weight: Tension changes blade resistance, not meaningful mass distribution.
- Ignoring inserts and the tang: Test the complete configuration actually used.
- Comparing different setups: Use the same surface, support, orientation, and measuring method.
- Testing over a hard floor: A drop can damage tips, edge, alignment, or finish.
- Judging comfort from ten seconds: Follow the static check with a controlled in-hand trial.
- Treating discomfort as a tool-only diagnosis: Fit, posture, workload, technique, and health also matter.
What Can Change a Scissor’s Balance?
Balance is largely determined by design and assembly:
- Blade length, width, thickness, and curvature
- Handle geometry and ring size
- Pivot location and screw hardware
- Fixed or removable finger rest
- Finger inserts and bumpers
- Coatings, decorative hardware, and added components
- Material removed during repeated or incorrect servicing
- Damage or deformation after impact
Routine oiling does not meaningfully change the center of gravity. Correct cleaning and lubrication can make the scissors feel smoother, which is why motion and balance are often confused.
If the same pair suddenly feels different, first check configuration, buildup, tension, loose parts, and evidence of impact. A dramatic balance change without an added or removed component warrants professional inspection.
Balance for Different Cutting Techniques
Precision and Point Cutting
A stylist may prefer a tool that keeps the tips easy to place and visible. A very blade-heavy feel can require more correction, but a handle-heavy tool can also feel unstable. Test the exact angle and grip used for detail work.
Blunt Cutting
A longer or slightly forward-weighted blade may feel steady across a broad section for some users. The important checks are line visibility, blade control, and consistent closure without squeezing.
Scissor-Over-Comb
The tool should track predictably with the comb and not roll in the hand. Pivot profile, handle angle, and blade length can matter as much as the static balance point.
Slicing and Slide Cutting
Dynamic movement matters more than a stationary “level” result. The scissors should travel in a controlled path without the tips dropping or the handle resisting direction changes. Use only a blade designed and serviced for the technique.
Thinning and Texturizing
Toothed blades can distribute mass differently from a matching cutting shear. Do not assume the two halves of a set will balance at the same location. Compare each tool according to its own job.
Balance and Hand Fatigue
A well-matched balance can support controlled movement, but it cannot guarantee that a stylist will avoid fatigue or injury. Total weight, ring fit, handle design, blade action, working posture, chair height, repetition, breaks, and workload also contribute.
Nixcer Outlet’s guide to preventing hand fatigue with ergonomic scissors places tool choice in that wider context.
Persistent pain, tingling, numbness, weakness, or reduced movement should be discussed with a qualified health or occupational professional. A balance test is not a medical assessment.
Frequently Asked Questions
Where should professional hair scissors balance?
There is no universal point. A location near the pivot may feel neutral in some scissors, but the useful balance depends on blade length, handle, grip, hand size, and technique. Compare location and in-hand control together.
Is a blade-heavy scissor bad?
Not automatically. Some long or broad-bladed shears carry more mass forward by design. The relevant issue is whether the user can control the tips and complete intended techniques without constant correction.
Can I fix balance by adjusting the tension screw?
No. Tension changes resistance and blade contact; it does not meaningfully relocate the tool’s mass. Incorrect tension may imitate a heavy or unstable feel, so test it separately using the manufacturer’s instructions.
Should I balance open scissors on my finger?
No. Keep the blades closed and use a low rounded support over a padded surface. Open blades increase the risk of cuts, dropped scissors, and edge damage.
Does the finger rest affect balance?
A removable finger rest adds some mass behind the pivot and may slightly change the static point. Its larger effect may be how it supports the little finger and stabilizes the grip. Test the approved configuration you actually use.
Are lighter scissors always better balanced?
No. Weight is total mass; balance is its distribution. Two scissors with equal weight can feel different, and the lightest tool is not necessarily the most controlled for a particular technique.
How often should I perform a balance test?
There is no mandatory interval. Record a baseline when comparing or buying scissors, and recheck after a configuration change, impact, major service, or unexplained change in feel. Routine maintenance should follow the manufacturer’s schedule.
Can sharpening change balance?
Normal professional servicing removes small amounts of metal. Repeated or incorrect grinding can remove more material, alter blade geometry, or change how the scissors feel. Use a technician familiar with the model and original edge.