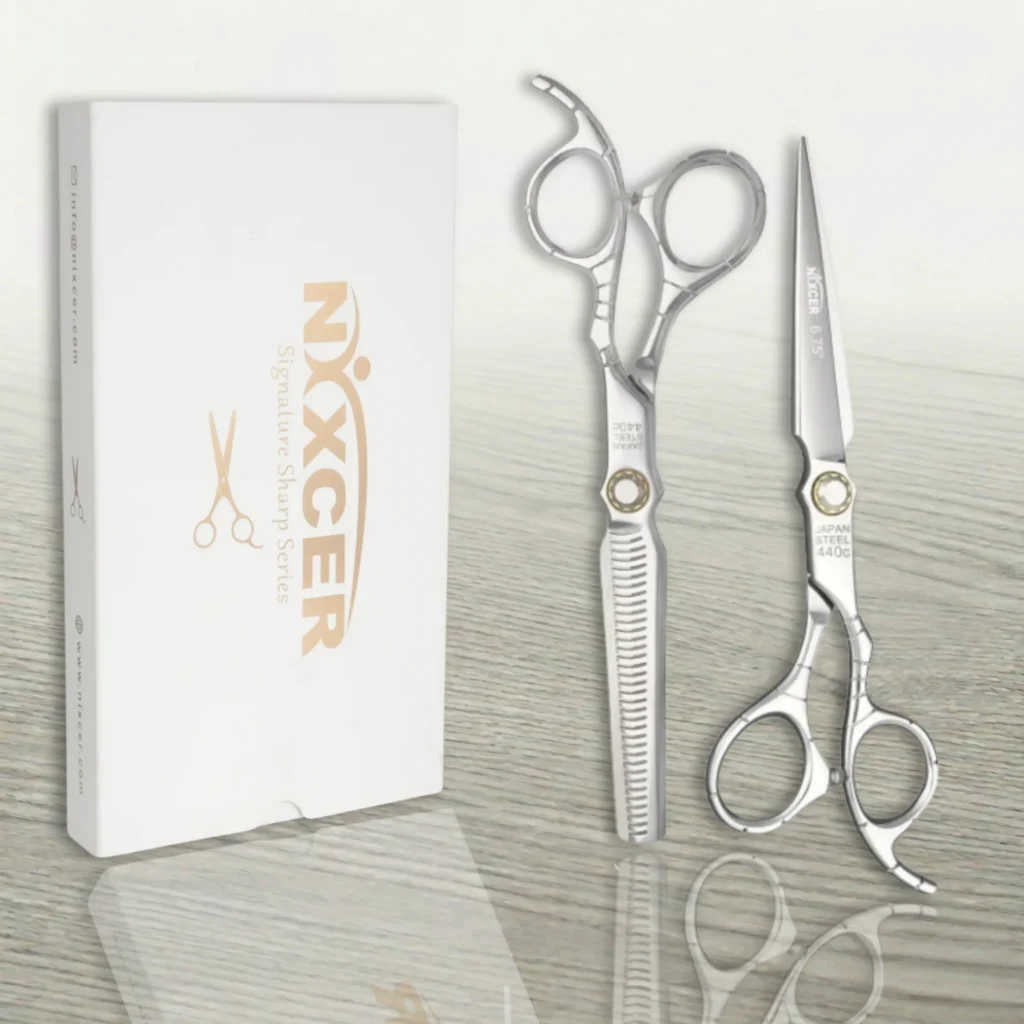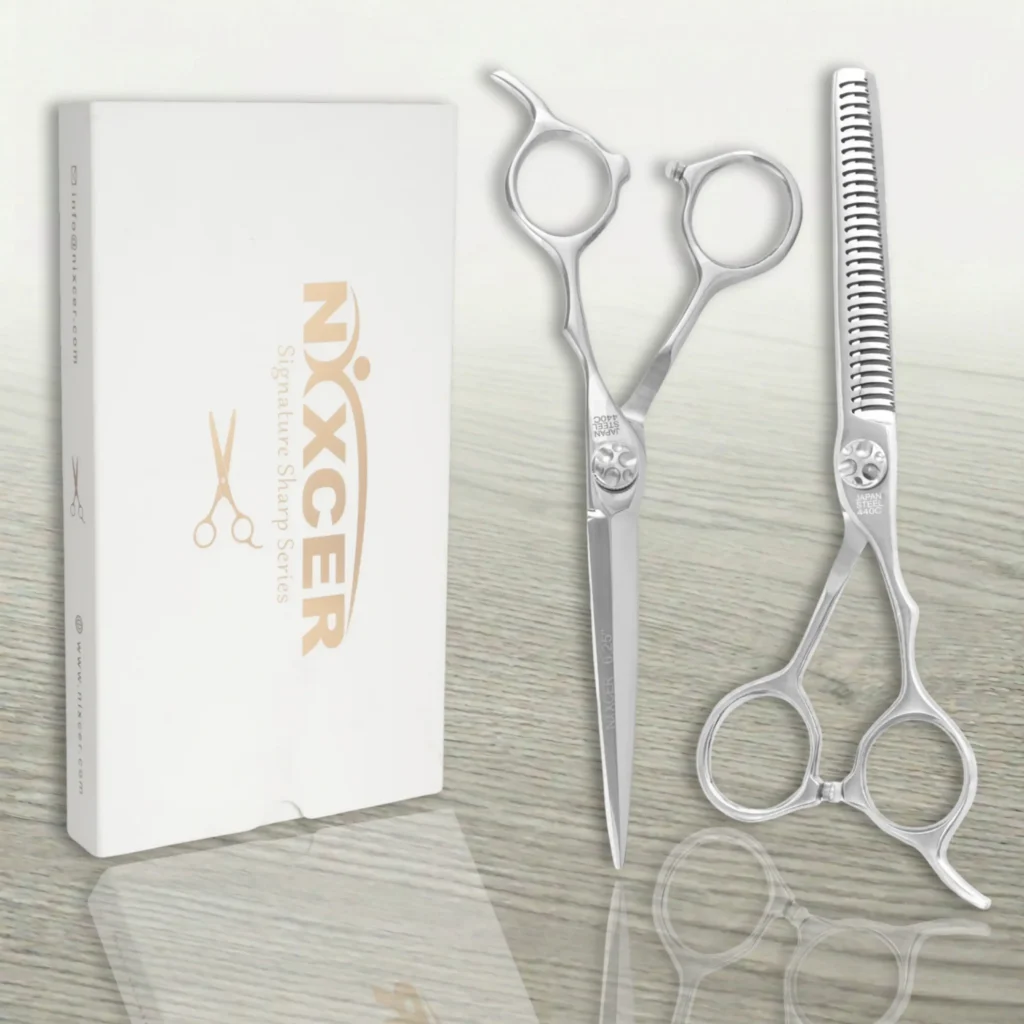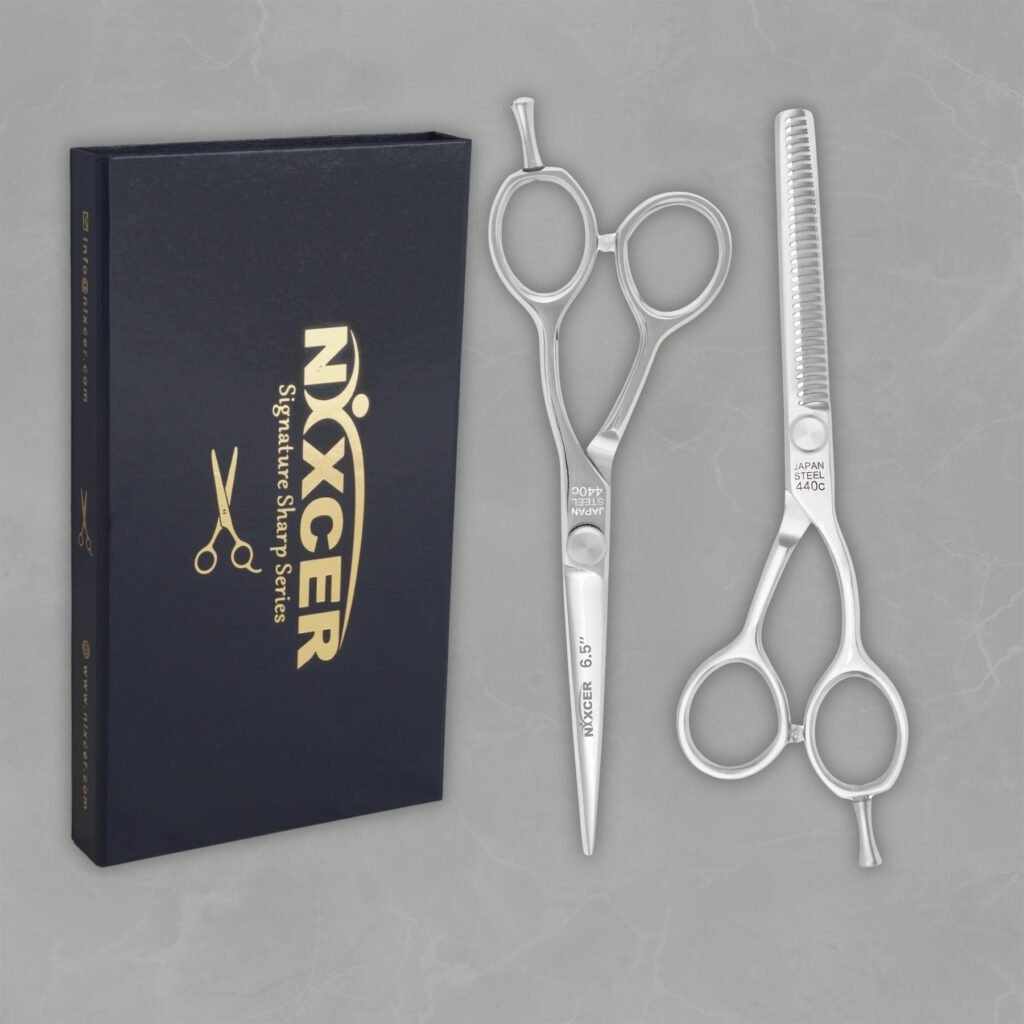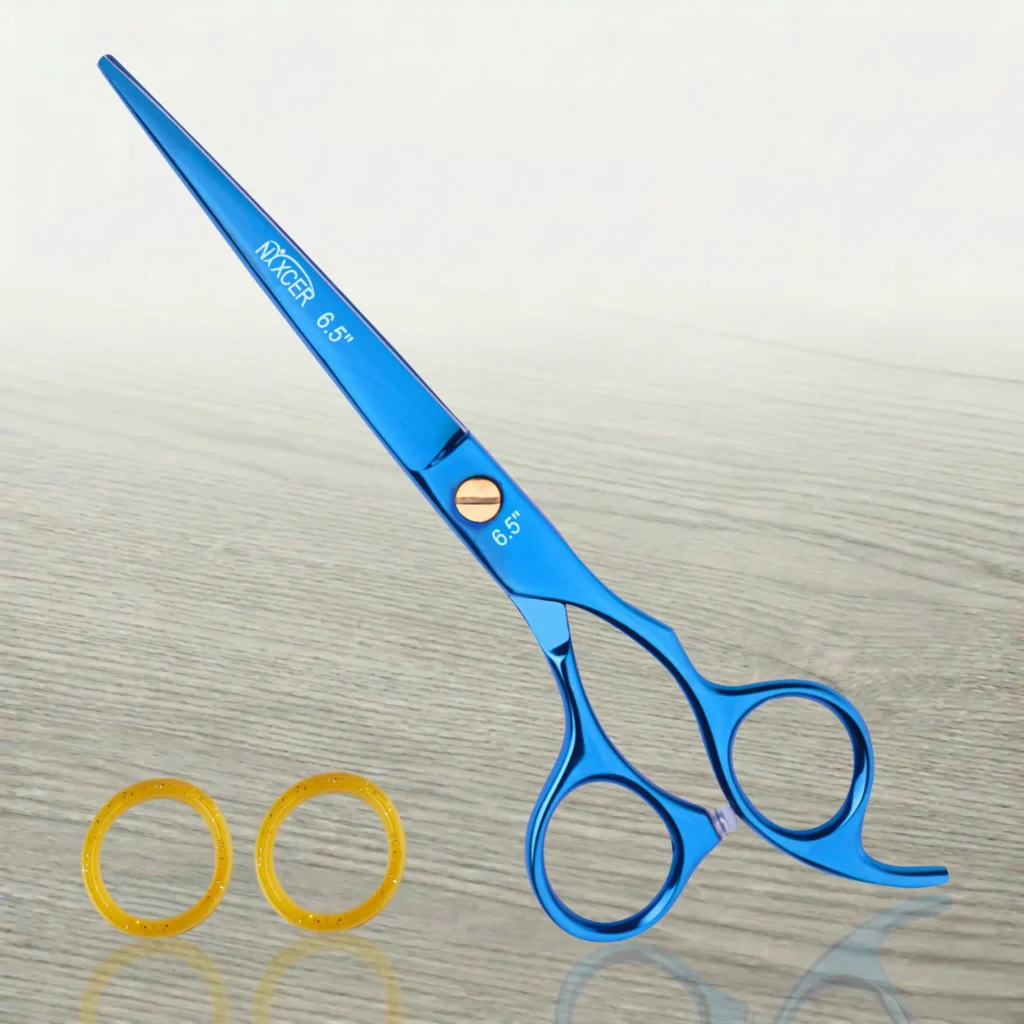
Quick answer: Hair slicing is a professional texturizing method in which scissors travel diagonally along a controlled section to create length variation, movement, or a softer edge. Use a sharp, correctly tensioned shear whose blade is designed to glide, work with small sections, keep the cutting path visible and away from skin, and remove less hair than the final result appears to need. Slicing is an advanced technique best learned through supervised training.
Slicing can make a heavy line feel mobile, connect long layers, or create controlled separation without the regular pattern left by a toothed shear. It can also remove too much density very quickly when the section, blade angle, or hand movement is poorly controlled.
The technique is not simply “dragging scissors down the hair.” The stylist must decide where the texture begins, how deep the scissors enter the section, which direction the blade travels, and how much hair is released. The blade, edge, tension, hair condition, and cutting state all change the result.
This guide explains a conservative professional workflow and the equipment checks that should happen before the scissors touch a client.
What Is Slicing in Hair Cutting?
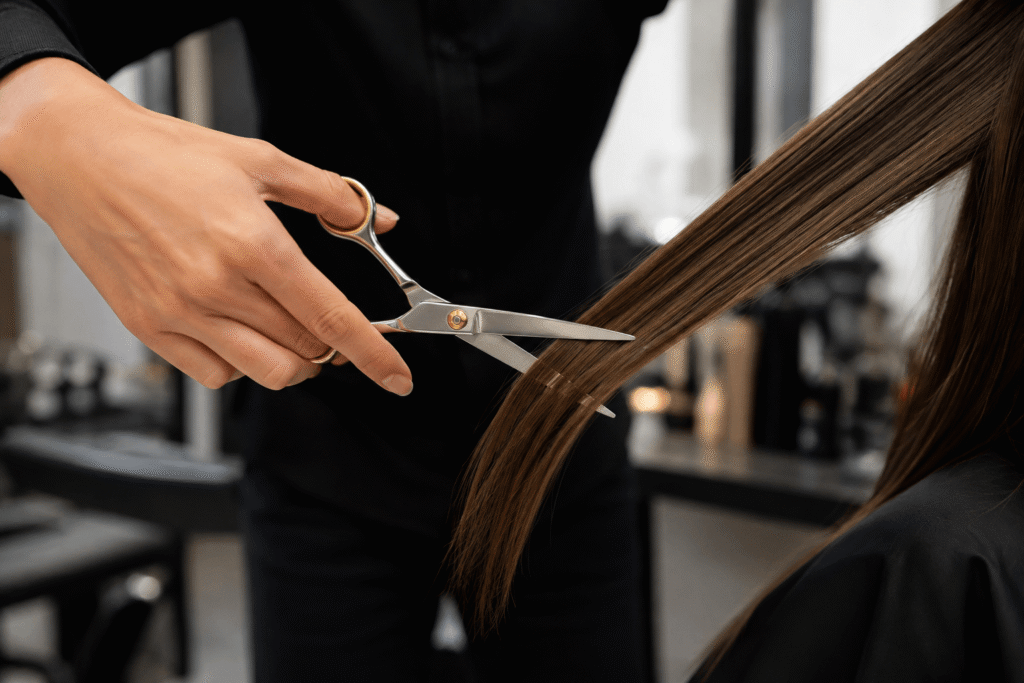
Slicing creates variation by moving the scissors along or across the surface of a hair section rather than making one stationary blunt cut. The result may soften an edge, create separation, reduce selected weight, or blend a transition.
JOEWELL’s slide cut and slicing guide distinguishes two related actions. It describes slide cutting as moving diagonally while opening and closing the scissors, and slicing as moving the scissors along the hair surface while the scissors are open. Terminology varies among educators, so always explain the motion rather than relying on a technique name alone.
Slicing Is Not the Same as Thinning
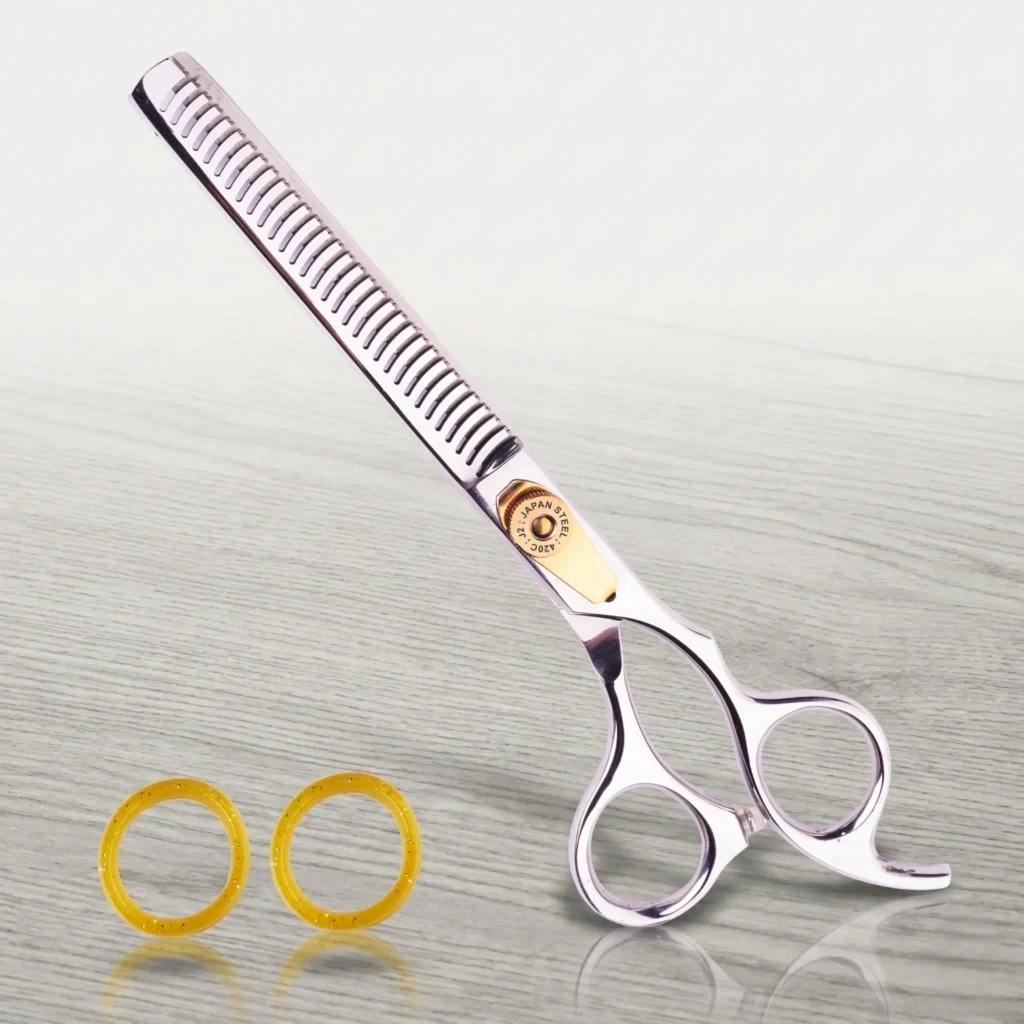
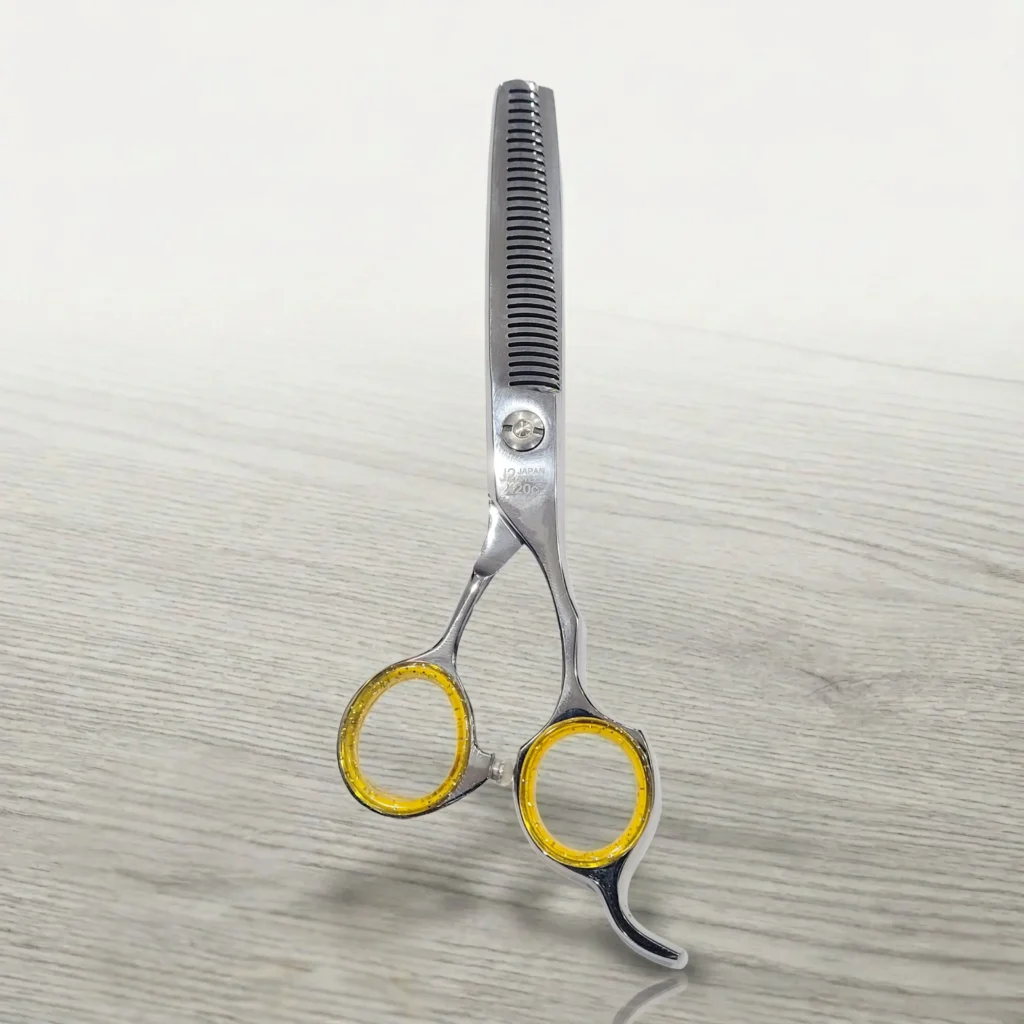
Thinning scissors remove a predetermined percentage or pattern of hair based on their teeth. Slicing uses a plain cutting shear and the stylist controls where the blade travels. Both can reduce visual weight, but they produce different marks and require different hand control.
Slicing Is Not the Same as Point Cutting
Point cutting enters the ends of a section with the tips, usually to break up a line or create texture at a controlled depth. Slicing travels through a longer path. Nixcer Outlet’s point cutting techniques guide covers that method separately.
Slicing vs. Slide Cutting at a Glance
| Technique | Typical blade action | Main control question |
| Surface slicing | Open blades travel along the surface of a section | Is the path shallow, visible, and clear of the client and fingers? |
| Slide cutting | Scissors move along the section with controlled opening and closing | Are blade closures light, gradual, and synchronized with movement? |
| Point cutting | Tips enter the ends at a selected angle and depth | Is the depth consistent and the cutting zone safely visible? |
| Thinning or blending | Toothed shear closes at chosen locations | Does tooth pattern and placement match the density plan? |
Educators may use “slicing,” “slithering,” and “slide cutting” differently. The safe approach is to define the blade action, entry point, direction, and intended result before demonstrating it.
What Slicing Changes in a Haircut
Slicing is a design decision, not a universal finishing step. It can:
- Break up a solid perimeter without replacing the underlying shape
- Connect disconnected lengths or long layers
- Create visual movement through selected sections
- Remove targeted weight while retaining surrounding length
- Add separation to a fringe or face frame
- Refine a heavy area after the base cut has been cross-checked
It cannot repair inaccurate foundations. If the guide, elevation, or over-direction is wrong, texturizing may hide the issue temporarily while making the shape harder to correct.
Build and verify the haircut first. Use slicing only where the design needs controlled softness or movement.
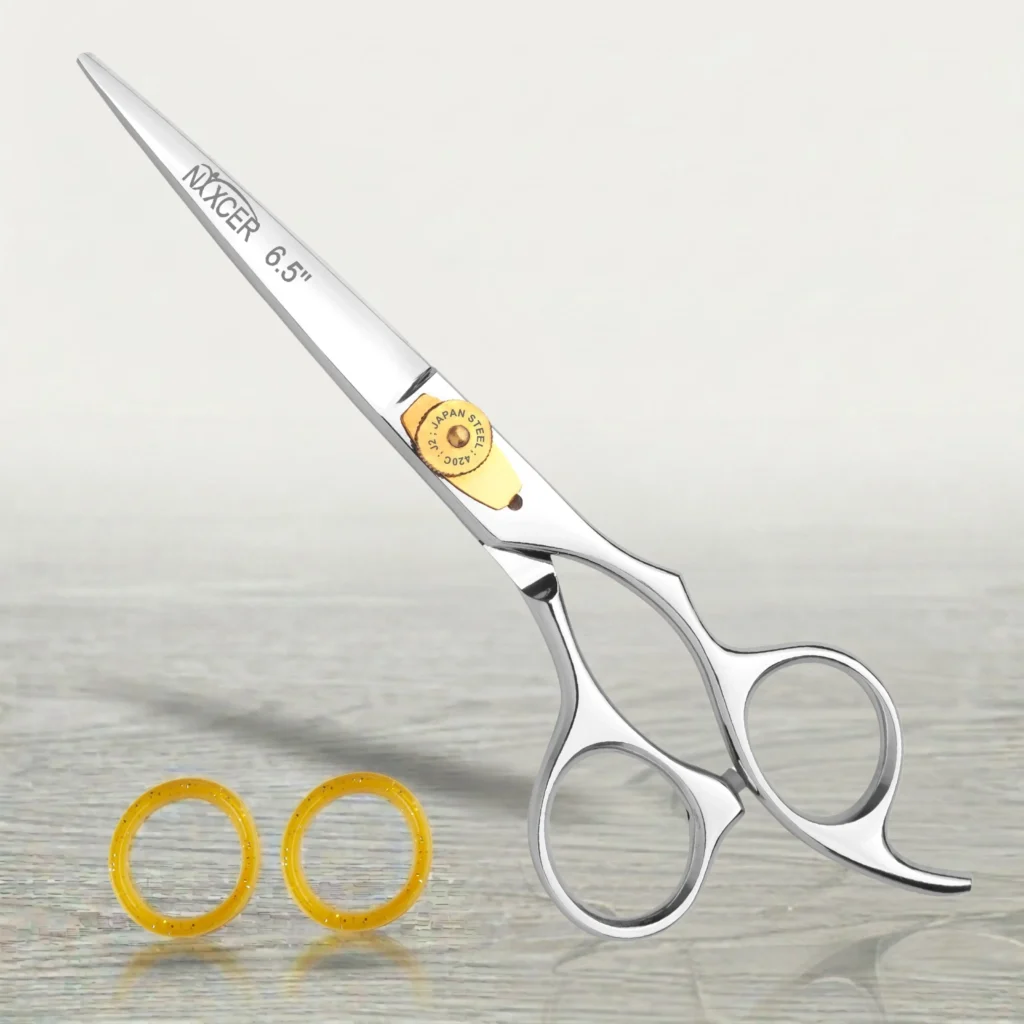
Choose Hair Cutting Scissors Designed to Glide
The best slicing shear is not determined by length alone. Consider edge, blade line, tip, tension, balance, and handle together.
Edge Geometry
A polished convex or appropriate semi-convex edge is commonly selected because it can enter and move through hair smoothly when correctly serviced. A coarse micro-serrated edge is designed to hold hair and is generally a poor match for a technique that requires controlled gliding.
Do not assume every product described as “razor edge” or “Japanese style” has the same geometry. Verify the exact model. Nixcer Outlet’s guide to convex vs. beveled scissor edges explains the distinction.
Blade Line
Blade curvature affects how hair moves during the stroke. JOEWELL recommends more curved bamboo-leaf blade lines for slide cutting and slicing because the curve supports a smooth travel path. A straight blade can behave differently even with a similar edge.
The curve should not be chosen in isolation. A broad or strongly curved blade may remove more hair than expected if the section is too large or the entry is too deep.
Length
A longer blade can cover more distance in one motion, while a shorter blade may offer more tip control. There is no universal minimum length for slicing. Choose a length that allows the stylist to see the blade, maintain a controlled angle, and stop the movement immediately when needed.
Handle and Balance
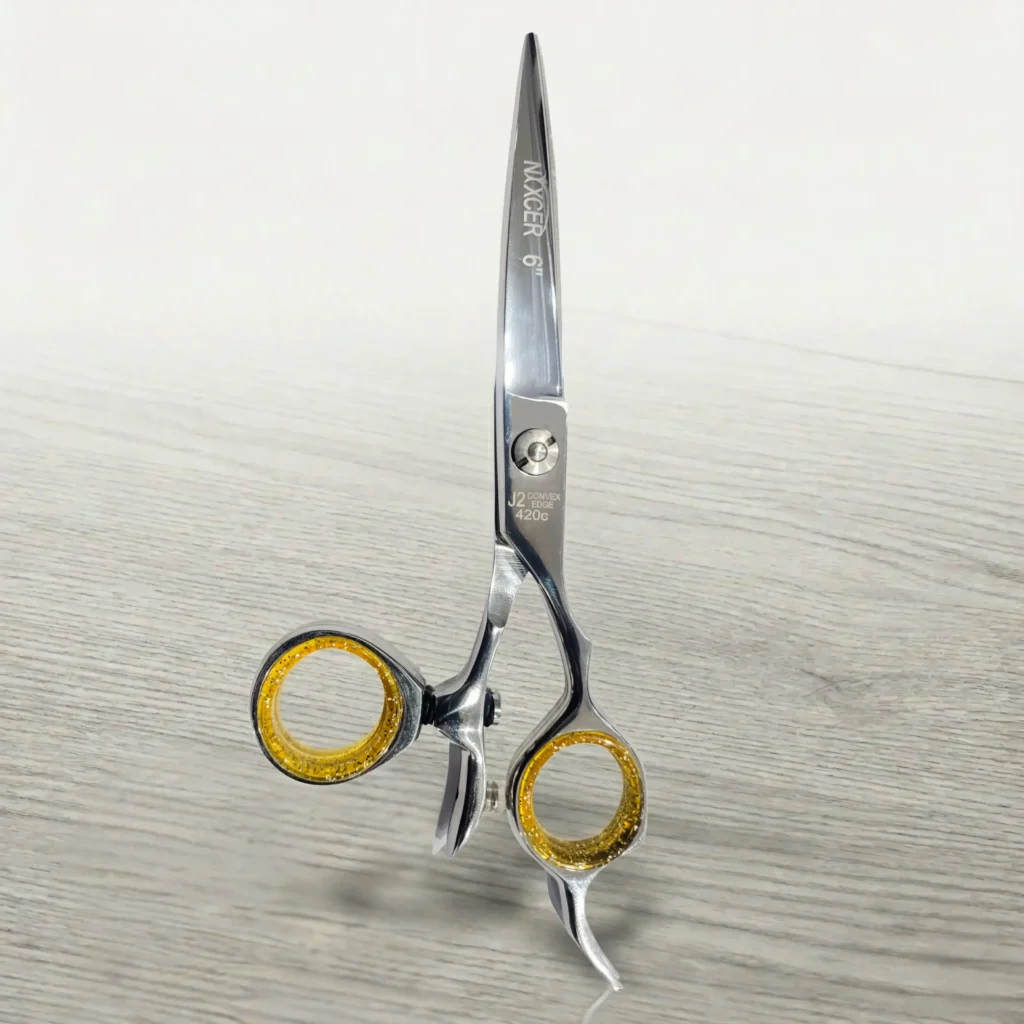
Offset, crane, or swivel handles may help some stylists maintain a preferred cutting angle. Others want the fixed reference of a conventional offset or symmetric handle. The correct design is the one that stays stable during the full motion.
Read Nixcer Outlet’s guide to hair cutting scissor handle design and performance for a detailed comparison.
Check the Scissors Before Slicing
Slicing exposes problems that may be less obvious during a direct cut. Stop and inspect the tool if it pushes, folds, pulls, catches, or produces an uneven track.
Before the service:
- Confirm the model is intended for the technique. Check edge and blade guidance from the manufacturer.
- Inspect safely. Look for damage, contamination, loose parts, or changed blade action without touching the cutting edge.
- Check tension using the model’s method. Excessive tension can make motion heavy; insufficient tension can reduce control.
- Clean, disinfect, dry, and lubricate correctly. Follow salon rules and manufacturer instructions.
- Test cutting performance safely. Use the manufacturer-approved material or method, never a finger or thumb.
Nixcer Outlet’s sharpness test guide and tension test guide provide related checks. A qualified scissor technician should assess persistent pulling or uneven contact.
Plan the Result Before the First Slice
Decide what the technique is meant to change:
- Soften a line: Work near the edge with a shallow, controlled path.
- Create separation: Choose selected panels rather than slicing every section.
- Connect lengths: Identify the shorter and longer points before entering the section.
- Remove weight: Map the heavy area and preserve the perimeter and support below it.
- Build movement: Follow the desired direction instead of making random strokes.
If the stylist cannot state the intended result, the slicing pass is not ready. Texture should serve the shape, density, and client’s styling routine.
Professional Slicing Workflow
This sequence is an educational framework, not a substitute for hands-on training.
1. Complete and Cross-Check the Foundation
Establish the primary length, layers, or graduation first. Dry or finish the hair as appropriate for the plan, then identify the exact area that still looks heavy, blunt, or disconnected.
2. Assess Hair Behavior
Consider density, strand diameter, elasticity, porosity, previous chemical services, growth patterns, curl pattern, and existing layers. Look for fragile, broken, or overly thinned areas that should not receive more texturizing.
3. Isolate a Small Section
Use a section small enough to see through and control. Clip surrounding hair away so it cannot enter the cutting path. Maintain a consistent section size during a comparison pass.
4. Set Safe Body and Client Position
Adjust chair height and move around the client rather than reaching across them. Keep the cutting path away from the face, ears, neck, scalp, fingers, and clothing. Stop if the client moves unexpectedly.
5. Control Section Tension
Use enough tension to organize the hair but not so much that the result will change dramatically when released. Wet hair, curls, and highly elastic strands can contract after tension is removed.
6. Establish Entry Point and Exit Direction
Decide where the variation begins and where the scissors leave the section. A diagonal path can create a different visual flow from a path parallel to the hair. Keep the route visible throughout the movement.
7. Use a Conservative Stroke
Enter shallowly. For surface slicing, travel with the blades open as taught for that technique; for slide cutting, coordinate small blade movements with the direction of travel. Do not clamp the blades fully on a stationary section or pull closed blades along the shaft.
8. Release and Reassess
Let the section fall naturally. Comb or arrange it as the client will wear it, compare both sides when relevant, and assess movement before repeating. Hair cannot be replaced after an aggressive pass.
9. Cross-Check the Whole Shape
Step back. Confirm that the perimeter, internal support, density, and visual balance still serve the planned haircut. Stop when the design objective is met, not when every section has been sliced.
Three Useful Slicing Applications
Surface Slicing for Softness
Work on the outer surface of a selected panel with a shallow entry. The goal is a subtle broken edge or light separation, not deep weight removal. This can refine a solid finish while preserving internal support.
Interior Slicing for Weight Distribution
Enter a controlled internal area only after mapping the weight. Keep adequate support near the perimeter and avoid creating isolated short pieces that will push the surface outward. This application requires strong understanding of shape and density.
Channel or Directional Slicing
Follow a planned path to encourage movement or connect lengths. The direction of travel should correspond to the intended visual flow. Avoid repeating identical channels so closely that they become visible gaps.
Technique names differ by education system. Document the section, direction, depth, and blade action when teaching or recording the service.
How Hair Type Changes the Decision
Hair type does not produce one automatic rule. Assess the individual client’s density, pattern, condition, and desired finish.
Fine or Low-Density Hair
Use slicing selectively. Removing internal support can make the perimeter look thinner or reveal the scalp. Favor shallow work near a specific heavy line, reassess after every pass, and preserve areas that provide visual density.
Thick or High-Density Hair
Map weight before removal. Larger sections are not automatically more efficient; they can hide how much density the blade is taking. Work in controlled panels and compare movement after release.
Straight Hair
Straight hair often shows every texture mark. Maintain consistent direction and avoid random deep channels. Check the result in natural fall and under salon lighting.
Wavy and Curly Hair
Consider expansion, contraction, spring, and individual curl groupings. Excessive tension can make the released result shorter or lighter than expected. Some patterns are better evaluated dry or close to their finished state by a curl-trained stylist.
Do not slice automatically through every curl family. Preserve the clumps or support needed for the intended shape, and use a conservative, pattern-aware approach.
Fragile, Lightened, or Compromised Hair
Do not use slicing to disguise breakage or damage. Fine blade movement along weakened hair may be inappropriate. Assess the condition, minimize mechanical stress, and choose a safer cutting approach or postpone the technique when necessary.
Wet vs. Dry Slicing
Wet hair can be easier to organize into clean panels, but moisture and tension may hide the final movement or contraction. Dry hair displays natural fall and density more clearly, yet it may produce more resistance and expose blade problems sooner.
Choose the state that fits the haircut, hair condition, and training. If working wet, reassess after the hair is dried and styled. If working dry, keep sections controlled, clean the blades as required, and stop at any pulling or dragging.
The choice is not a quality ranking. Many professionals build the main shape wet and use limited dry refinement after seeing the finished movement.
Angle, Depth, and Direction
Small changes can produce large differences.
Angle
A shallow angle usually creates softer, more gradual variation. A steeper angle can create stronger separation or more noticeable short pieces. The correct angle relates to the section and intended result, not a universal number.
Depth
Working near the ends mainly affects the outline and surface. Moving deeper into the section changes internal support and can create expansion or gaps. Begin closer to the ends unless the design specifically requires internal weight removal.
Direction
The blade path directs visual movement. Repeated diagonal paths can encourage flow; inconsistent paths can create visual noise. Plan the direction around the haircut rather than defaulting to the same stroke everywhere.
Common Slicing Mistakes
- Using dull or damaged scissors: The blades may catch, fold, or pull hair.
- Confusing slicing with dragging: Closed blades should not be pulled down the shaft.
- Starting too deep: Internal support can disappear before the stylist sees the final fall.
- Taking oversized sections: The amount removed becomes difficult to monitor.
- Using excessive tension: Released hair may spring or contract into an unintended result.
- Slicing every section: Repetition can produce thin ends, holes, or a stringy finish.
- Ignoring the perimeter: Internal removal can weaken the outer line.
- Using micro-serrated blades: A gripping edge may snag instead of gliding.
- Working near skin without a clear path: The client, stylist, and cutting fingers must remain outside the blade route.
- Trying to correct a structural error with texture: Recheck the foundation instead.
- Skipping the finish check: Wet or stretched hair may conceal the final result.
Troubleshooting the Result
The Scissors Push or Pull Hair
Stop the technique. Clean and inspect the tool, verify tension using the manufacturer’s guidance, and check whether the edge and blade are suitable. Do not compensate with more hand pressure.
The Ends Look Too Thin
Stop slicing. Reassess the perimeter and styling direction. Do not continue removing hair to “blend” the thin area. Adjust the shape using an appropriate corrective plan.
Visible Holes Appear
The section may have been too large, the entry too deep, or the channels too closely repeated. Cross-check in natural fall and avoid chasing the gap with more texturizing.
The Texture Looks Choppy
Review stroke direction, spacing, and how the technique connects to the base layers. A shallow point cut or another finishing method may be more appropriate than additional slicing.
The Two Sides Move Differently
Compare section size, body position, hand direction, tension, and natural growth. Mirroring the hand motion mechanically may not create a mirrored result because head shape and growth patterns differ.
Scissor Care After Slicing
Slicing can expose the full edge to hair and product residue. Follow the salon’s hygiene procedure and the manufacturer’s instructions for cleaning, disinfection, drying, lubrication, and storage.
Store the scissors closed in a protective case. Do not place them loose with clips or combs, and do not use a kitchen or knife sharpener. A technician servicing slicing shears should preserve the original convex or semi-convex profile, ride line, set, and alignment.
For a complete routine, see Nixcer Outlet’s guide to sharpening and maintaining professional hair cutting scissors.
Frequently Asked Questions
What is the difference between slicing and slide cutting?
Terminology varies. JOEWELL distinguishes slicing as moving open scissors along the hair surface, while slide cutting moves through a section with controlled opening and closing. When learning, focus on the exact blade action and intended result.
Which scissors are best for slicing hair?
A sharp, correctly aligned shear with a smooth edge and blade line designed to glide is usually preferred. Polished convex or suitable semi-convex edges and curved blade lines are common choices. Confirm the exact model with the manufacturer.
Should I close the scissors while slicing?
For surface slicing as defined in this guide, the blades travel open. In slide cutting, an educator may teach controlled opening and closing while the scissors move. Do not drag closed blades through hair or improvise without hands-on training.
Can slicing be used on fine hair?
Yes, but sparingly. Fine or low-density hair can lose visual fullness quickly. Work near a specific heavy area, use shallow passes, and preserve perimeter and internal support.
Is slicing good for curly hair?
It can be appropriate for selected curl patterns and designs, but it is not universal. Assess spring, grouping, shrinkage, density, and condition, preferably in the finished state and with curl-specific training.
Can slicing replace thinning scissors?
No. Slicing and toothed shears create different removal patterns and visual effects. Choose the tool and technique that match the design rather than treating one as a substitute for the other.
How much hair should one slicing pass remove?
There is no safe universal percentage. The amount depends on section size, blade, angle, depth, density, and movement. Begin conservatively, release the section, and reassess before another pass.
Can beginners practice slicing on clients?
Beginners should first learn through supervised education and controlled practice away from a live client. The open-blade movement and rapid weight removal require clear safety habits and consistent blade control.