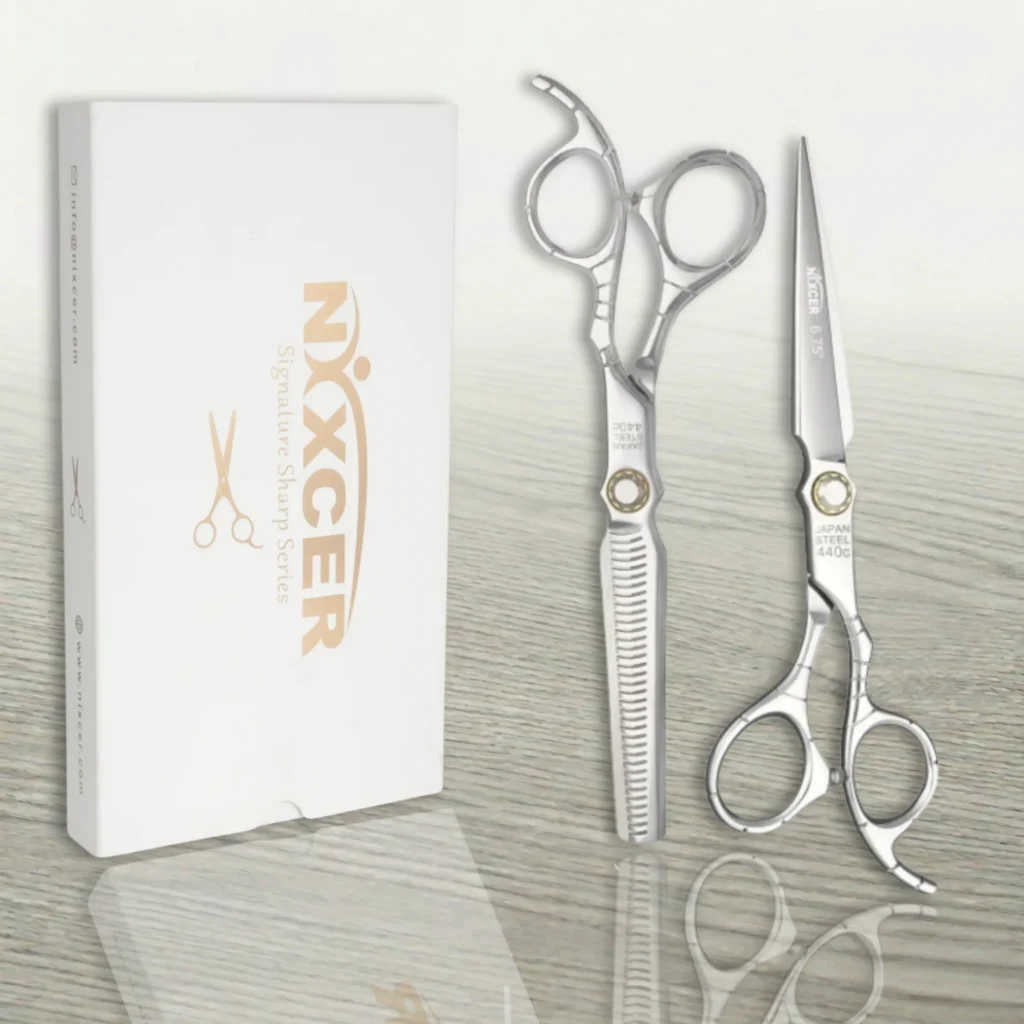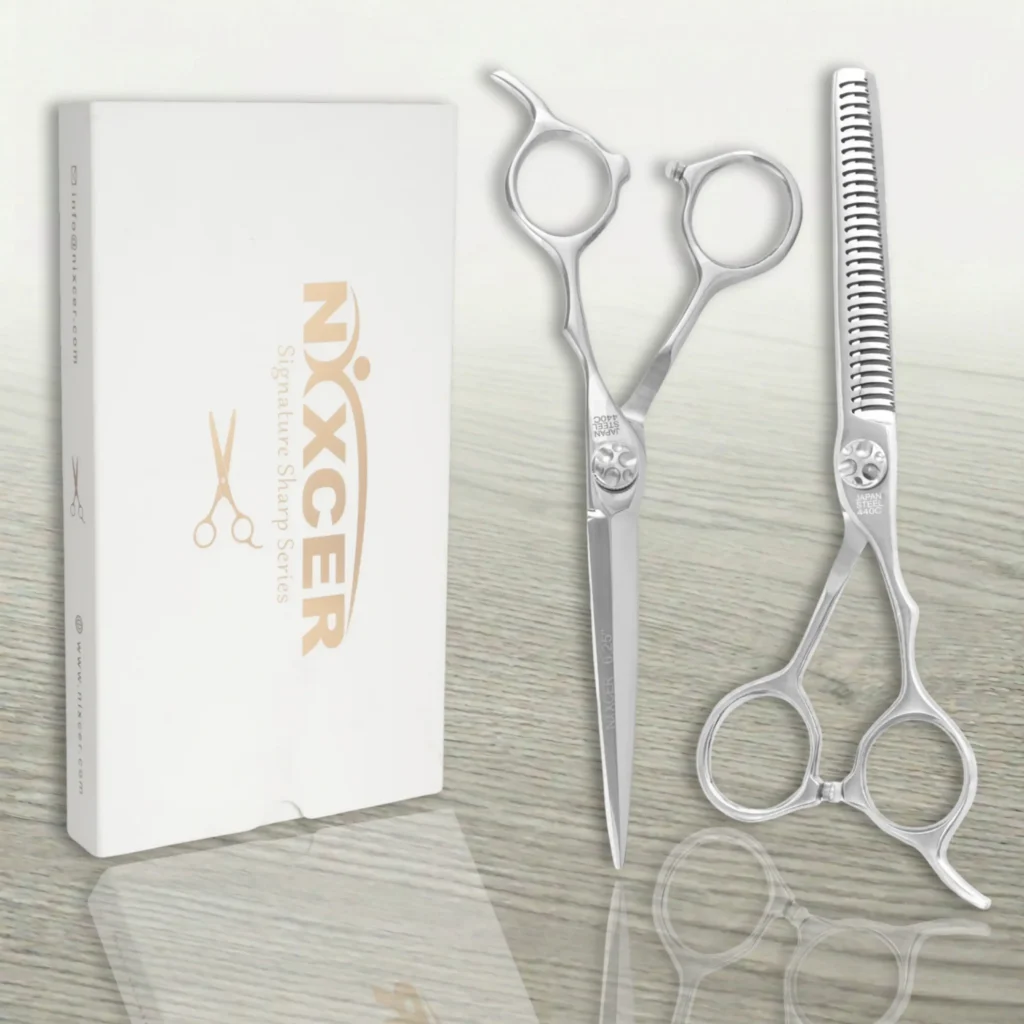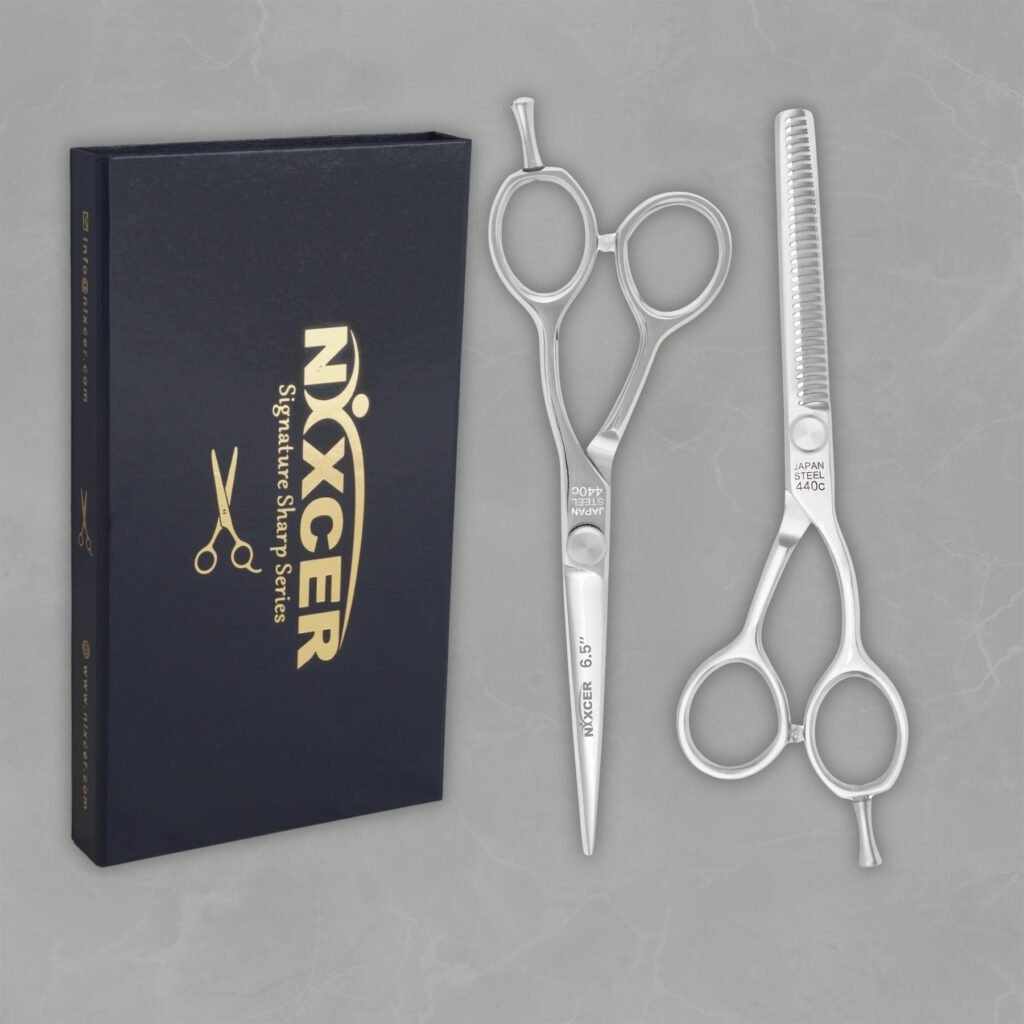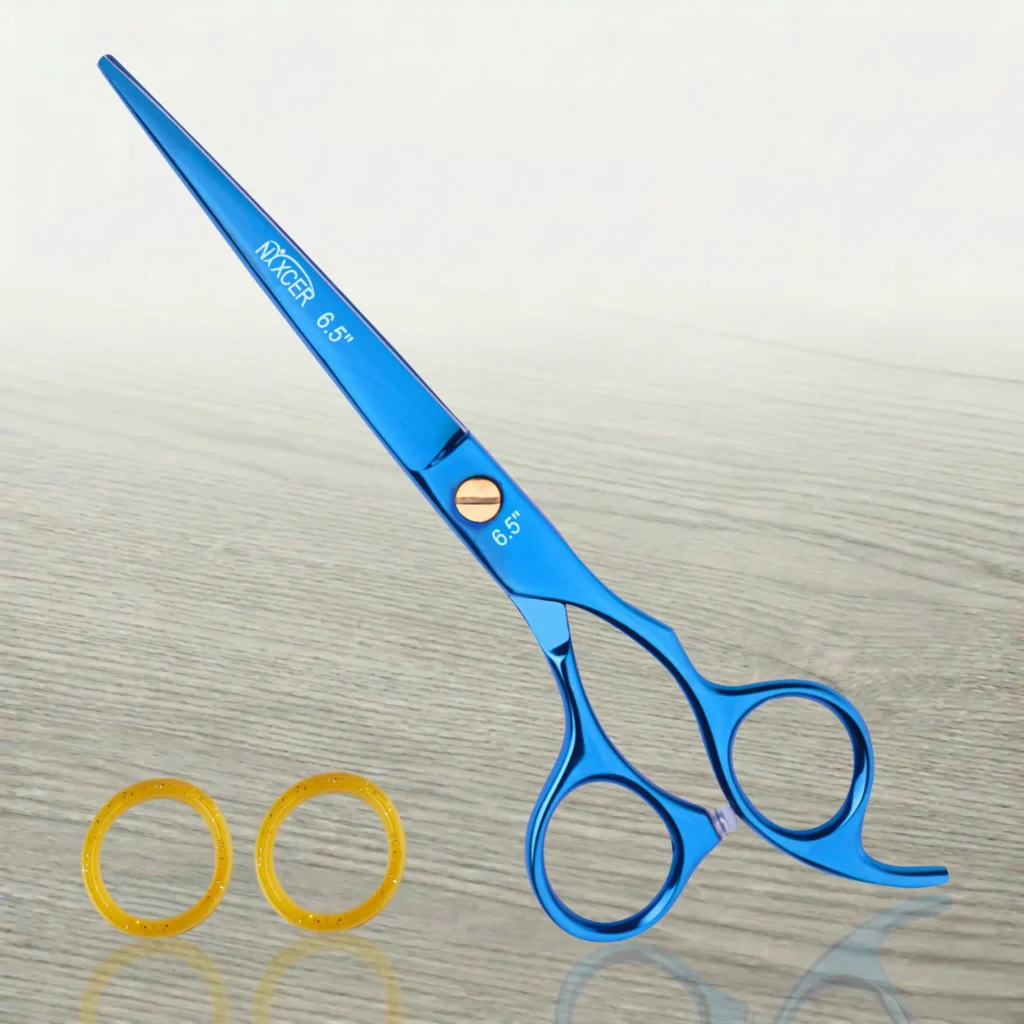
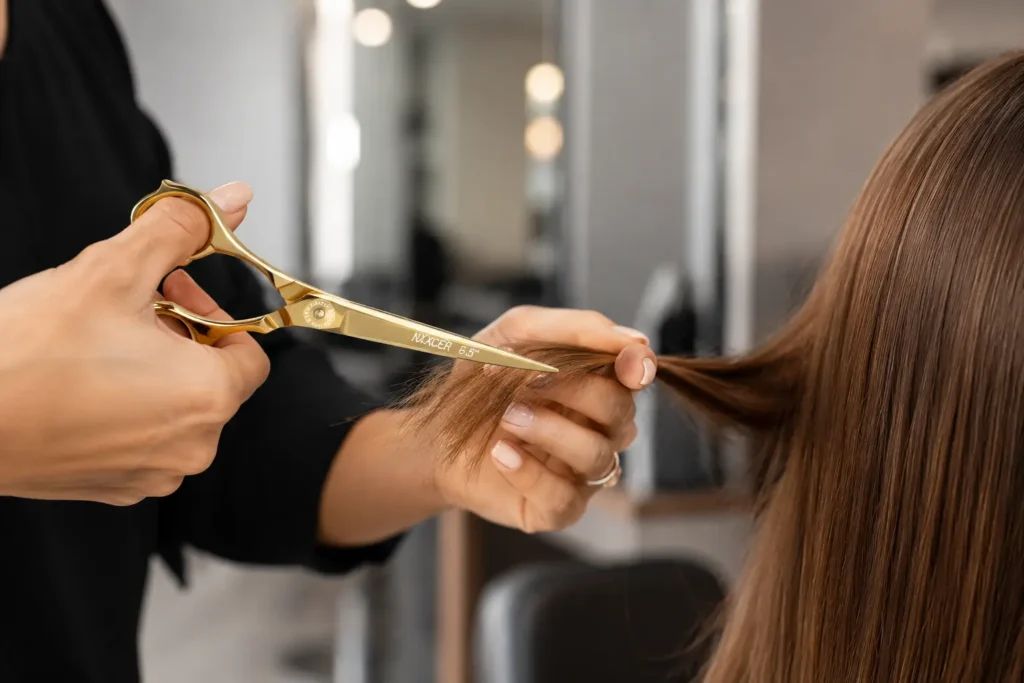
Point cutting is a hair cutting technique in which the tips or tip area of professional shears enter the ends of a controlled section instead of cutting one continuous line straight across it. The small spaces removed from the perimeter can soften a blunt edge, create separation, blend a transition, or reduce selected weight while preserving more length than a full horizontal cut.
The effect depends on more than the angle of the scissors. Section size, hair tension, elevation, over direction, entry direction, depth, spacing, blade length, and the number of passes all change the result. A shallow, closely spaced pass can soften a strong line; deeper or wider-spaced entries create more visible peaks and valleys and remove more weight.
Quick answer: Build the hair cut’s main shape first, identify exactly where softness or texture is needed, hold a clean controlled section, keep the shear tips and holding fingers visible, and make small tip-first cuts while the blades close on the way away from the fingers. Release the hair after each pass and check the natural fall before removing more.
What Is Point Cutting?
Point cutting breaks up a continuous edge by removing small pieces from the ends or selected interior of a section. The technique can be performed on wet, damp, or dry hair, but the reference state must be intentional because moisture, tension, shrinkage, and natural movement affect what the stylist sees.
Unlike blunt cutting, point cutting does not create one unbroken horizontal perimeter. Unlike thinning shears, it does not automatically remove a fixed pattern based on teeth. Unlike slide cutting, it normally uses controlled closures at the tip rather than a continuous gliding action along the hair shaft.
Point cutting can be a finishing technique after the structure is established, but it may also be incorporated deliberately while building a textured shape. The stylist should still define the objective before cutting: soften the surface, remove internal weight, connect layers, create separation, or refine a perimeter.
What Point Cutting Does to a Haircut
Softens a hard perimeter
Small shallow entries interrupt a ruler-straight edge without erasing the overall line. This can make a bob, lob, fringe, or one-length shape feel less severe while preserving density.
Blends layers and transitions
Point cutting can reduce small weight concentrations between lengths and help layered sections connect more naturally. It is a refinement tool, not a substitute for accurate elevation, over direction, or a correct guide.
Creates visible texture and separation
Deeper or more diagonal entries create larger differences in length at the ends. The finished surface can look more piecey, airy, or lived-in, depending on hair density and styling.
Reduces selected bulk
Used inside a section, point cutting can remove targeted weight. This is more aggressive than simply softening the perimeter and requires control because repeated deep cuts may create short pieces, gaps, or weak ends.
Preserves more control than random thinning
The stylist chooses exactly where each closure occurs. That makes point cutting useful when texture must be customized rather than distributed through a toothed blade pattern.
Point Cutting Variables and Their Effects
| Variable | More restrained choice | More pronounced choice | Effect to monitor |
| Entry depth | Shallow cuts into the ends | Deeper cuts farther into the section | Amount of weight removed and visibility of short pieces |
| Entry direction | Nearly parallel to the hair’s fall | More diagonal across the section | Narrow softness versus wider peaks and valleys |
| Spacing | Close, regular micro-cuts | Wider or deliberately irregular cuts | Even diffusion versus visible separation |
| Section size | Fine, transparent section | Thicker section | Precision and predictability versus bulk removal |
| Tension | Natural or low tension | Higher controlled tension | Natural fall versus possible rebound or shrinkage error |
| Pass count | One conservative pass | Repeated passes | Subtle finish versus over-texturizing |
| Hair state | Dry or naturally settled | Wet or damp with controlled tension | Visible natural result versus consistent technical control |
There is no universal best angle or depth. Two stylists can hold shears at similar angles and create different results because their section, tension, blade, spacing, and hand motion are different.
Choose the Right Scissors for Point Cutting
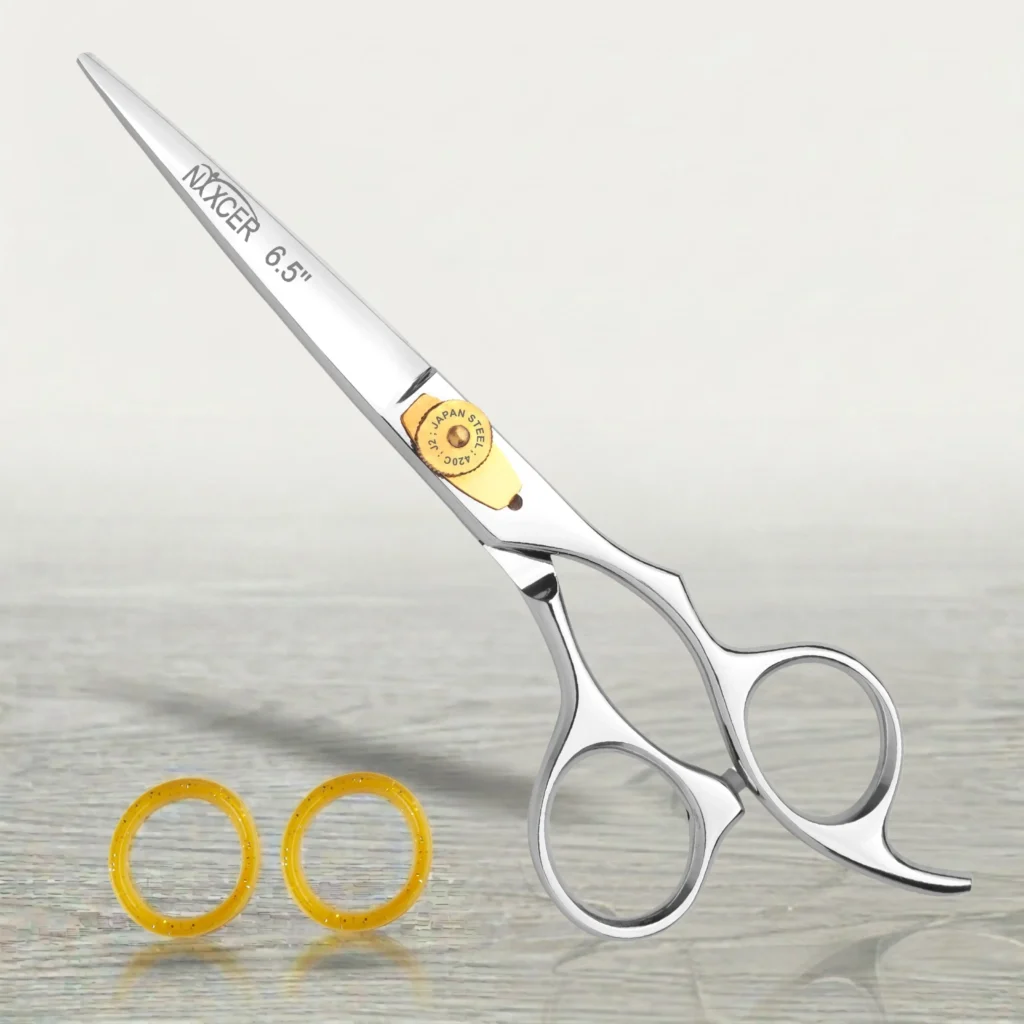
Point cutting relies heavily on the tip area, so a suitable shear must offer accurate tip alignment, stable tension, predictable closure, and enough sharpness to cut rather than fold the hair.
Blade edge
A refined convex or semi-convex edge can provide a smooth, responsive cut for detailed point work. A beveled or micro-serrated blade may grip hair effectively for straight cutting but may feel less fluid for certain soft texturizing motions. The intended technique should decide the edge.
Read the guide to different hair cutting scissor blades before comparing blade claims.
Tip condition and alignment
The tips should meet accurately without crossing, gapping, or catching. A shear can cut well near the heel and still fold hair at a worn or damaged tip. Perform a controlled sharpness test if performance changes.
Blade length
Shorter shears can make the tip position easier to see during detail work. Longer shears may support deeper point cutting or larger sections when the stylist has sufficient control. No single length is correct for everyone; hand size, visibility, depth, balance, and technique matter more than a generic number.
Tension and pivot action
Loose tension can let hair fold between the blades. Excessive tension increases effort and may cause the hand to squeeze. The shear should close smoothly with stable contact. Use the model’s guidance and the Nixcer tension-test procedure before making adjustments.
Handle, balance, and handedness
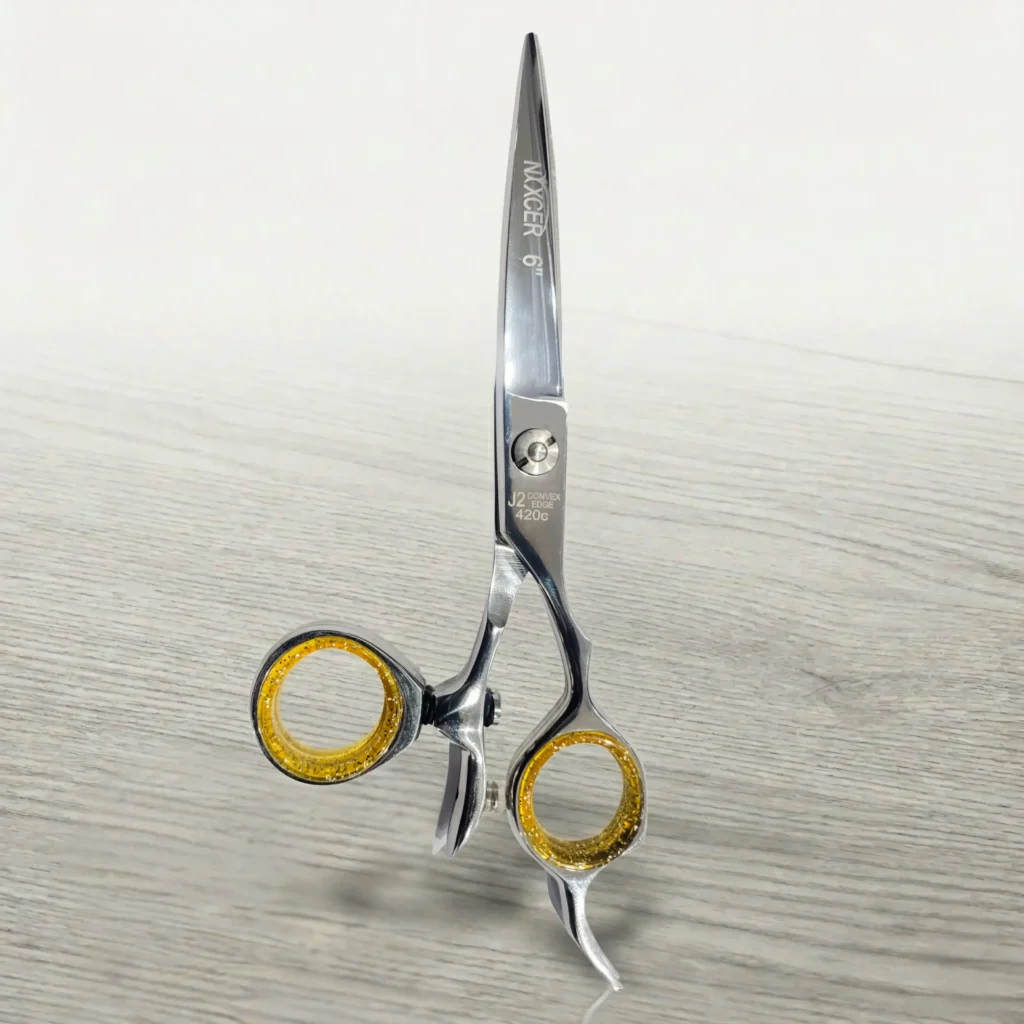
An offset, crane, or swivel design may help some stylists work with a more neutral hand and wrist, but fit is individual. A true left-handed shear reverses the blade relationship as well as the handle arrangement. The tool should feel controlled without a tight grip or raised shoulder.
The precision-scissors selection guide provides a broader buying checklist.
Safety Comes Before Speed
Point cutting places sharp tips close to the stylist’s holding fingers and sometimes near a client’s face, ears, or neck. Rapid repetition can make the movement look casual, but every closure needs a visible and controlled path.
- Practice on a mannequin before using the technique on a client.
- Keep the shear tips, holding fingers, and client skin in view.
- Work with a stable section and a comfortable body position.
- Open the shears before entering the section, then close as the tool moves away from the holding fingers.
- Use small deliberate closures instead of fast stabbing motions.
- Reposition the client or section if visibility is blocked.
- Avoid working toward skin, an ear, the eye area, or the neck.
- Stop if the client moves unexpectedly.
- Never point cut with damaged, loose, or contaminated scissors.
When the cutting path cannot remain visible, choose another technique or change the section. Texture is never worth risking an injury.
Step-by-Step: How to Point Cut Hair
Step 1: Define the finished result
Decide whether the goal is a softened perimeter, blended layer, airy texture, reduced internal weight, or stronger separation. A vague goal often leads to repeated random cutting.
Identify the areas that must keep weight. Fine ends, fragile hair, and structural corners may need little or no point cutting. Mark the visual target before lifting the section.
Step 2: Establish the hair cut’s structure
Create the main length, shape, graduation, or layers with the appropriate technique. Point cutting can refine a line, but it cannot reliably correct a poor guide or uneven elevation.
For layer-building fundamentals, see using hair cutting scissors for layering. If the haircut requires a strong perimeter, review the guide to scissors for blunt cuts before softening it.
Step 3: Choose wet, damp, or dry reference state
Wet or damp hair can provide consistent sectioning and tension. Dry hair shows natural fall, movement, curl grouping, expansion, and shrinkage more clearly. Many stylists build structure in one state and perform conservative finishing in another.
Do not switch states without accounting for the change. Hair that is stretched when wet may spring upward when dry, making a deep point cut appear shorter or more aggressive.
Step 4: Create a clean, controlled section
Comb the hair in the intended distribution. Use a section thin enough to see the guide and predict how much material each closure will remove. Overly thick sections hide the cutting path and can cause pushing or uneven texture.
Apply the amount of tension required by the haircut. Excessive tension may distort curl, stretch fragile hair, or make the released result shorter than expected.
Step 5: Position the section and holding hand safely
Hold the section where the cutting line and the shear tips remain visible. Keep fingers outside the intended depth of entry. If the target is very close to the fingers, move the holding position or use a safer cutting method.
The comb can support distribution, but it should not block the view of the tips. Maintain a stable wrist and avoid twisting the shoulder to reach the section.
Step 6: Set entry direction and depth
Place the open tips into the ends at the selected direction. A near-parallel entry generally creates narrow, soft irregularity. A more diagonal entry creates broader differences between peaks and valleys. Deeper entry removes more weight than shallow entry.
Use these descriptions as outcome guides, not fixed degree rules. Hair density, blade width, section size, and spacing change the result.
Step 7: Close while moving away from the fingers
Make a small controlled closure as the scissors withdraw from the section and away from the holding fingers. Avoid driving closed blades into the hair or snapping rapidly toward the hand.
Let the tips do the work. If the hair folds or pushes, do not increase force. Check sharpness, tension, section size, and blade suitability.
Step 8: Follow a deliberate spacing pattern
For a soft, even edge, use conservative, relatively consistent spacing. For visible separation, vary spacing intentionally while preserving the hair cut’s balance. Random repeated cuts can create holes that do not appear until the hair moves or grows out.
Count passes mentally and avoid revisiting the same point without a reason.
Step 9: Release and observe the natural fall
After a small group of cuts, release the section, comb or shake it into place, and assess the result from the client’s normal viewing angle. Look at the silhouette, density, movement, and relationship to nearby sections.
Texture should be judged on released hair, not only while the section is elevated between the fingers.
Step 10: Cross-check and stop early
Compare both sides and adjacent sections in the same reference state. Use a mirror, different distribution, or dry check when appropriate. Remove only what the design requires.
Point cutting is easy to repeat and difficult to undo. A slightly restrained first pass gives room for refinement; over-texturized ends may require weeks or months of growth.
Shallow, Deep, and Notched Point Cutting
Shallow point cutting
The tips enter only a short distance into the ends. This softens a line while retaining most of the weight. It suits restrained finishing on bobs, lobs, fringes, and layers.
Deep point cutting
The shear enters farther into the section to create stronger separation or internal weight removal. It requires clear visibility, a suitable blade length, and conservative spacing. Deep cuts can expose short pieces and gaps if repeated excessively.
Notching or chipping
These terms are often used differently by different education systems. In general, they describe more pronounced, wider, or more deliberate pieces removed from the edge. The visual result is chunkier than subtle point cutting.
Define the desired outcome instead of relying only on terminology. Show the client or student whether the goal is soft diffusion, piecey separation, or strong visible texture.
Point Cutting on Wet Hair vs. Dry Hair
| Reference state | Main advantage | Main limitation | Best practice |
| Wet | Clean sectioning and repeatable technical tension | Natural volume and shrinkage are less visible | Keep depth conservative and plan a dry release check |
| Damp | Balance between control and visible movement | Moisture may be inconsistent across the head | Re-wet evenly or allow the section to settle before comparison |
| Dry | Natural fall, curl grouping, density, and movement are visible | Dry hair can resist more and expose any dullness at the tips | Use very sharp shears, small sections, and minimal tension |
The best choice depends on hair texture, haircut design, and the stylist’s system. Dry point cutting is not automatically superior, and wet point cutting is not automatically safer; control and awareness matter in both.
Adapt Point Cutting to Different Hair Types
Fine or low-density hair
Preserve the perimeter and avoid repeated deep entries. Use shallow cuts only where a solid line looks too heavy. Point cutting cannot add biological density, and aggressive texture may make fine ends appear thinner.
Thick or coarse hair
Use transparent sections and decide whether the goal is perimeter softness or internal weight removal. Deep point cutting can create movement, but random deep cuts may leave bulky and hollow areas next to each other.
Straight hair
Straight hair reveals every irregularity. Consistent spacing, controlled depth, sharp tips, and cross-checking are essential. The technique can soften a precise bob or fringe, but the underlying line must remain balanced.
Wavy hair
Release each section and check the wave pattern. Point cutting can encourage separation and movement, but wet tension may stretch the wave and hide the final position of the ends.
Curly and coily hair
Observe curl families, spring, shrinkage, density, and how the client wears the hair. Avoid automatically combing every curl into uniform tension. Conservative dry refinement may be useful when the natural pattern must remain visible, but technical education and texture-specific judgment are important.
Do not cut deeply into a curl group without understanding where shorter pieces will sit after release. Over-texturizing can disrupt clumps, create frizz, or leave weak-looking ends.
Chemically processed or fragile hair
Reduce depth and pass count. Hair with compromised elasticity may not tolerate aggressive interior texture. Prioritize a clean perimeter and remove only what the design and condition support.
Point Cutting vs. Other Texturizing Techniques
| Technique | Primary action | Typical result | Main risk when overused |
| Point cutting | Controlled tip closures into ends or selected interior | Soft edge, separation, targeted weight removal | Holes, weak ends, or visible short pieces |
| Blunt cutting | Continuous line across the section | Strong perimeter and maximum visible density | A line that feels too hard for the design |
| Slide cutting | Blade glides along the hair shaft while cutting | Soft movement and gradual weight removal | Dragging, fraying, or excess removal with an unsuitable edge |
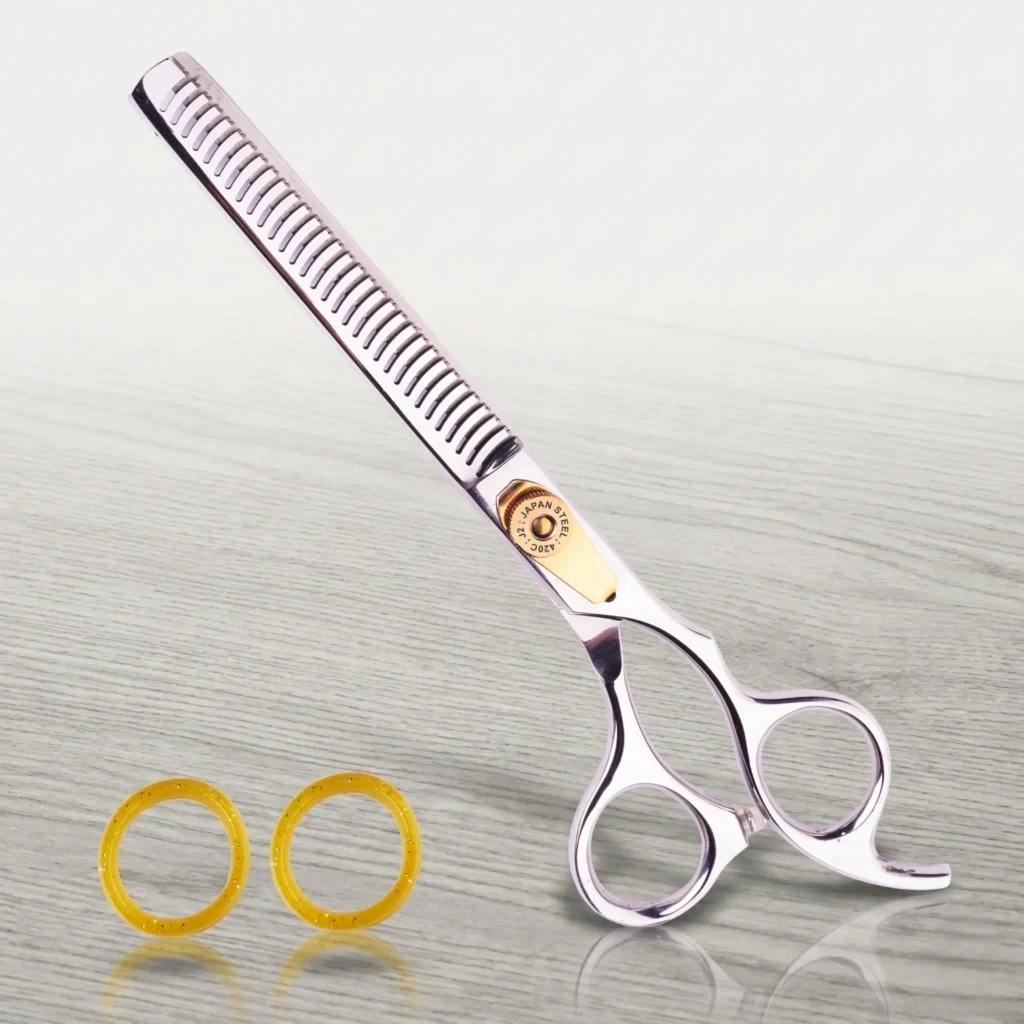
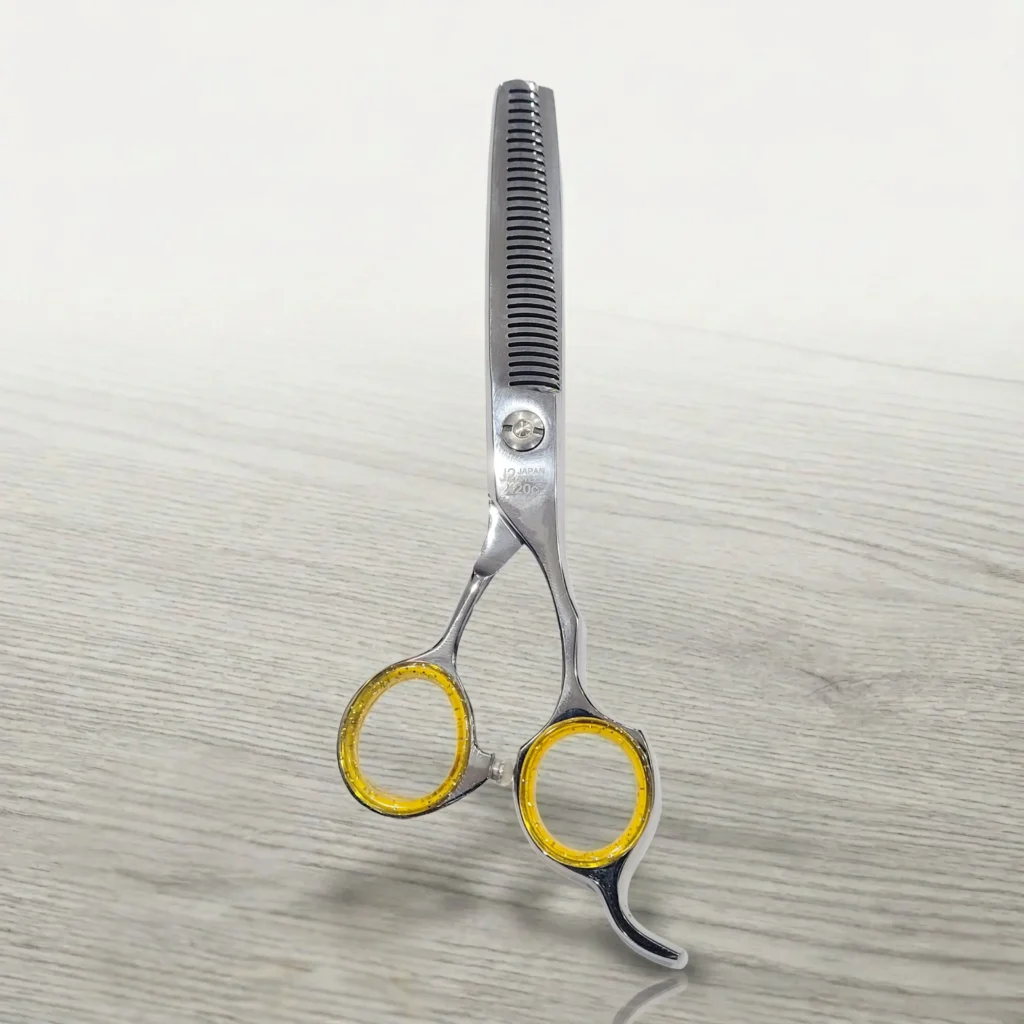
| Thinning shears | Toothed blade removes part of each section | Blending and distributed bulk reduction | Repeated patterns, over-thinning, or short regrowth |
| Notching/chipping | Wider, more deliberate pieces removed from the edge | Strong visual separation | Chunky gaps or imbalance |
One technique is not a replacement for another. Use the tool and motion that produce the intended distribution of weight. The guide to texturizing and thinning scissors explains toothed alternatives.
Common Point Cutting Mistakes
Cutting without a defined goal
Texture added everywhere can weaken a well-designed shape. Decide what must change before opening the shears.
Moving the tips toward the fingers
Fast inward closures increase injury risk. Keep the path visible and close while withdrawing away from the holding hand.
Entering too deeply on the first pass
Deep cuts remove more weight than they appear to while the hair is held. Begin shallow, release, and reassess.
Using sections that are too thick
The tips disappear inside the hair, the guide becomes unclear, and the blades may push or fold the section.
Applying excessive tension
Stretched hair rebounds after release. The finished edge may become shorter, more uneven, or more textured than expected.
Repeating cuts in the same area
Multiple passes can create transparent ends or interior holes. Track the map of work across the head.
Point cutting with dull or loose shears
Worn tips can fold or tug hair. Loose tension reduces blade contact. Maintain the tool instead of compensating with hand pressure.
Ignoring the natural fall
An elevated section can look balanced while the released result exposes gaps. Check the hair in movement and from several viewpoints.
Troubleshooting Point Cutting Results
| Problem | Likely cause | Correction |
| Edge still looks blunt | Cuts are too shallow, too sparse, or only on the surface | Increase depth or spacing gradually after checking density |
| Ends look thin or stringy | Too many passes, deep cuts, or fragile hair | Stop texturizing; rebuild visual density over future trims |
| Visible holes appear | Repeated entries in one location or sections too thick | Change the cut map, use transparent sections, and release more often |
| Hair pushes ahead of the tips | Dull tips, loose tension, thick section, or unsuitable blade | Clean, test sharpness and tension, then reduce section size |
| Curl pattern becomes frizzy | Curl groups disrupted or too much internal weight removed | Work with natural groupings and use fewer, more selective cuts |
| One side looks more textured | Inconsistent hand angle, spacing, tension, or body position | Re-establish the same reference state and cross-check conservatively |
| Stylist fingers feel at risk | Tips are hidden or closing toward the hand | Stop, reposition the section, and practice the withdrawal closure on a mannequin |
Maintenance for Point-Cutting Shears
Because point cutting depends on the tips, maintenance changes can become noticeable early.
- Wipe the blades after services and follow local disinfection rules.
- Dry the pivot and inner surfaces completely.
- Apply approved scissor oil according to the model’s instructions.
- Check tension when hair begins to fold or the closure feels different.
- Inspect the tips after any drop or impact.
- Store the closed shears in a fitted case away from combs and clips.
- Use a technician who understands the exact blade geometry.
Avoid using professional shears on paper, foil, thread, packaging, or fabric. Review the Nixcer guide to sharpening and maintaining hair cutting scissors for a complete care routine.
Frequently Asked Questions
What is point cutting in hairdressing?
Point cutting uses the tips or tip area of hair shears to make controlled entries into the ends or selected interior of a section. It breaks up a continuous line to create softness, separation, blending, or targeted weight removal.
What angle should scissors be held for point cutting?
There is no universal angle. A near-parallel entry generally creates narrow, soft texture, while a more diagonal entry creates broader peaks and valleys. Depth, spacing, section, tension, and blade design must be considered with the entry direction.
How deep should point cuts be?
Use the shallowest depth that achieves the goal. Shallow entries soften an edge while preserving density; deeper entries create stronger separation and remove more weight. Start conservatively, release the hair, and reassess.
Is point cutting suitable for fine hair?
Yes, but it should usually be shallow and selective. Repeated deep point cutting can make fine or low-density ends appear thin, so preserve the perimeter where visual density is important.
Can point cutting be used on curly hair?
Yes, when the stylist accounts for curl grouping, shrinkage, density, and the client’s normal styling. Work conservatively, observe the natural pattern, and avoid cutting deeply into curl groups without knowing where the short pieces will settle.
Should point cutting be done on wet or dry hair?
Both are valid. Wet hair supports clean sectioning and repeatable tension; dry hair reveals natural fall, movement, and shrinkage. The correct reference state depends on the haircut and texture, and many professionals use a structural cut followed by a conservative dry check.
What scissors are best for point cutting?
Choose professional shears with sharp, accurately aligned tips, stable tension, a comfortable handle, true handedness, and a length the stylist can control at the required depth. Convex or semi-convex edges are common choices, but the best edge depends on technique.
Is point cutting the same as texturizing with thinning shears?
No. Point cutting removes hair only where each tip closure occurs. Thinning or texturizing shears remove a patterned percentage based on their teeth. Both can alter texture and weight, but their distribution and visual effect differ.
Does point cutting damage hair?
Point cutting performed with sharp, correctly tensioned shears and appropriate technique should create controlled cuts. Dull tips, excessive pressure, repeated deep passes, or an unsuitable sliding motion can produce rough or weak-looking ends.
How can beginners practice point cutting safely?
Use a mannequin, transparent sections, slow movements, and shallow entries. Practice opening before entering the hair and closing while moving away from the holding fingers. Seek supervised cosmetology or barbering education before working near a client’s face, ears, or neck.
Final Thoughts
Point cutting is most effective when it is treated as a controlled design decision rather than random texturizing. Define the goal, establish the structure, choose the correct reference state, keep the tips visible, enter at an intentional direction and depth, and evaluate the hair after release.
The right shears make that precision easier. Stylists comparing a primary or backup pair can browse Nixcer’s professional hair cutting scissors and use the site’s guides to match blade, size, handle, tension, and cutting technique.