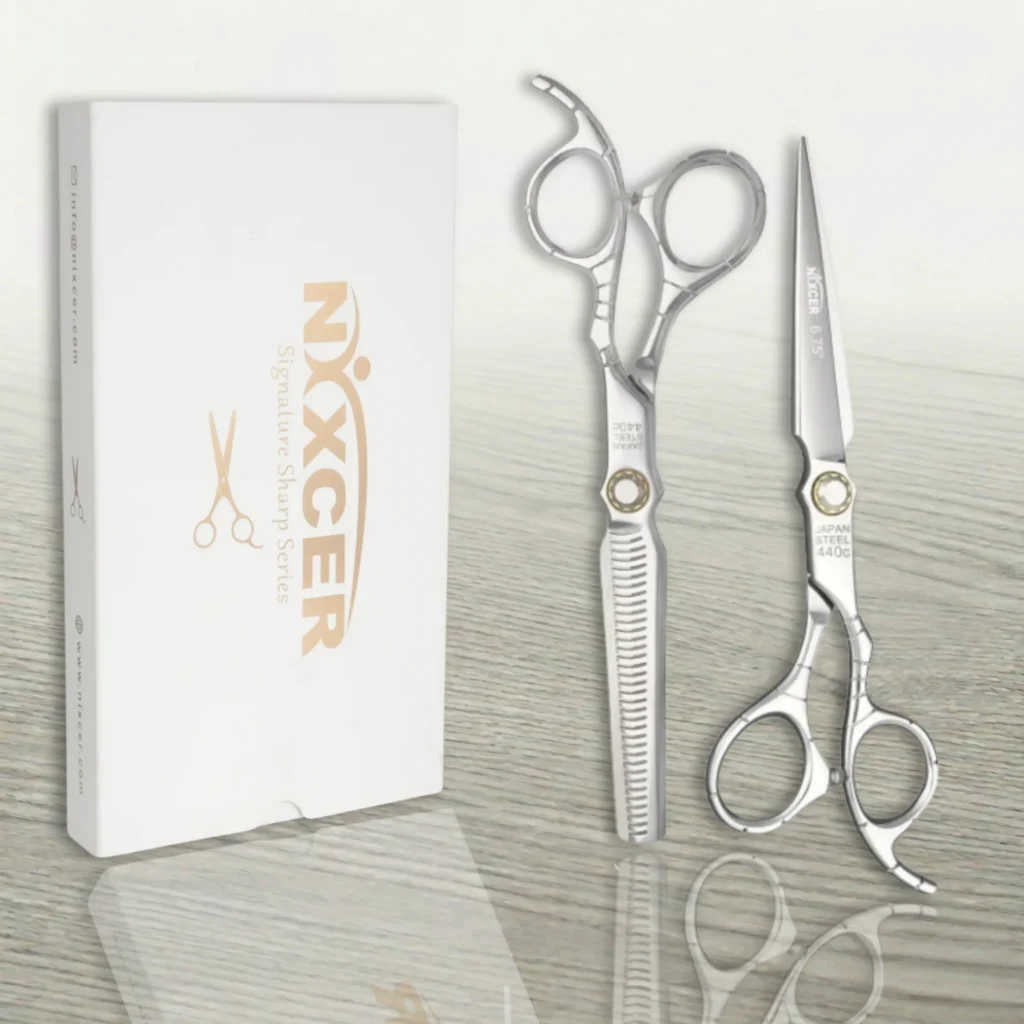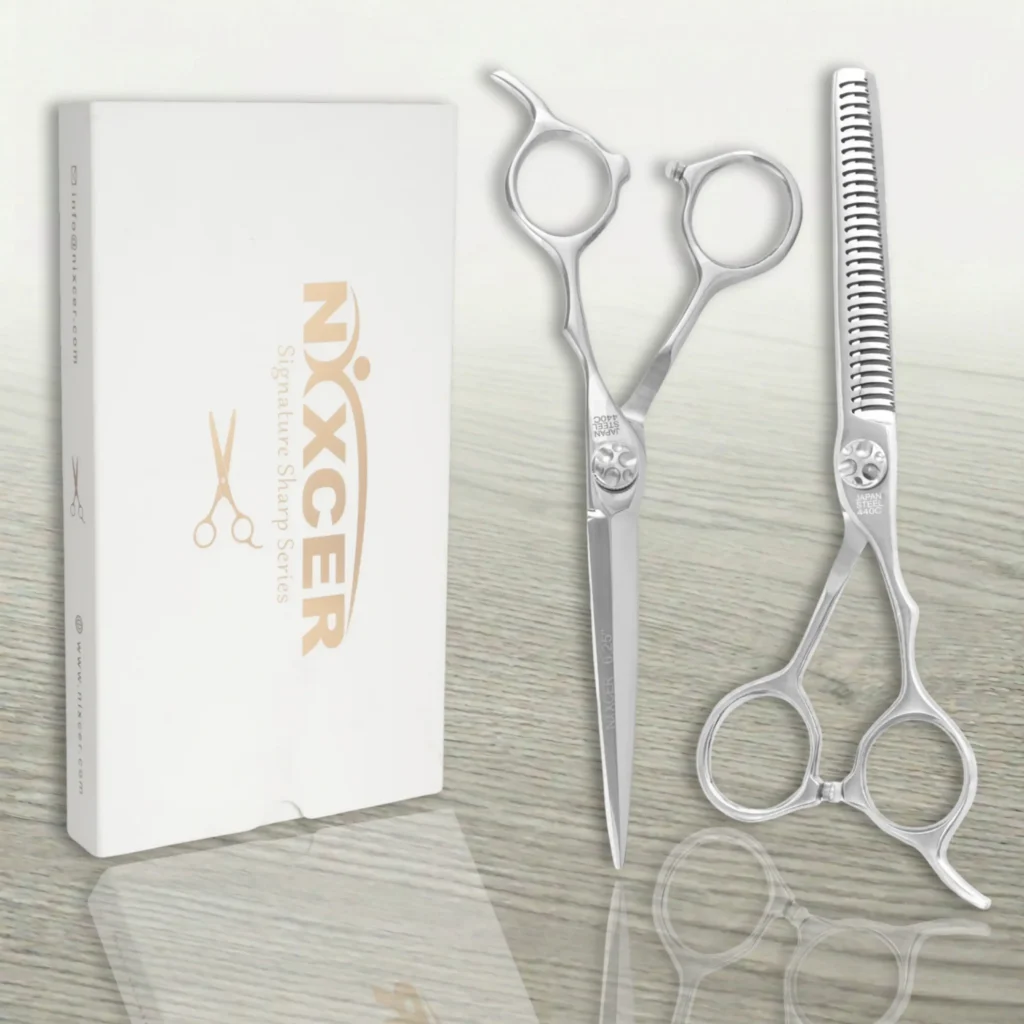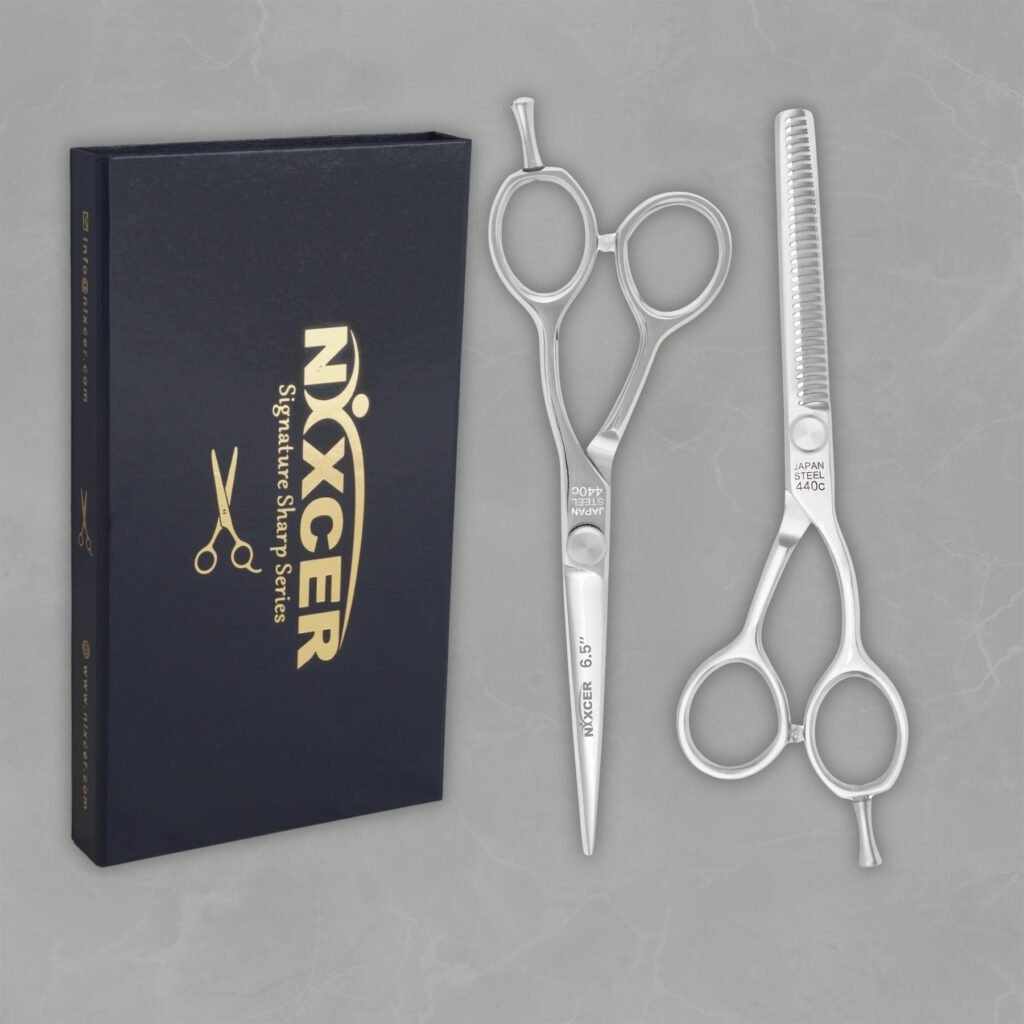
Customizing hair cutting scissors can make a professional toolkit easier to identify, more comfortable to use and more consistent with a stylist’s personal brand. The safest approach is to separate three different goals: appearance, fit and cutting performance.
Color and engraving are mainly aesthetic or identification choices. Finger inserts, a removable finger rest and correct tension can change fit and control. Blade length, edge geometry, handle design and true handedness affect performance, but they should usually be selected when buying the scissors rather than modified later.
Quick answer: Start with reversible customization: fit the finger rings, position or remove the finger rest, set the tension correctly and use a protective case. Order color coatings and engraving from the original manufacturer, authorized seller or a specialist approved for that model. Do not paint, drill, grind, reshape or re-edge professional scissors at home.
Customization Options at a Glance
| Customization | Best time or provider | Main benefit and caution |
| Factory color or finish | Select when ordering | Personal style and quick tool identification; check coating care and availability |
| Laser engraving | Manufacturer, seller or approved engraver | Ownership and branding; may make the item nonreturnable |
| Finger ring inserts | User, with compatible removable inserts | Improves fit; must not pinch or trap the fingers |
| Removable finger rest | User, if the model supports it | Changes support and hand position; confirm stability after adjustment |
| Tension adjustment | User, following model instructions | Fine-tunes blade contact; cannot repair dullness or poor alignment |
| Decorative pivot screw | Select as part of a compatible model | Adds visual detail; replacement parts must match the pivot system |
| Handle, blade or handedness | Select at purchase or through the manufacturer | Major effect on technique and ergonomics; not a safe DIY modification |
| Scissor case or tool roll | User or professional personalization service | Protects and organizes the kit; avoid storage that lets blades collide |
The most useful customization is not always the most visible. A correctly fitted ring and properly set pivot can improve control every day, while a color or engraving mainly helps identity and organization.
1. Choose a Color That Works in the Salon
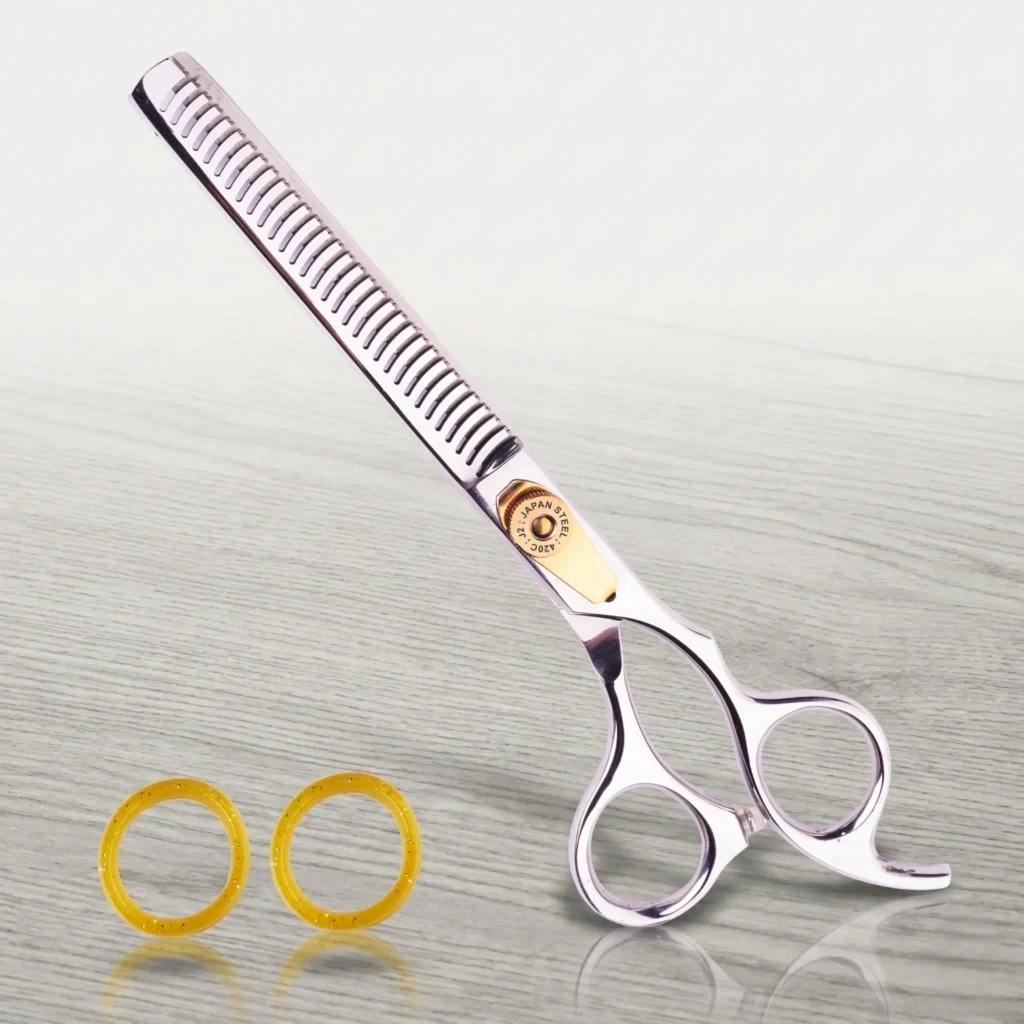
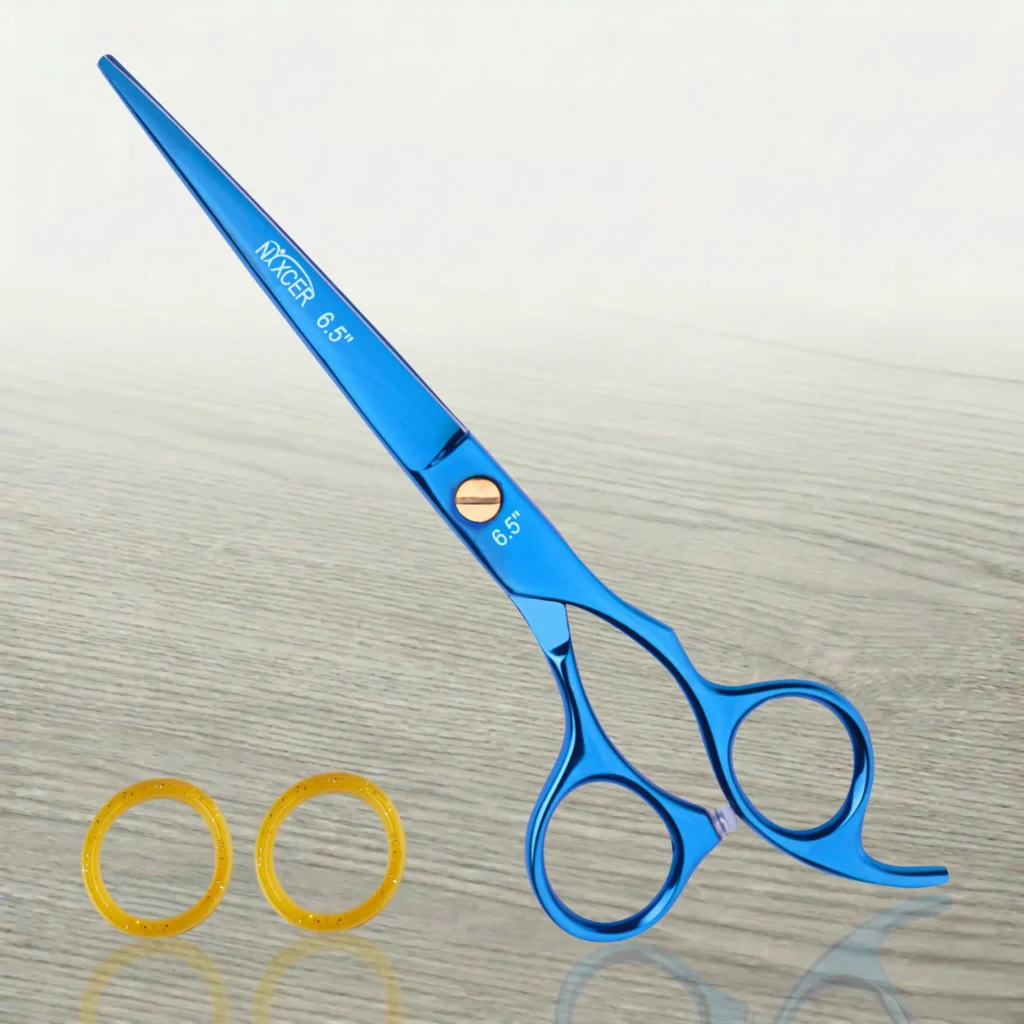
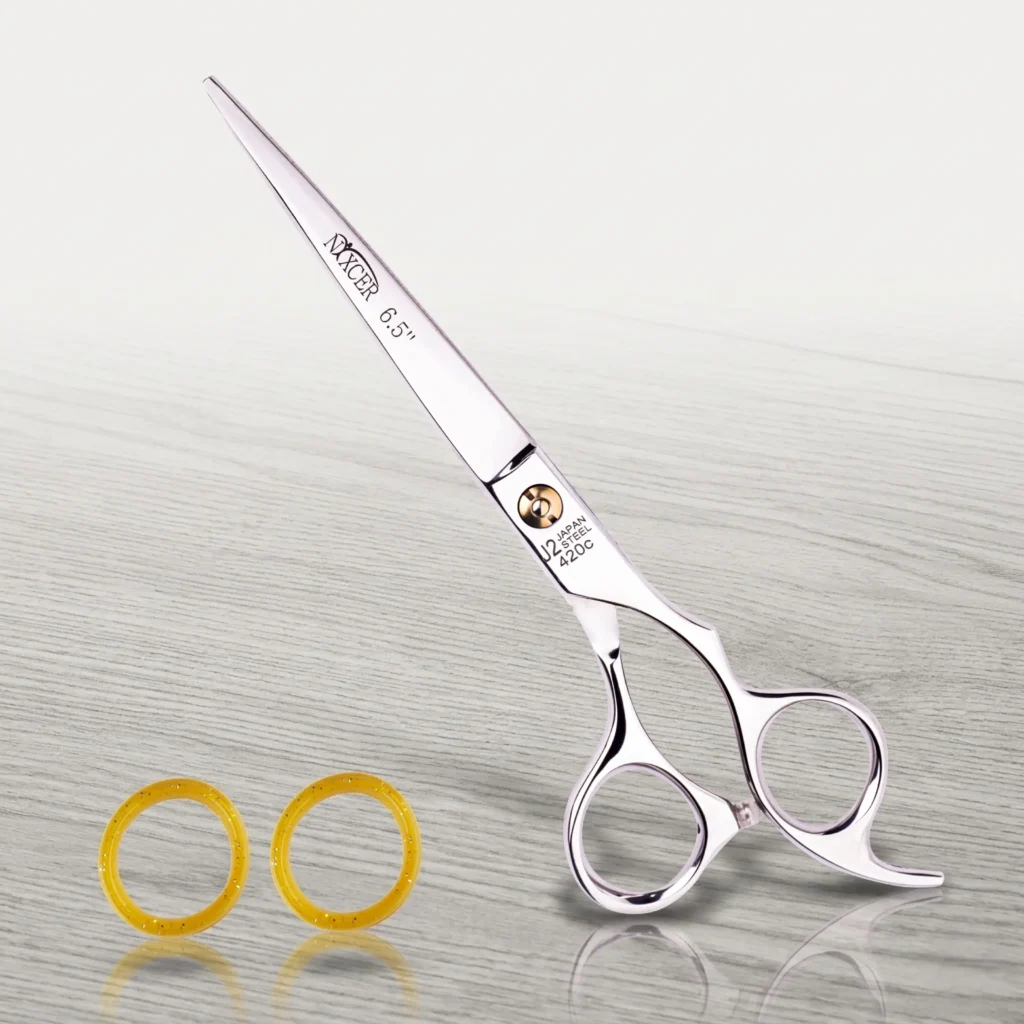
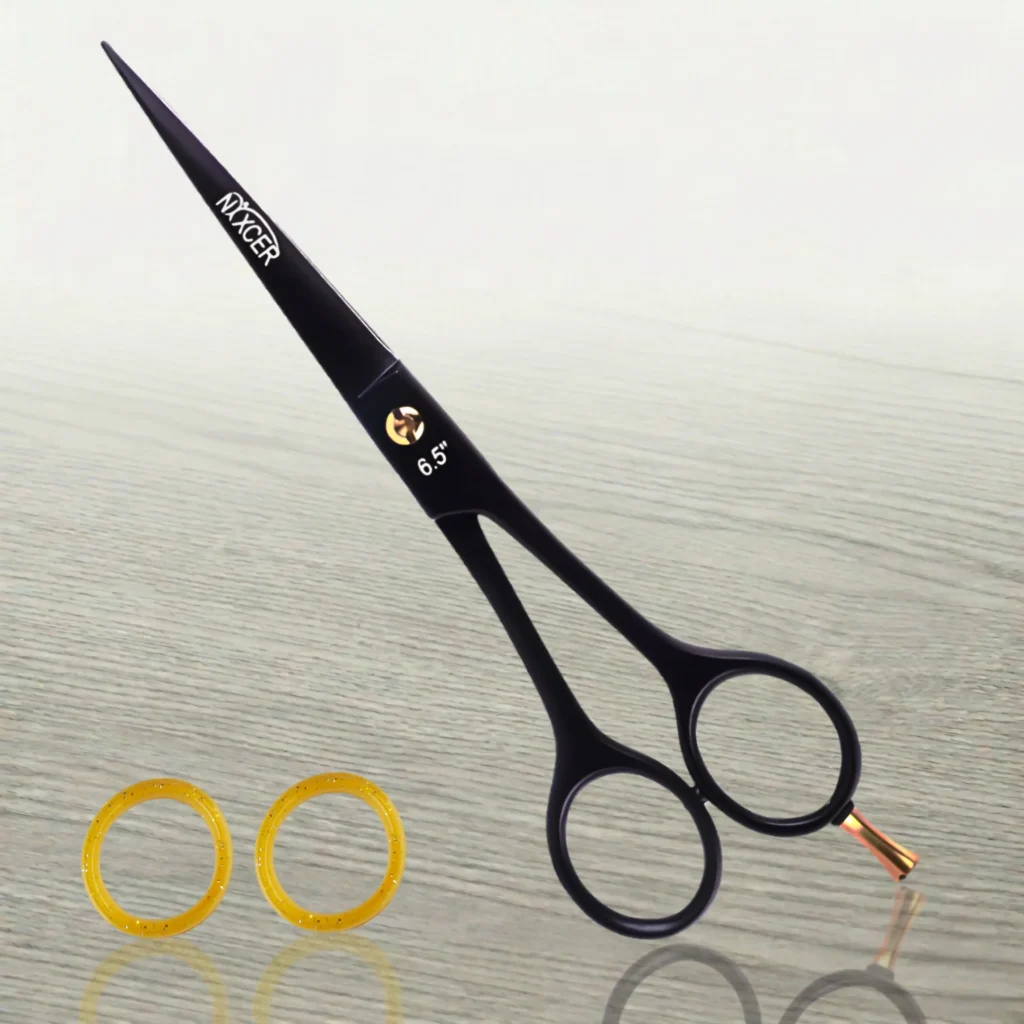
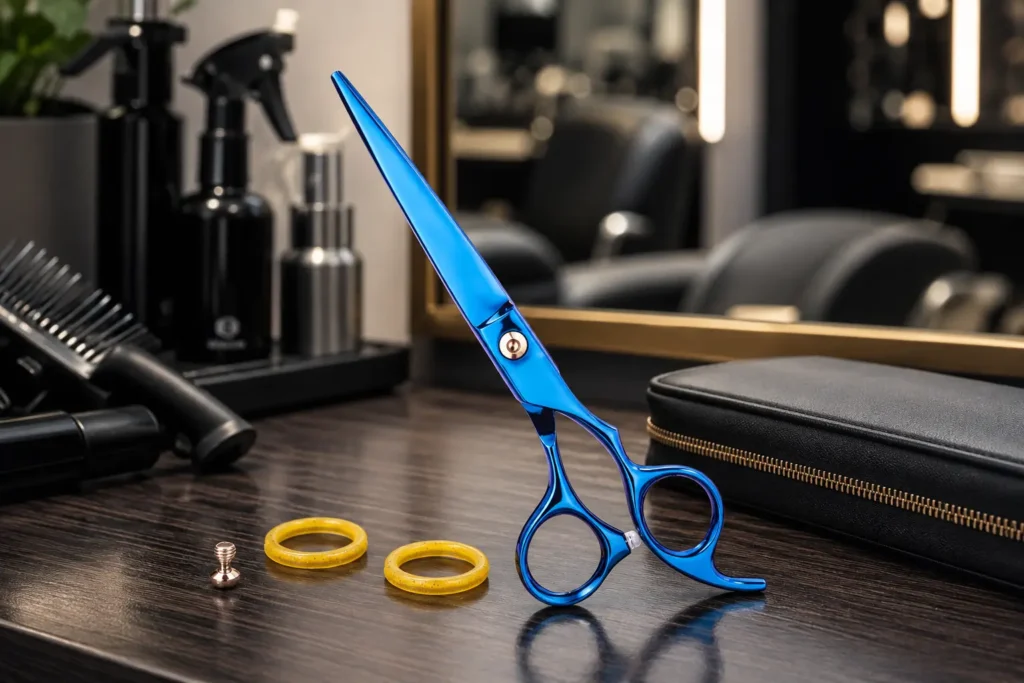
Colored hair cutting scissors are available in classic silver, black, blue, gold, rose gold, sand and rainbow-style finishes. Color can reinforce a personal or salon brand, but it also serves a practical purpose: it helps distinguish a cutting shear from a thinning shear, a dry-cutting tool or another stylist’s scissors.
Factory Color Is the Safest Option
Select the finish from the manufacturer or seller whenever possible. Factory-applied coatings are designed around the scissor’s construction and are applied before final quality control. Some manufacturers restrict color coating to new orders or specific models, which is another reason to choose the finish at purchase.
Do not use nail polish, craft paint, spray paint, adhesive vinyl or an unknown metal coating on professional shears. These materials can chip, collect residue, interfere with cleaning or migrate toward the pivot and blade contact surfaces. Any finish that reaches the cutting edge, ride line or pivot can change how the scissors move.
Color Does Not Define Cutting Quality
A black, gold or rainbow finish does not make a scissor sharper. Cutting performance still depends on steel treatment, blade geometry, alignment, tension, balance and maintenance. Compare the working specifications before choosing the color.
Nixcer’s current shop lists selected professional cutting scissors in multiple finishes, including black, blue, gold, rainbow, sand and silver. Availability varies by product and size, so confirm the live selection when you browse Nixcer hair cutting scissors.
Use Color as a Tool-Code System
A simple color system can make a busy workstation more organized:
- Use one finish for standard cutting scissors.
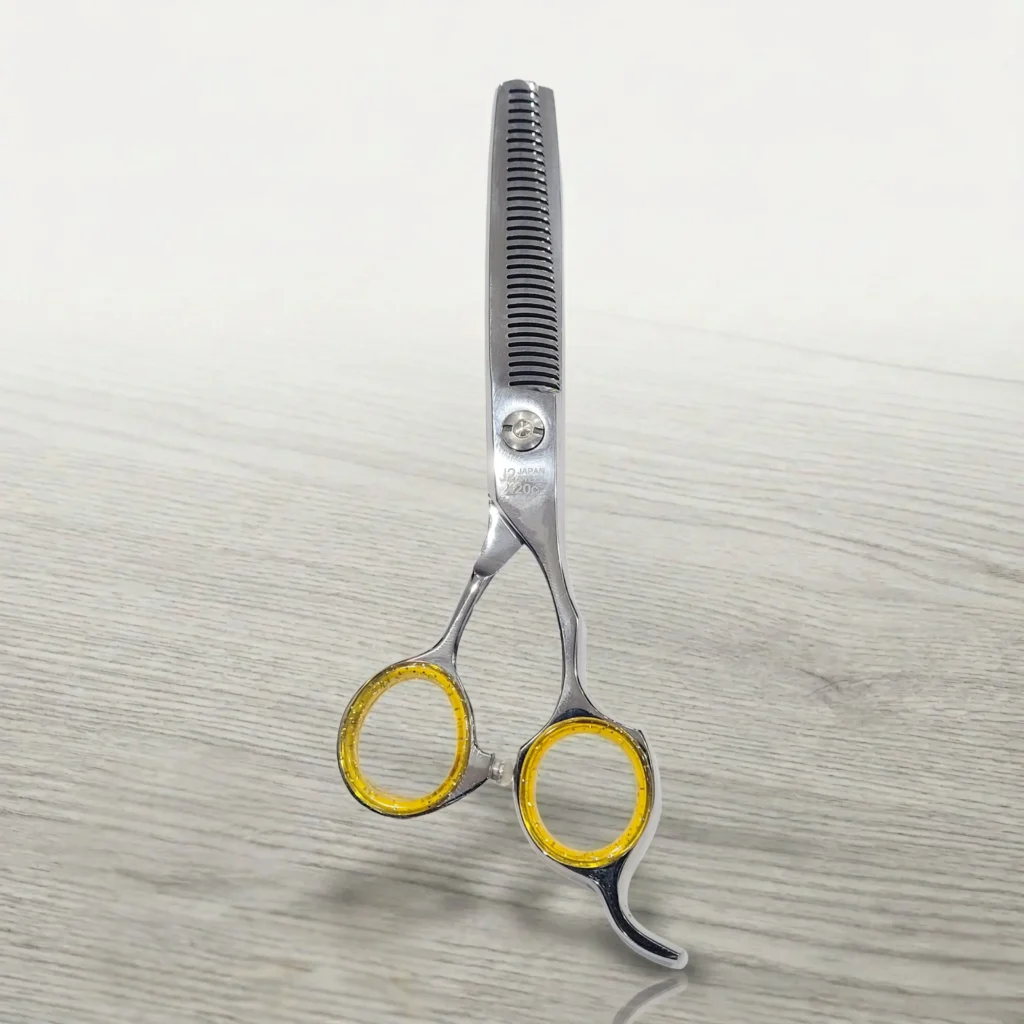
- Use another finish for thinning or texturizing scissors.
- Reserve a distinct color for dry cutting or detail work.
- Match protective sleeves or case slots to the same categories.
The system should be easy to remember. Too many color rules can create confusion instead of preventing mix-ups.
2. Add Engraving for Ownership and Branding
Engraving can identify the owner, display a salon name or add a meaningful short word. In a shared salon, a clear name or set of initials helps prevent accidental swaps. For a graduate, educator or competition stylist, engraving can also mark a career milestone.
Good Engraving Ideas
- First name and last initial
- Professional initials
- Salon or barber brand name
- Employee or station number
- Short motivational word
- Small logo, if the service supports artwork
Keep the text concise. Short engraving is easier to place without crowding the tool or entering a structurally sensitive area.
Placement Matters
The manufacturer or authorized service should select a location that avoids the cutting edge, ride line, pivot, screw threads and high-stress handle areas. Engraving options vary by model. Some services place text on the hollow side of the blade, while others use the blade face or lower handle area.
Never engrave a professional scissor with a handheld rotary tool, punch, chisel or uncontrolled etching chemical. Deep or poorly positioned marks can damage the finish, create rough surfaces or affect future servicing.
Confirm Returns and Warranty First
Personalized products are often treated as custom-made items. That can mean longer delivery times and limited or no returns. Before approving engraving, check:
- Maximum character count and accepted symbols
- Font and placement options
- Proof or preview process
- Effect on returns, exchanges and warranty
- Added production or delivery time
- Whether sharpening or repair services can still be completed normally
Nixcer’s existing article discusses engraving as a customization option, but availability should not be assumed for every current product. Contact the seller before ordering if engraving is essential.
3. Customize Finger Hole Fit
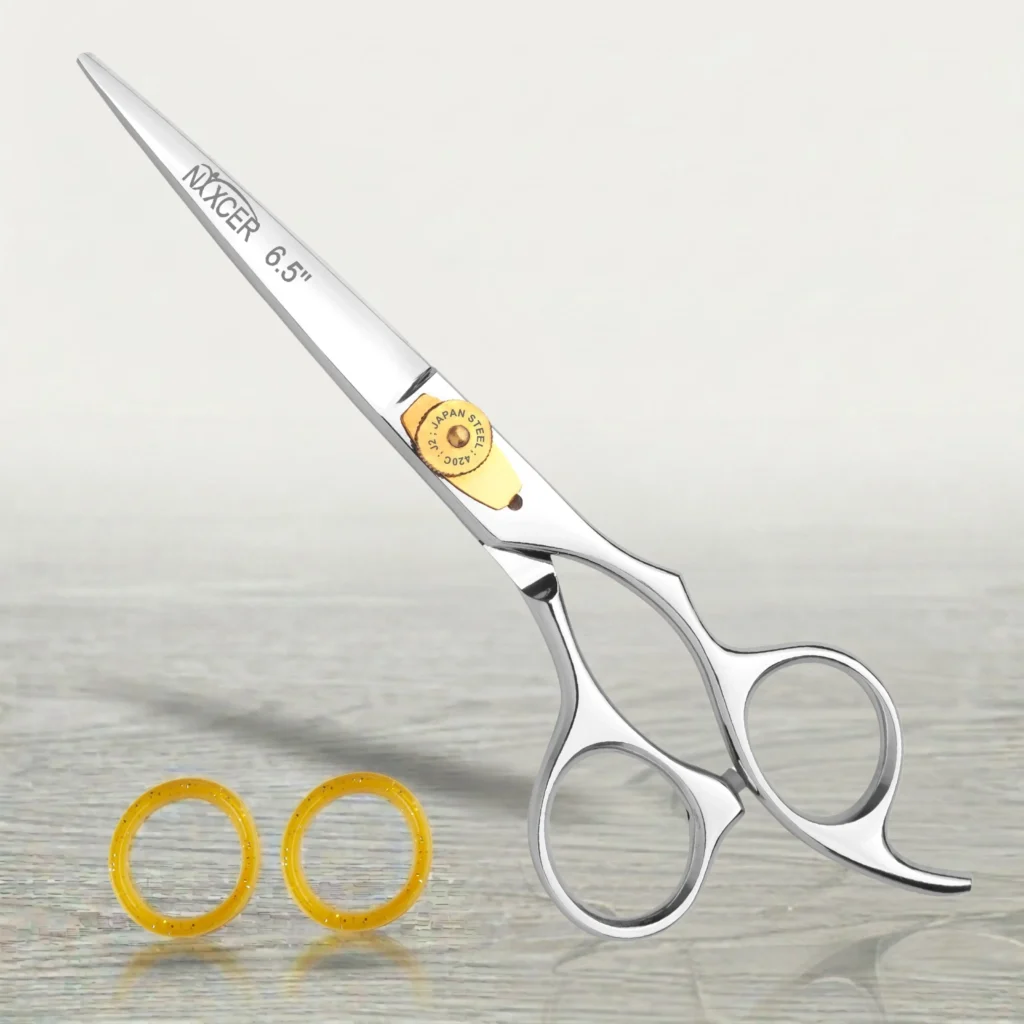
Finger ring inserts are one of the simplest functional changes a stylist can make. These removable rings reduce the inside diameter of a loose finger hole, helping the ring finger feel stable without requiring a tight grip.
The correct fit should support control while allowing circulation and natural movement. The ring finger should not feel pinched, numb or trapped. The thumb must enter and exit smoothly; it should not be forced deep into the ring.
How to Fit Finger Inserts Safely
- Clean and dry the finger holes.
- Choose inserts compatible with the ring size and shape.
- Seat each insert fully so it cannot rotate or protrude.
- Hold the scissor with a relaxed hand.
- Open and close it several times without squeezing.
- Remove or replace the insert if it pinches, catches or changes thumb movement.
Do not glue inserts permanently into professional scissors. Adhesive can make cleaning difficult and complicate replacement. For a more detailed fitting process, use the finger-hole fitting guide.
4. Adjust the Finger Rest Only When the Model Allows It
The finger rest, sometimes called a tang, supports the little finger and can reduce the force needed to stabilize the handle. Some scissors have a fixed rest; others use a removable or screw-in design.
If the rest is removable, test the scissor both ways. Keep it installed when it helps the hand stay relaxed and the blade remain controlled. Remove it only if it creates pressure, forces an awkward angle or conflicts with the cutting grip.
Use the correct tool and avoid overtightening a threaded rest. A loose finger rest can distract the user or fall into the work area. Never saw off a fixed tang or bend the handle; that is a permanent structural alteration that can change balance and damage the finish.
5. Set Tension for Smooth, Controlled Cutting
An adjustable tension screw lets the user fine-tune the contact between the blades. Correct tension helps the scissor close smoothly and cut without unnecessary thumb pressure. It is a performance setting, not a decoration, even when the pivot cap includes a colored or jeweled design.
Tension that is too loose can allow hair to fold, push or slip. Tension that is too tight increases friction, hand effort and wear. Clean and lightly oil the pivot before diagnosing tension because trapped hair or a dry ride area can make the action feel stiff.
Make only small adjustments and follow the instructions for the specific screw or dial. Re-test after every change. A decorative replacement screw must match the model’s thread, washer system and blade set; an attractive but incompatible part can disturb alignment.
Our guide explains how to adjust a hair cutting scissor tension screw safely.
6. Select Handle Design at Purchase
Handle design is a major functional choice, but it is not normally an after-purchase customization.
Classic Handle
A classic or level handle places the thumb and finger rings in a more symmetrical position. Some users prefer its familiar feel, but it may require a higher elbow or more wrist movement in certain cutting positions.
Offset Handle
An offset handle shortens the thumb side and can help the hand work in a more open, relaxed position. The amount of offset varies, so the label alone does not guarantee comfort.
Crane Handle
A crane handle drops the thumb ring farther from the blade line. It can support a lower elbow and more neutral wrist for some techniques.
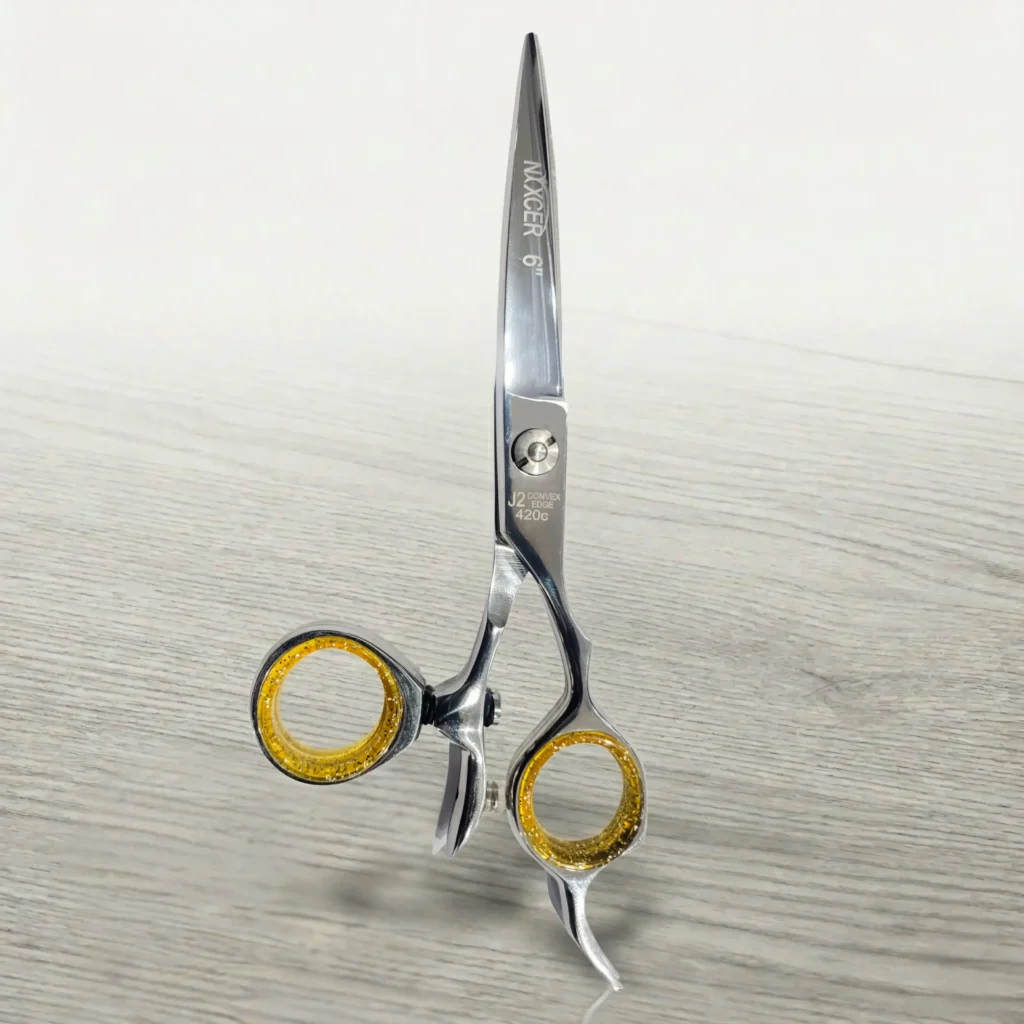
Swivel Thumb
A swivel thumb ring rotates as the stylist changes angle. It can expand hand-position options, but users need time to adapt to the movement.
Test the handle before committing when possible. Converting a standard handle into an offset or swivel design is not a safe workshop modification. Choose the construction that fits the hand from the beginning.
7. Choose Blade Length and Edge for the Technique
Blade length and edge geometry are sometimes described as customization, but they are really model-selection decisions. A 5.0- to 5.5-inch scissor can support detailed work and close tip control. A 5.75- to 6.25-inch shear is a versatile range for general salon cutting. Longer 6.5- to 7-inch scissors can cover broader sections and support scissor-over-comb work.
A convex edge can provide a smooth, low-resistance cutting feel for slide work and refinement. A semi-convex edge balances smoothness and edge support. A beveled or micro-serrated edge can add grip for controlled lines. No edge is automatically best for every stylist or technique.
Do not try to convert one edge into another with a home sharpener. Blade grinding, tip reshaping, shortening and serration require precision equipment and model-specific expertise. Learn the selection differences in our guide to hair cutting scissor blade types.
8. Personalize the Case, Not the Cutting Surfaces
A case is a low-risk place for strong personalization. Add a name, salon logo, color-coded tags or labeled compartments without altering the scissors themselves.
A useful professional case should:
- Hold each scissor in a separate secured position.
- Prevent the tips and cutting edges from striking other tools.
- Keep the interior dry, clean and free from loose hair.
- Provide space for an adjustment key, oil pen and cleaning cloth.
- Open in a way that makes the correct tool easy to identify.
Avoid tight elastic that presses blades together or uncovered compartments where tips can collide. Do not store damp or chemically contaminated tools in a closed case.
Decorative vs. Functional Customization
Decorative Customization
Color, engraving, decorative pivot caps and personalized cases mainly affect appearance, identity and organization. These choices can strengthen a professional brand, but they should not be sold as substitutes for fit or cutting quality.
Functional Customization
Finger inserts, a compatible finger rest and correct tension can directly affect control and comfort. Choosing the right handle, length, edge and handedness also changes performance, but those decisions are best made before purchase.
For a performance-first approach, read how to customize hair cutting scissors for optimal performance.
What Not to Customize at Home
Leave these changes to the original manufacturer or a qualified professional:
- Regrinding a convex or beveled edge
- Adding serrations
- Drilling or enlarging finger holes
- Bending or reshaping handles
- Shortening or narrowing blade tips
- Applying heat, plating or chemical coatings
- Replacing the pivot with an unverified screw
- Removing a fixed finger rest by cutting or grinding
- Correcting blade alignment or a bent set
Professional shears work as a precisely aligned system. A small material change can affect blade contact, balance, tension and future sharpening. If a scissor no longer fits the hand or technique, selecting another model is usually safer than physically altering the tool.
How to Plan a Custom Scissor Order
Use this order of decisions to avoid paying for a beautiful tool that does not suit the work:
- Define the main technique: precision, point cutting, slide cutting, dry cutting, scissor-over-comb or texturizing.
- Choose true right- or left-handed blade orientation.
- Select blade length, profile and edge geometry.
- Choose the handle design and test finger-hole fit.
- Confirm the tension system and available replacement parts.
- Select the color or finish from supported factory options.
- Approve engraving text, placement and spelling.
- Review warranty, return and service terms for the customized item.
- Choose a protective case and maintenance accessories.
- Inspect cutting action, finish and engraving when the scissors arrive.
Performance choices come first because engraving and color cannot correct an unsuitable handle, length or edge.
Current Nixcer Options for a Personalized Kit
The Professional Sharp Series Razor Edge Hair Cutting Scissors are currently represented in the Nixcer shop with multiple color variants and 6- or 6.5-inch sizes. Use the live product selector to confirm the combination available at checkout.
The Barber Hair Cutting Scissors Japanese Steel currently list black, blue, gold and silver color options, a 6.5-inch size, offset grip and adjustable screw. This can suit a stylist who wants a coordinated color while prioritizing a longer everyday or barbering profile.
The Signature Sharp Series ARC Hair Cutting Shears are listed with a silver finish, 6.25-inch length, convex edge and adjustable tension. This is an example of choosing functional geometry first and keeping the appearance restrained.
Product options, prices and availability can change. Treat the live product page as the final specification and ask Nixcer directly about any customization not shown in the selector.
Care for Colored and Engraved Scissors
Wipe the scissors with a soft dry cloth after use and remove hair from the pivot area. Apply the recommended scissor oil to the pivot and ride area, then operate the blades gently to distribute it. Keep disinfectants and cleaning products within the manufacturer’s instructions because aggressive chemicals can affect some decorative finishes.
Do not use abrasive pads or metal polish on coated scissors unless the manufacturer explicitly approves it. Abrasives can dull a matte finish, scratch a colored coating or remove printed details. Engraved recesses should remain clean and dry; do not pack them with wax or paint.
Store the scissors closed and protected, with the edge separated from other tools. Regular lubrication supports smooth action; see why oiling hair cutting scissors regularly is part of professional care.
Common Customization Mistakes
- Choosing a finish before confirming the correct length, edge and handle.
- Assuming a colored coating improves sharpness.
- Engraving before checking spelling, placement and return terms.
- Using inserts that pinch the fingers or trap the thumb.
- Overtightening the pivot to make the scissors feel “precise.”
- Installing a decorative screw that is not designed for the model.
- Painting, grinding, drilling or chemically etching the scissors at home.
- Using abrasive cleaners on a coated finish.
- Permanently gluing removable accessories.
- Altering a new scissor before testing it and confirming the warranty.
Final Thoughts
Customizing hair cutting scissors should begin with the way the tool fits and performs. Finger inserts, a compatible finger rest and correct tension are practical, reversible changes. Handle design, blade length, edge geometry and handedness should be selected at purchase. Factory color, professional engraving and a personalized case can then add identity without compromising the working surfaces.
The safest rule is simple: customize appearance through approved services, customize fit with compatible removable parts and leave structural or blade work to qualified professionals. A personalized scissor should remain a precise professional instrument first and a style statement second.
Frequently Asked Questions
Can hair cutting scissors be customized?
Yes. Common options include factory color, professional engraving, finger ring inserts, a removable finger rest, adjustable tension and a personalized case. Handle, blade and handedness choices are usually selected when buying rather than altered later.
Does engraving damage hair cutting scissors?
Professional engraving in an approved location should not interfere with normal use. Poorly placed, deep or DIY engraving can damage the finish or create servicing problems, so use the manufacturer, seller or an approved specialist.
Can engraved scissors be returned?
Often not. Many sellers treat engraved scissors as custom-made products with restricted returns. Check the exact return, exchange and warranty policy before approving the engraving.
What can I engrave on hair scissors?
Popular choices include a name, initials, salon name, short word or small logo. Character limits, fonts, symbols and placement vary by service and scissor model.
Are colored hair cutting scissors as good as silver scissors?
They can be. Color does not determine cutting quality. Compare steel treatment, blade geometry, alignment, tension, balance, ergonomics and maintenance requirements.
Can I paint my hair cutting scissors?
No. Household or craft paint can chip, collect residue and interfere with cleaning or moving parts. Choose a factory finish or a manufacturer-approved professional coating.
How do I make finger holes smaller?
Use removable finger ring inserts compatible with the scissor. The fit should be secure but not tight, and the thumb must enter and exit freely without sticking.
Can I replace the tension screw with a decorative one?
Only if the replacement is made for the exact pivot system. Thread, washer and blade-set differences can affect alignment and cutting action. Confirm compatibility with the manufacturer or technician.
Does customization affect the warranty?
It can. Third-party engraving, coating, drilling, grinding or replacement hardware may limit coverage. Read the warranty and obtain written approval before permanent changes.
What is the safest way to personalize professional hair shears?
Choose a supported factory color, order professional engraving, use removable finger inserts and personalize the case. Avoid changes to the blade, pivot, ride line or handle structure.