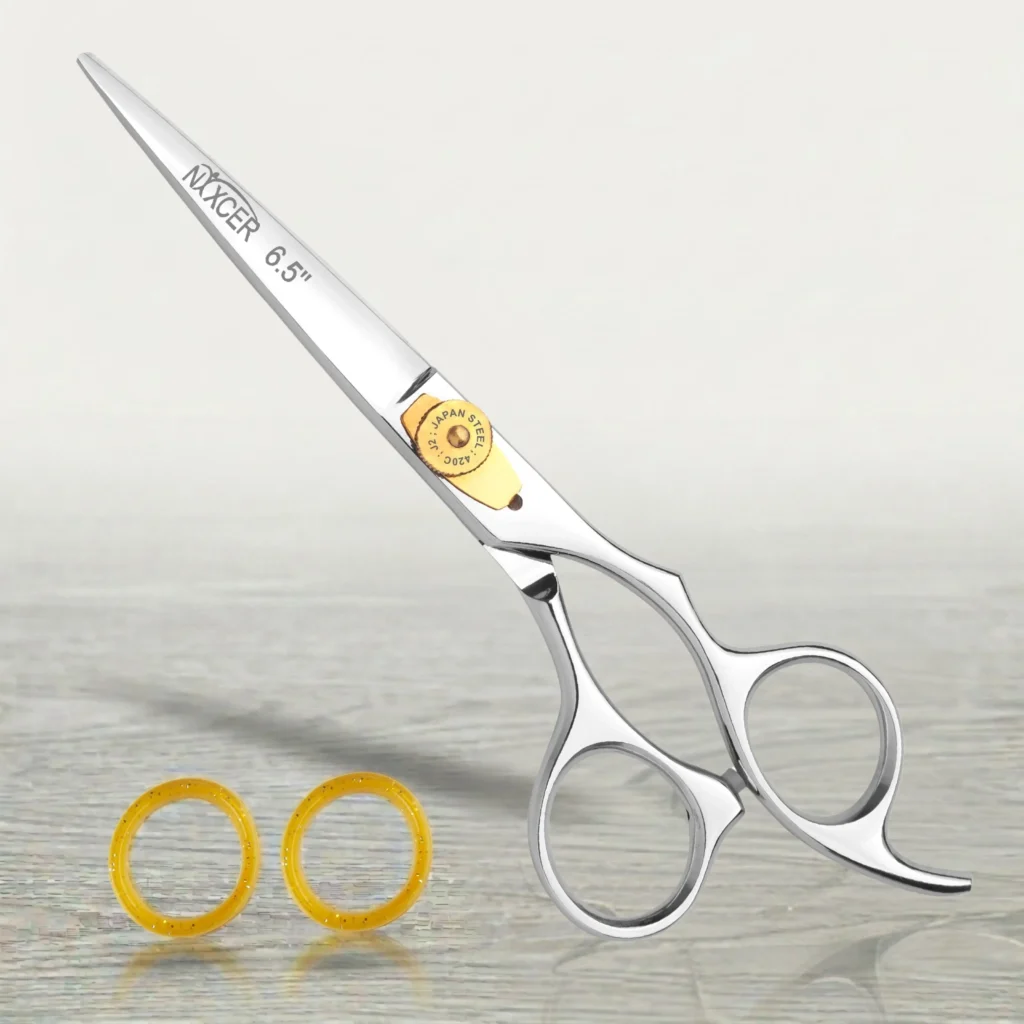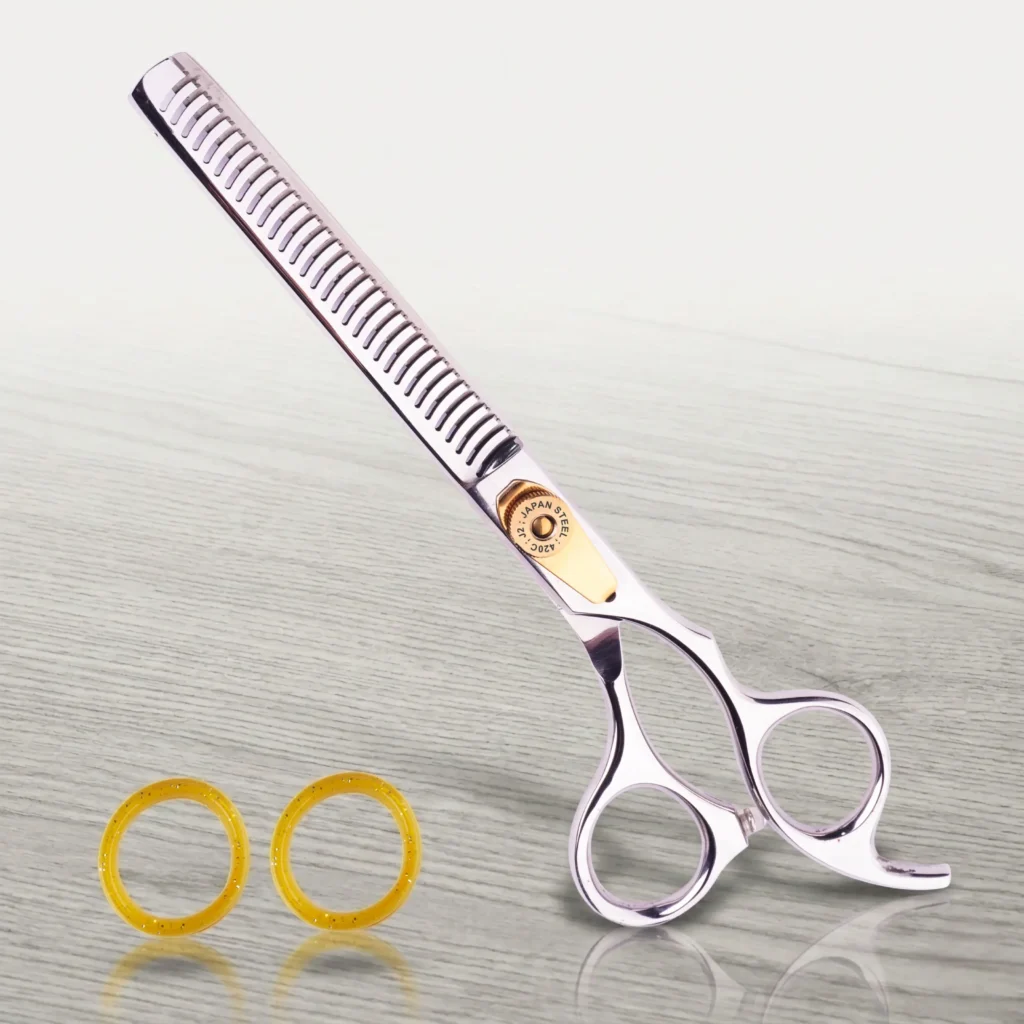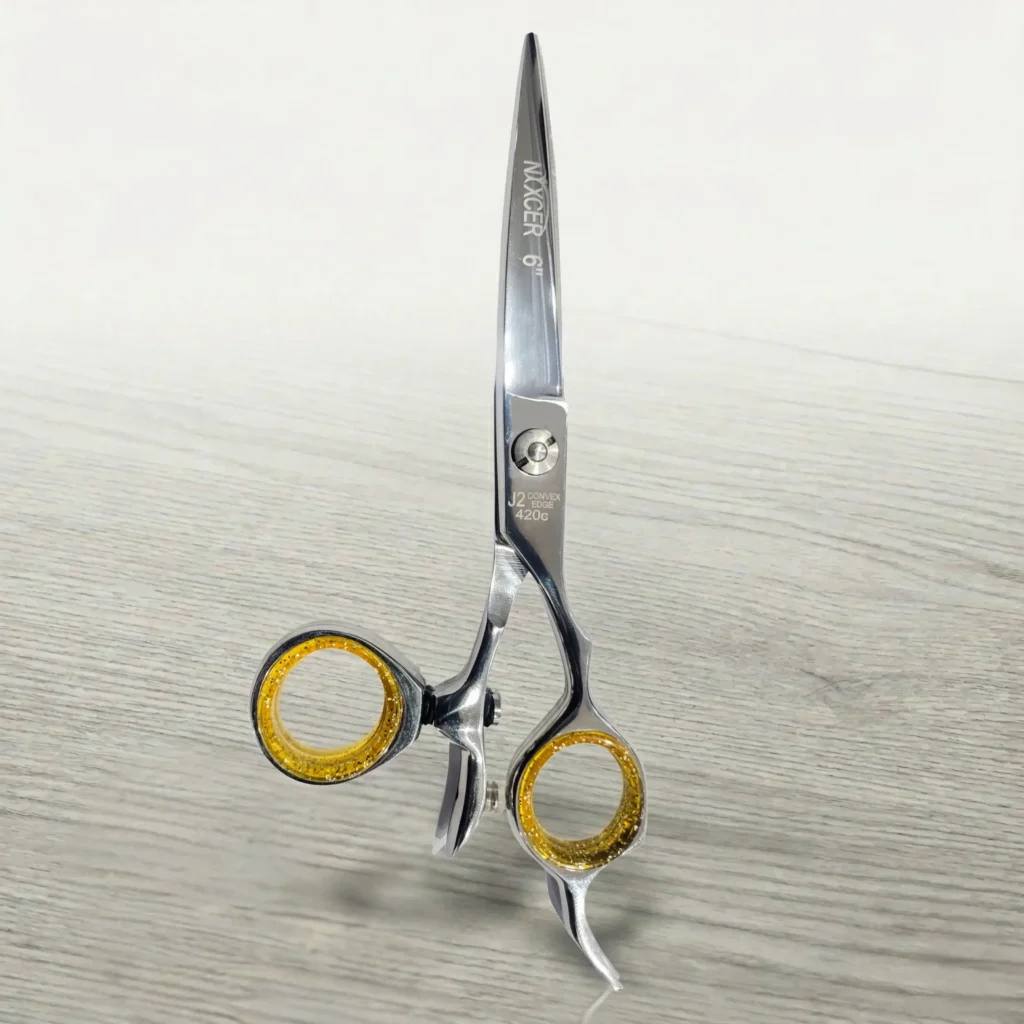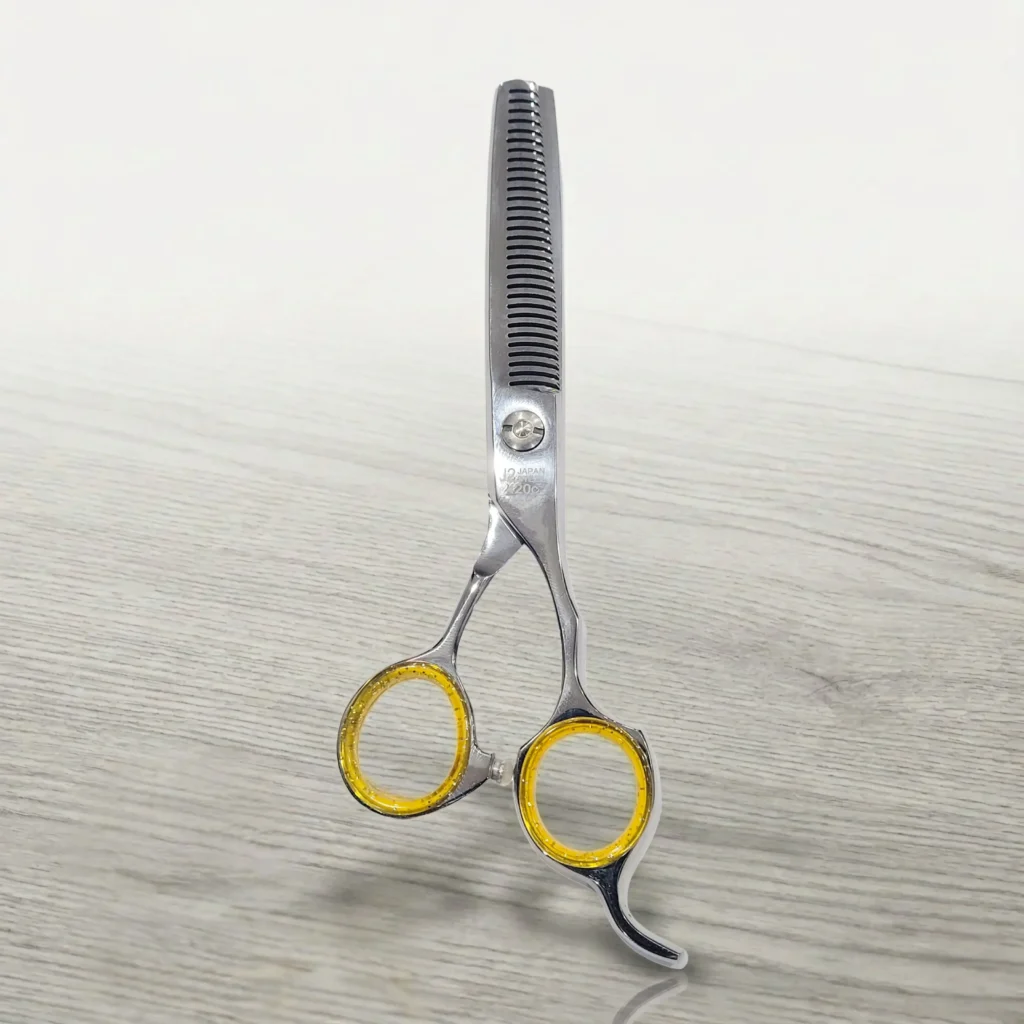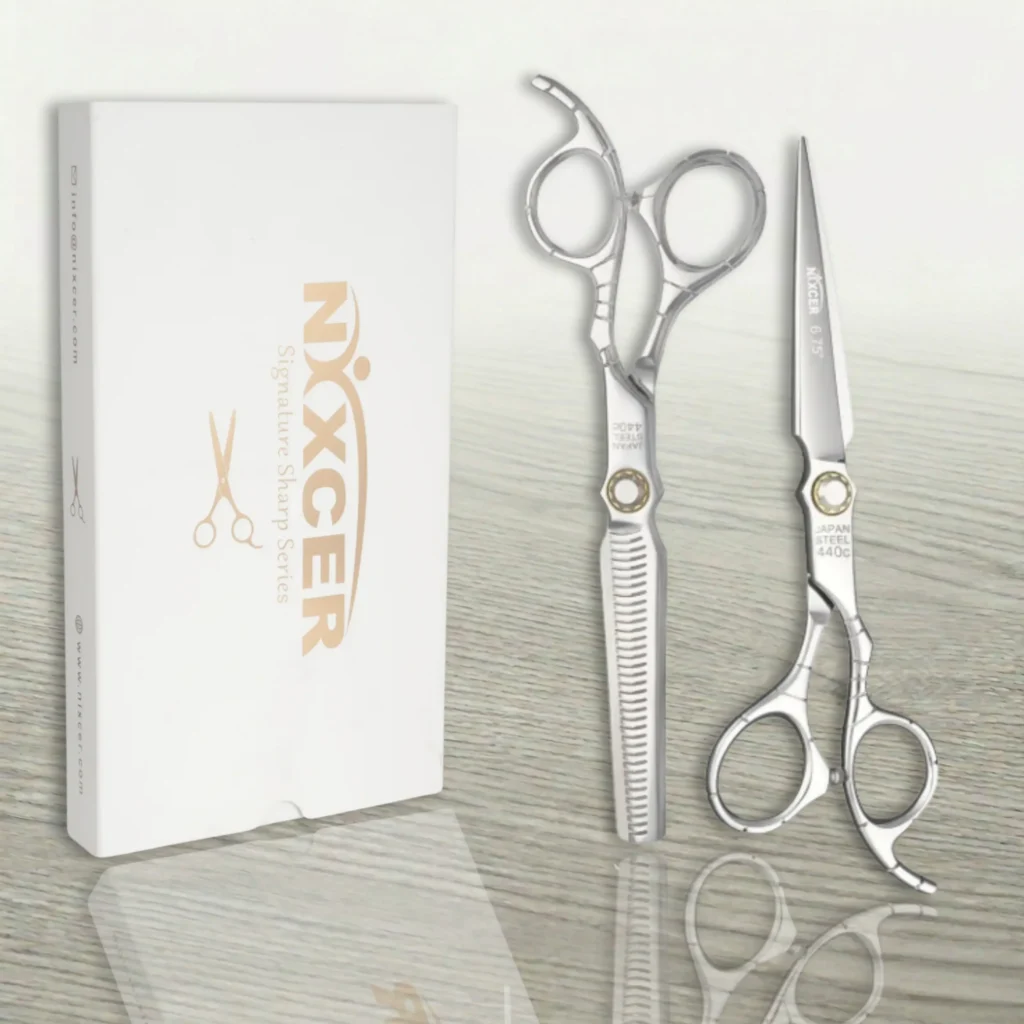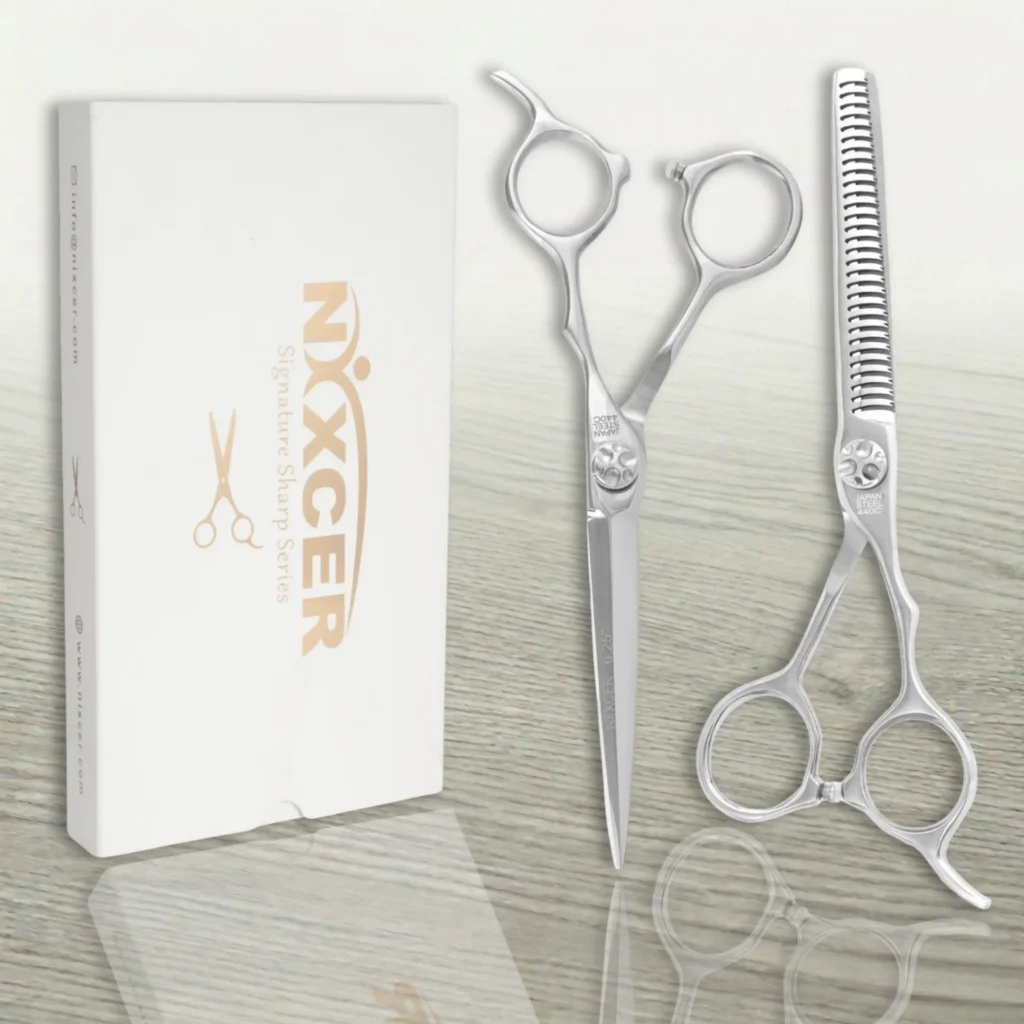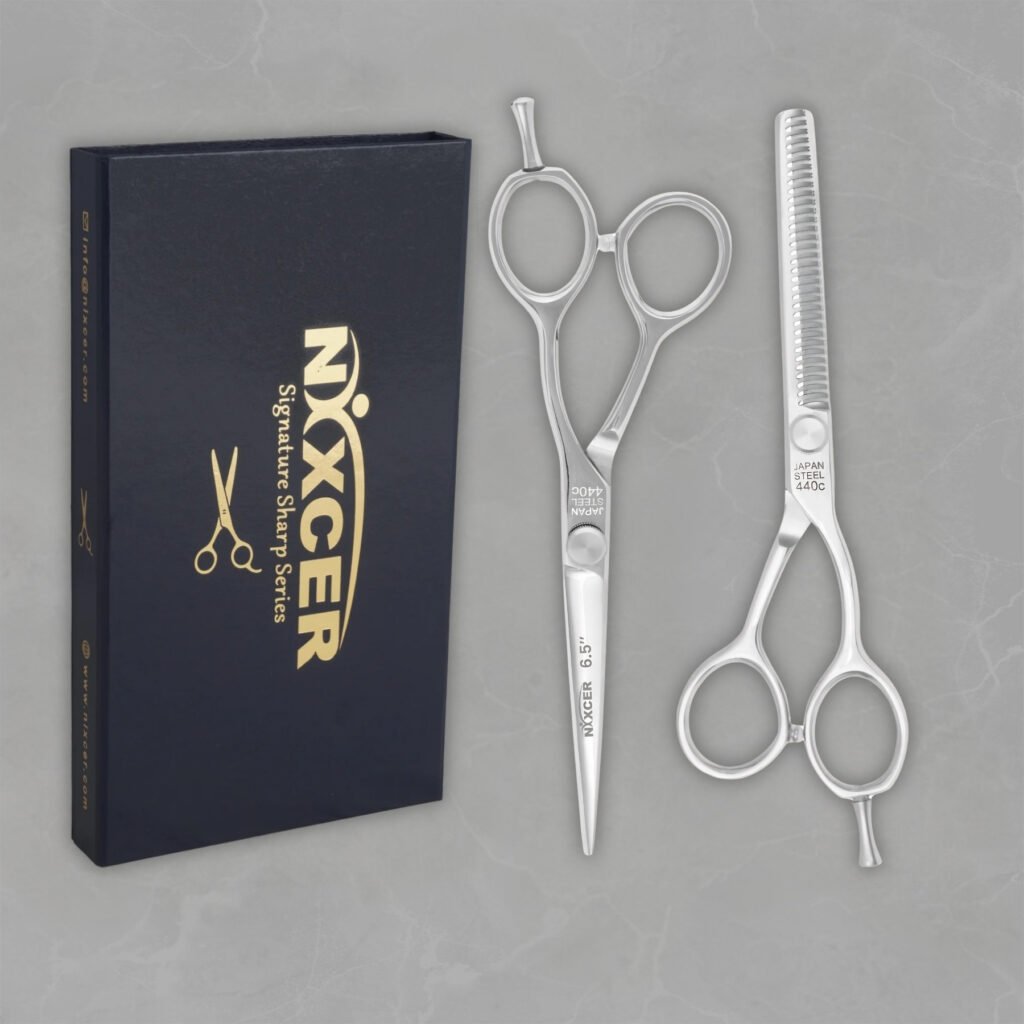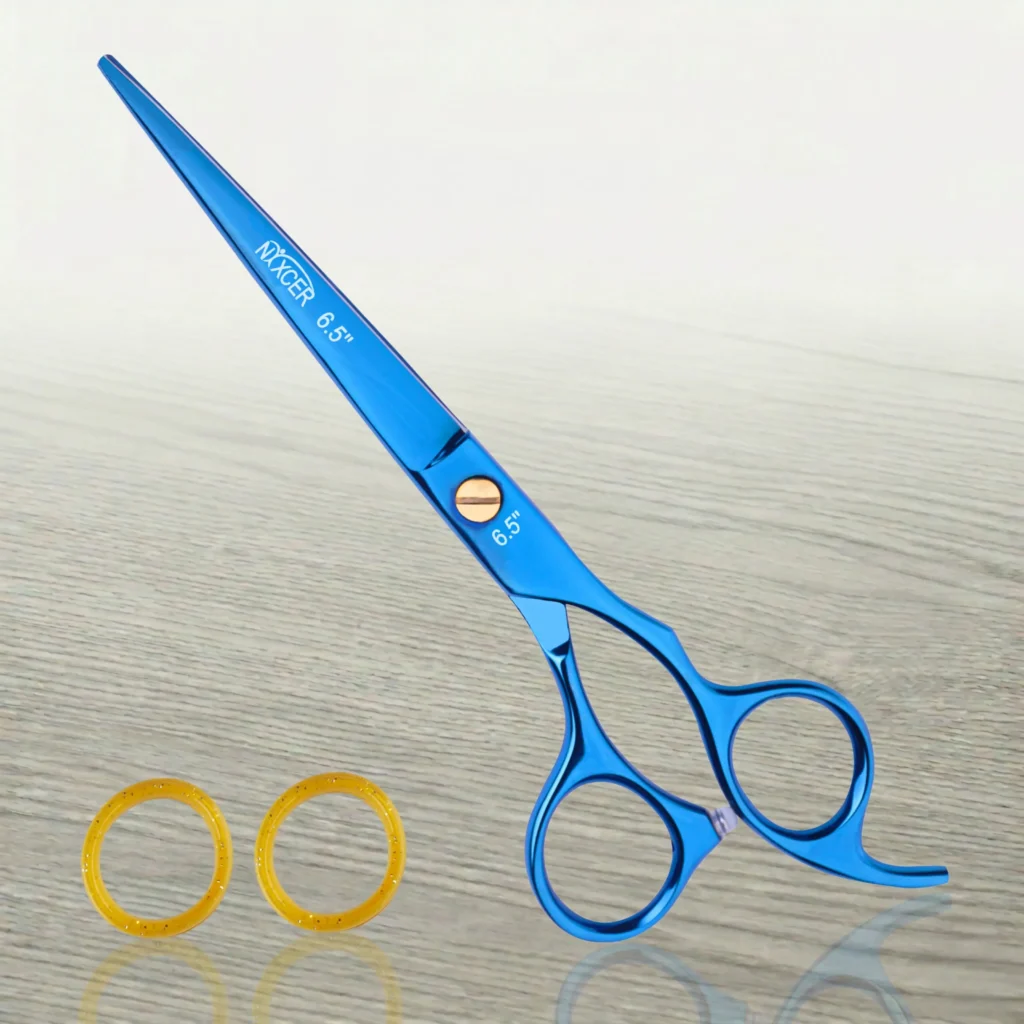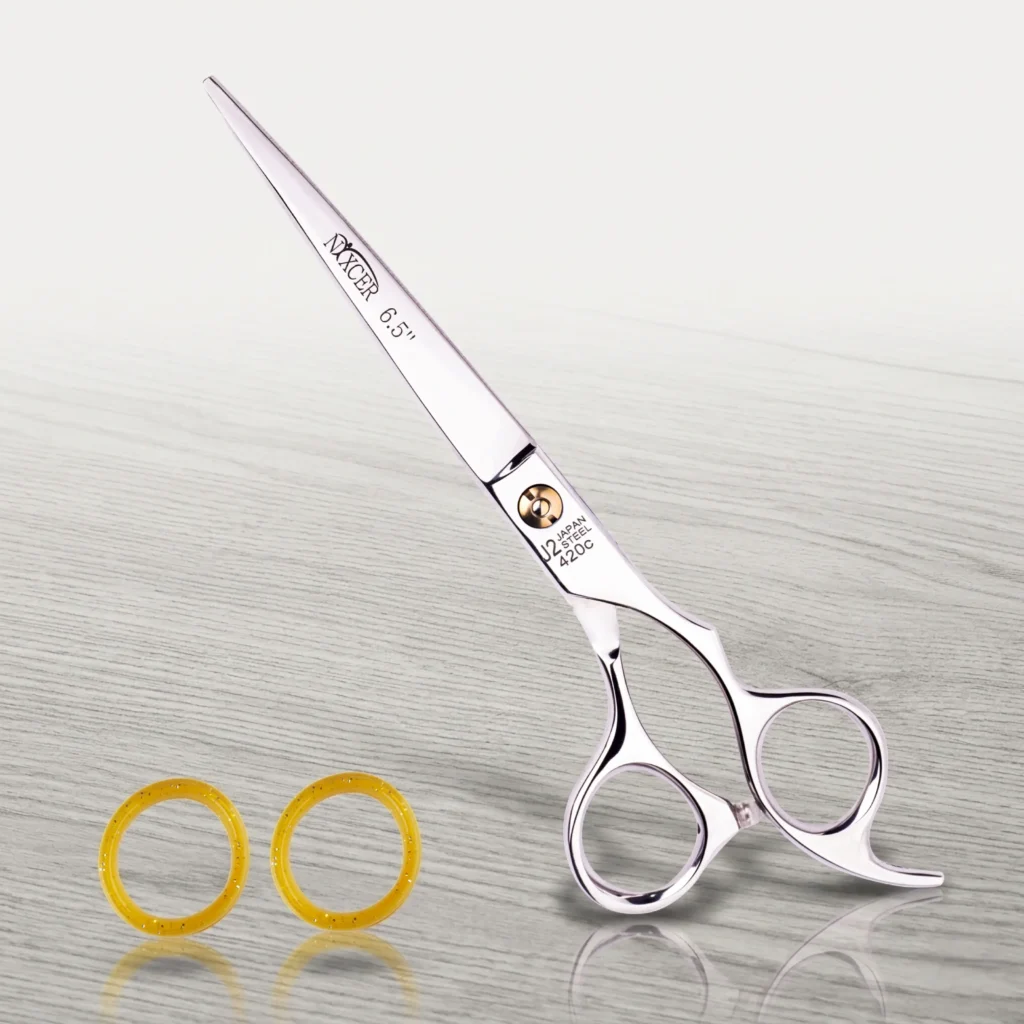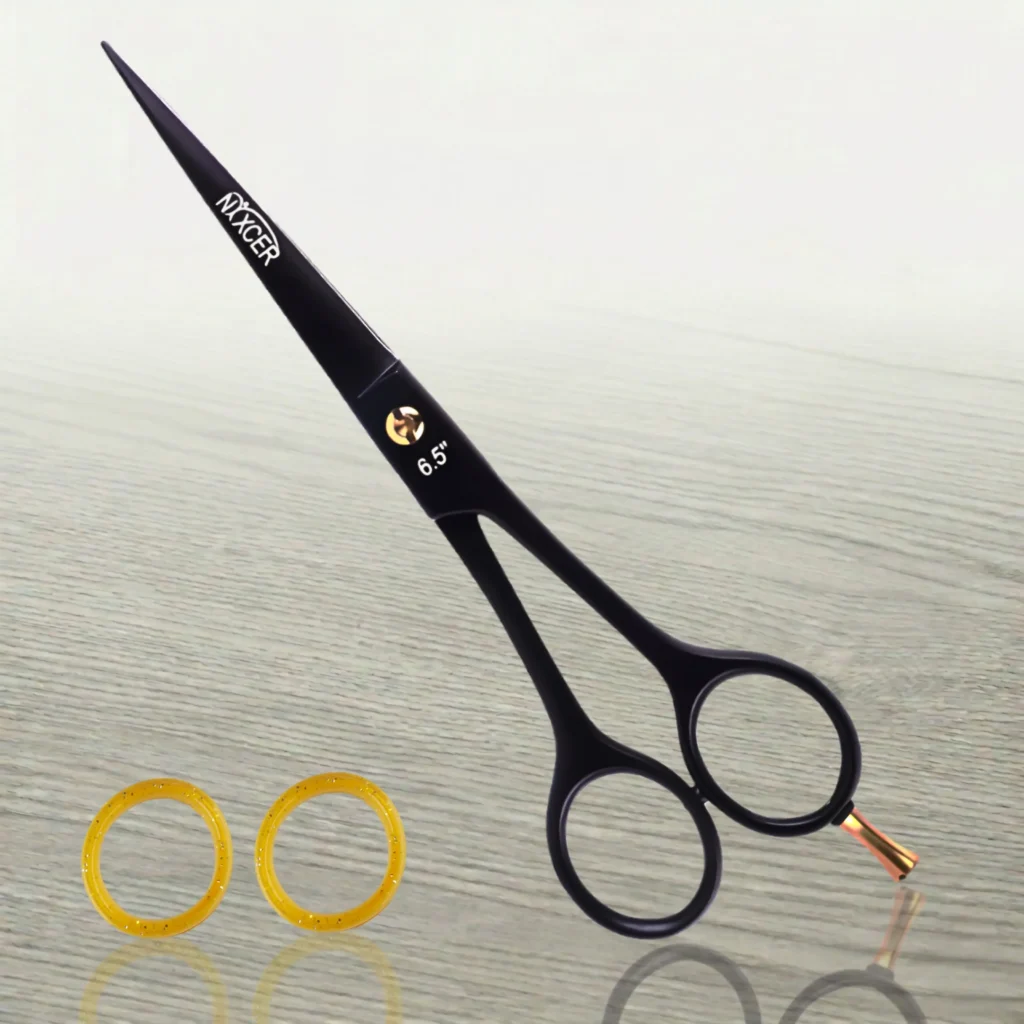
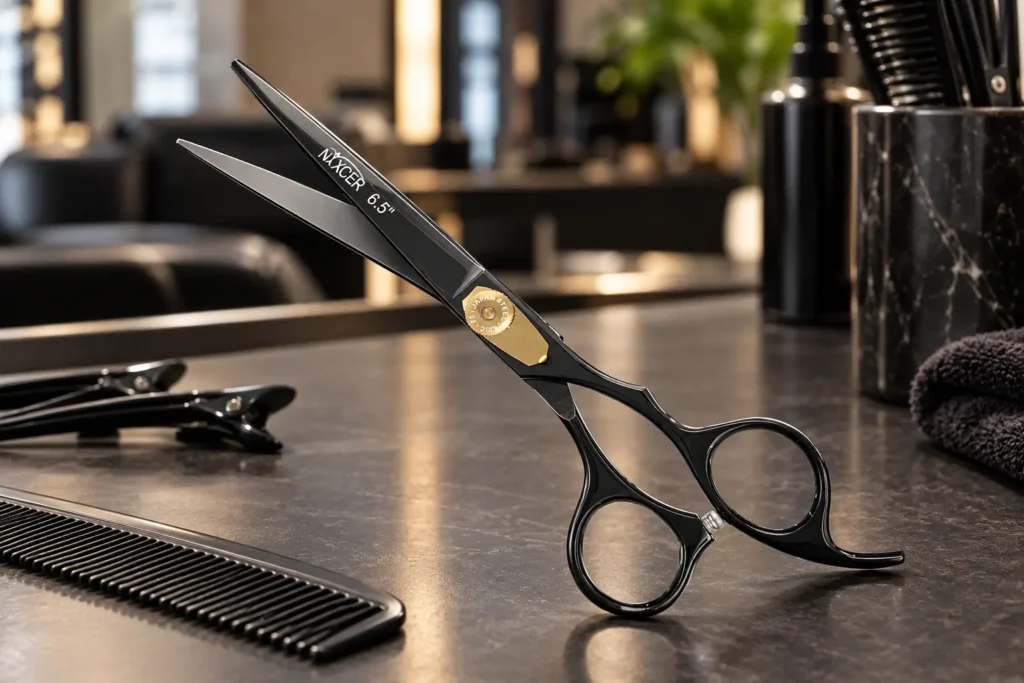
Hair cutting scissors consist of two blade halves joined at a pivot. Each half includes a blade, cutting edge, tip, handle arm, and finger opening. Many professional models also have a tension adjuster, finger rest, bumper, and removable ring inserts. Some include bearings or other parts inside the pivot. Thinning scissors add a toothed blade that changes how much hair each closure removes.
Knowing these parts helps you compare tools, hold a shear comfortably, and explain where a problem occurs. Blade length affects reach, handle geometry affects fit, and the pivot helps the edges maintain contact as they pass. These features work together, so a sharp edge alone does not tell you how the complete tool will feel or perform.
Quick Answer
The main parts of hair cutting scissors are the blade tips, cutting edges, blade bodies, inner faces, pivot, tension screw, shanks, thumb ring, and finger ring. Common additional parts include the finger rest or tang, bumper or silencer, and ring inserts. On some hollow ground shears, the ride line is a narrow contact surface along the inner blade. The exact names and construction vary by maker, so check the model’s manual before adjusting or replacing a part.
Hair Cutting Scissor Parts at a Glance
| Part | Location | Main function |
| Tip or point | End of each blade | Provides access for detail and point cutting |
| Cutting edge | Sharpened length of the blade | Shears hair as the edges pass each other |
| Blade body and back | Metal between the pivot and tip | Supports the edge and determines the blade profile |
| Inner face and ride line | Inward facing blade surface | Helps control contact and clearance between blade halves |
| Pivot and tension adjuster | Joint joining the two halves | Allows rotation and controls the blade contact setting |
| Shank or handle arm | Between pivot and ring | Connects the grip to the blade and affects reach |
| Thumb and finger rings | Openings at the handle end | Position the thumb and ring finger in a conventional grip |
| Finger rest or tang | Projection beside the finger ring | Supports the little finger when the grip uses it |
| Bumper or silencer | Stop between the handle halves on many models | Cushions the final part of the closing stroke |
| Ring inserts | Removable liners inside some rings | Reduce an oversized opening for a better fit |
| Thinning teeth | Along one or both blades of a thinning shear | Cut selected strands rather than the whole section |
Blade Bodies and Cutting Edges
The blade body is the metal arm extending from the pivot toward the tip. The cutting edge is the sharpened boundary that actually meets the hair. They are related but different: a broad blade can have a fine convex edge, and a slim blade can have a beveled edge.
The back, sometimes called the spine, is the outer boundary opposite the cutting edge. Width, thickness, and profile contribute to the finished tool’s strength, weight, and handling. JOEWELL describes wider blades as useful for more powerful work and fine points as useful for detail. These are design characteristics rather than guarantees about every shear bearing the same label.
The heel is the portion of the cutting blade closest to the pivot. The middle and tip complete its working length. You do not have to use the whole length for every cut. A broad perimeter and a small point cut present hair to different parts of the blade.
For a fuller comparison, read Nixcer’s guide to different scissor blade types.
Moving Blade and Still Blade
In a conventional professional grip, the blade connected to the thumb ring is operated mainly by the thumb. It is commonly called the moving or dynamic blade. The blade connected to the finger ring is stabilized by the fingers and is called the still or static blade.
The still blade is not physically locked in place. Both halves can rotate at the pivot, and the whole shear moves through space during a haircut. The names describe their roles in the standard grip. Changing grip or orientation can change how the stylist guides the tool.
Keeping the finger blade stable can make the guide easier to follow. The thumb creates a controlled opening and closing action while the other fingers support the tool. Avoid using a full hand squeeze to force an oversized section through the blades.
Blade Tips and Points
The tips are the ends farthest from the pivot. Fine points can help with small sections, point cutting, and detailed finishing. Broader or rounded points offer a different contact shape. A rounded tip can reduce the chance of a pointed puncture, but the cutting edges can still injure skin.
Tip design does not determine where every cut begins. A stylist may begin a closure near the heel, middle, or tips according to the technique. During point cutting, the tips enter the ends of a section at a controlled angle. During a blunt cut, more of the blade may pass across the guide.
If the tips catch, cross unusually, or stop cutting after a drop, remove the shear from client work and arrange inspection. Do not bend them back by hand. Nixcer’s point cutting guide explains controlled tip use.
Edge Geometry and Blade Line
Edge geometry describes the shape of the metal immediately behind the cutting edge. A convex edge has a rounded outer profile that leads into the edge. A beveled edge has a more defined flat bevel. Semi convex terminology describes intermediate designs and varies between manufacturers.
Blade line describes the lengthwise shape seen from above. It may be relatively straight or curved. This is separate from the edge’s cross section. A convex edge does not necessarily mean the whole blade is strongly curved.
JOEWELL explains that straighter blade lines tend to hold hair more readily, while more curved lines encourage sliding. That helps explain why a shear suited to a firm blunt line can feel different during slicing. Choose according to the actual edge finish, blade line, and intended technique.
Some beveled edges include fine serrations; others are smooth. Serration is an edge finish rather than a universal feature of all beveled scissors. See Nixcer’s convex versus beveled edge comparison for buying and servicing considerations.
Inner Faces Ride Lines and Pivot Ride Areas
The inner face is the side of each blade facing its partner. On many hollow ground professional shears, part of that face is relieved so the two halves do not rub across their entire surfaces. A narrow finished contact region near the cutting edge is often called the ride line or hone line.
The pivot ride area is a contact region nearer the joint. Makers and technicians may use ride terminology differently, so ask which area they mean. The ride line, pivot ride area, and cutting edge are not interchangeable names for the same surface.
Residue or damage in these areas can change the feel of the closure. MIZUTANI’s care instructions identify the pivot ride area and inner blade as maintenance locations and recommend its specified oil and cloth routine. Use the instructions for your own shear rather than transferring another brand’s quantity or method.
Do not polish, sand, or grind these surfaces to correct a rough stroke. Their finish and relationship to the edge require specialist servicing. A visible shiny line cannot prove whether the shear has correct geometry or needs a particular repair.
Pivot and Tension Screw
The pivot is the joint that holds the blade halves together and lets them rotate. The screw, dial, or adjustment assembly controls the setting that helps the blades stay in suitable contact. Depending on the model, the assembly can contain washers, bearings, covers, or other components.
Too little tension can allow hair to fold or move between the blades. Too much tension can make opening and closing harder. The correct setting depends on the model and blade pair. Follow the manufacturer’s method instead of assuming every shear should fall to the same angle in a drop test.
A flat screw may require a supplied key; another system may adjust by hand. A bearing system can affect movement, but it does not make cleaning, alignment, or the correct setting irrelevant. JOEWELL describes several screw designs rather than one universal system.
If the adjustment repeatedly loosens, the stroke catches, or the problem continues after permitted routine care, describe it to the manufacturer or technician. Increasing tension cannot reliably correct a chipped edge or damaged alignment.
Shanks and Handle Geometry
The shanks or handle arms connect the joint to the rings. Their length and angle determine how the hand reaches the blades. Along with the blade length and mass, they influence how the shear balances in use.
Opposing or symmetric handles place the rings in a relatively even arrangement. Offset handles shift the thumb ring forward relative to the finger ring. Crane and swivel designs change the grip arrangement further, but the details differ by model.
Compare the handle in the positions you use during a haircut. Ring fit, thumb reach, chair height, and cutting angle all affect comfort. The handle should let you guide the blade with a light grip. Nixcer’s offset handle guide explains how this layout changes hand position.
Thumb Ring Finger Ring and Inserts
In the conventional grip, the ring finger uses the finger opening and the thumb lightly uses the thumb opening. The index and middle fingers support the shank. Finger holes are also called bows or rings in some catalogs.
The openings should feel secure without trapping the fingers. Oversized rings can be reduced with compatible removable inserts. An insert changes fit, not blade sharpness or mechanical tension. JOEWELL advises choosing ring size for the user’s fingers and notes that an insert can reduce the opening.
Keep removable inserts clean and check that they sit properly. Follow the maker’s guidance for removal and disinfection. A loose insert should not be allowed to interfere with the grip or closure.
Finger Rest or Tang
The finger rest is the small extension beside the finger ring. Tang and pinky rest are common synonyms. In a conventional grip, it supports the little finger. The ring finger remains in the ring rather than resting on the tang.
Some rests are fixed; others are removable or replaceable. Whether a particular shape helps depends on the user’s hand and grip. Check the exact model before attempting removal. A rest that loosens or feels uncomfortable may need a compatible replacement or a different handle design.
Bumper Silencer and Stopper
A bumper is a small stop found between the handle halves on many scissors. Silencer and stopper are common names. It cushions the last part of the closing stroke and helps define the stop position for that design.
Location, material, and replaceability vary. A change in closing sound or travel can be associated with a missing or worn stop, but sound alone does not establish the cause. Inspect the visible part and ask the maker which replacement fits.
Do not add tape, an improvised screw, or an arbitrary rubber piece to change closure. The correct stop needs to suit the shear’s construction. Continue using the tool only when the closure remains correct and the manufacturer confirms the repair.
How Thinning Scissors Differ
A standard cutting shear has two continuous working edges. A thinning shear has teeth on one or sometimes both blades. The teeth select which strands are cut and which remain in the section. Tooth spacing, shape, and finish affect the removal pattern.
Tooth count alone does not tell you the cut ratio. JOEWELL identifies both tooth number and tooth shape as factors. Use the manufacturer’s specification and observe the result on a controlled section. Repeating closures in one area can remove more weight than intended.
Learn more in Nixcer’s thinning and texturizing scissors guide.
Length Handedness and Surface Finish
Scissor length normally describes the overall distance from blade tip to the outside of the ring, excluding the finger rest, rather than the cutting blade alone. Check how the maker measures the model. Two shears with the same nominal length may offer different working blade lengths.
Handedness concerns blade orientation as well as handle shape. A comfortable thumb ring does not by itself make a right handed blade arrangement a true left handed shear. Check the product specification and sightline in your cutting grip.
A coating or colored finish is a surface treatment. It does not reveal the underlying steel grade, heat treatment, or edge quality. Likewise, engraving is identification or customization, not a measure of cutting performance. Evaluate the tool’s fit, movement, specifications, and service options together.
Use Anatomy to Describe a Cutting Problem
Be specific when contacting a service provider. Report where the symptom occurs, when it began, and whether the tool was dropped or exposed to chemicals. Useful descriptions include hair folding near the tip, a catch halfway through closure, a loose finger rest, or a change in the handle stop.
These observations help the technician decide what to inspect. They do not prove a single cause. Pushing hair may involve the section, tension, residue, edge, or alignment. A rough stroke may involve contamination or mechanical damage. Avoid forcing the shear or dismantling an unfamiliar pivot to investigate.
Nixcer’s sharpness test guide and balance test guide cover related performance checks.
Care for the Whole Shear
Remove loose hair and product residue after use. Complete cleaning and disinfection according to salon rules, the disinfectant label, and the shear maker. Dry the blade faces, rings, and pivot thoroughly, then apply the recommended lubricant where instructed.
Inspect the rest, inserts, bumper, and tension assembly as well as the edges. Store the shear in protected clean storage and keep the blades away from hard objects. Schedule servicing when routine care does not restore a smooth, consistent cut.
Read Nixcer’s cleaning and disinfection guide and oiling guide for the maintenance sequence.
Compare Nixcer Models by Their Parts
Use the Nixcer hair cutting scissors collection to compare actual blade length, profile, handle, rings, and tension system. The Broad Blade 6.25 inch scissors and Sword 6.75 inch shears illustrate different blade formats. They are examples to inspect, not independent performance rankings.
Confirm current specifications and ask about compatible inserts, rests, bumpers, adjustment tools, and servicing before buying. Anatomy gives you the vocabulary to make those questions precise.
Frequently Asked Questions
What Are the Main Parts of Hair Cutting Scissors
The main parts are the two blades, edges, tips, pivot, shanks, and thumb and finger rings. Many models also include an adjustable tension system, tang, bumper, and removable inserts. Thinning shears add teeth.
What Is the Difference Between the Blade and the Edge
The blade is the metal body extending from pivot to tip. The cutting edge is its sharpened boundary. Blade shape and edge geometry are separate characteristics.
What Does the Tension Screw Do
It adjusts the pivot setting so the blades maintain suitable contact while opening and closing. Use the method for the exact shear. Excessively tight or loose settings can affect cutting feel and performance.
What Is the Finger Rest Called
It is commonly called the tang or pinky rest. It supports the little finger in a conventional grip. Some are fixed and others can be removed or replaced.
What Is a Ride Line
A ride line is a finished contact region along the inside edge of many hollow ground shears. It is distinct from the pivot ride area near the joint. Terminology and construction vary between makers.
What Does a Scissor Silencer Do
The silencer or bumper cushions the final closing stroke on models that include one. Use the maker’s compatible part when replacement is required.
Is the Still Blade Completely Stationary
No. Still blade describes the blade stabilized by the fingers in the conventional grip. Both blade halves rotate at the pivot, and the complete shear moves during cutting.
Do All Beveled Scissors Have Serrations
No. A beveled edge may be smooth or micro serrated. Confirm the edge finish and the techniques the maker recommends for the model.