Hair cutting scissors create the appearance of volume by changing shape, weight distribution, texture, and movement in the hair. A standard cutting shear builds layers and the perimeter, while thinning scissors soften excess density and texturizing shears create separation or internal support. The right result depends on the hair type, the amount of hair removed, and the cutting technique—not simply on using more texture.
Scissors cannot create new strands or increase biological density. They can, however, help flat or heavy hair sit away from the head, make curls move more freely, and give layered hairstyles a fuller final look. This guide explains how professional stylists use hair scissors, thinning shears, and texturizing tools to control hair volume without leaving gaps, harsh lines, or weak ends.
How Scissors Change Volume
Volume is influenced by the length of the hair, strand thickness, density, texture, growth pattern, and styling. A haircut changes how those strands support or weigh down one another.
Scissors can influence volume in four main ways:
- Reduce weight: Shorter or strategically layered sections allow the hair above them to lift.
- Create internal support: Carefully placed shorter pieces can help longer strands sit away from the scalp.
- Add texture: Separation prevents a heavy section from falling as one solid mass.
- Control the outline: Clean lines can make fine hair look denser, while soft edges can make thick hair feel lighter.
Government hairdressing material notes that layers create movement and volume by releasing weight and identifies texturizing shears as tools used to remove bulk (South African Department of Basic Education hairdressing guide). That distinction matters: removing weight may increase visual lift, but removing too much density can make hair look thinner.
The Main Scissors Used for Volume and Movement
Standard Cutting Scissors
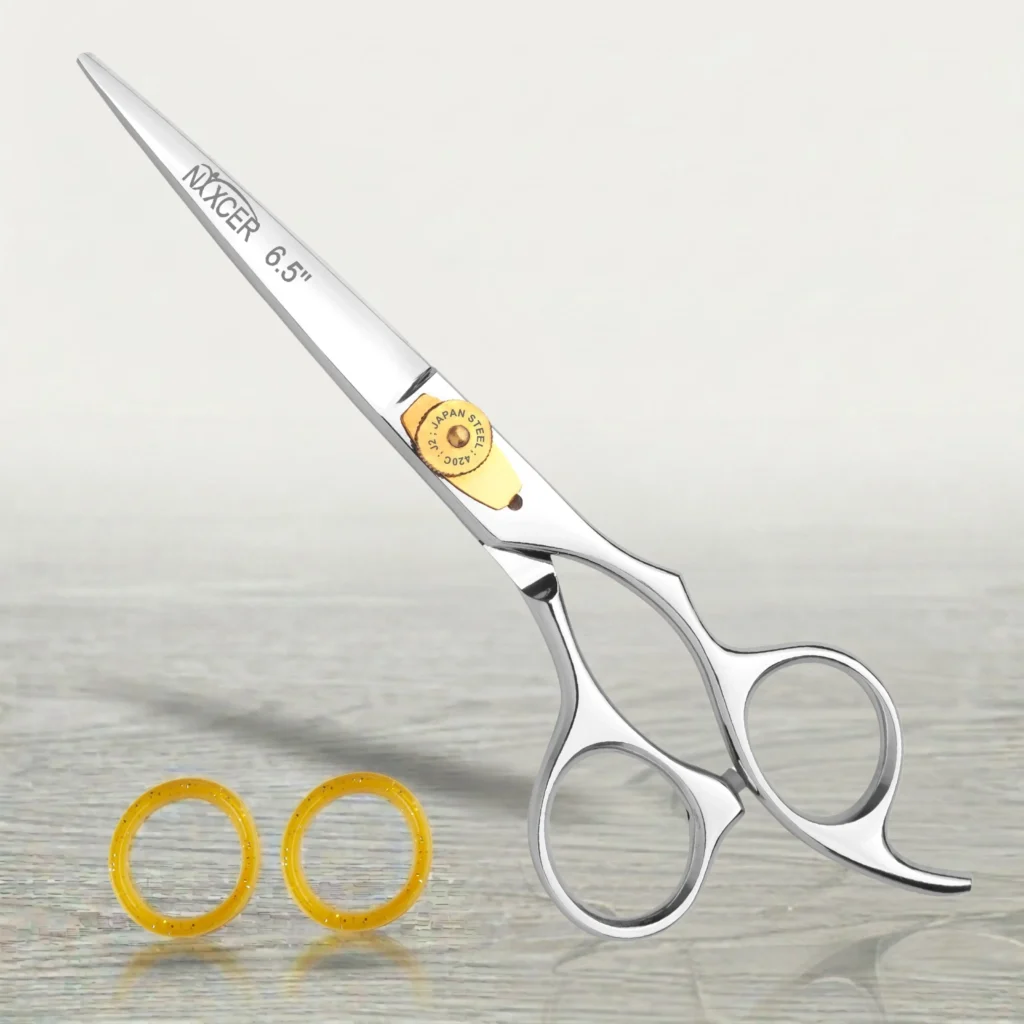
Regular hair cutting scissors and hair cutting shears have two smooth blades designed to cut hair cleanly. They establish the haircut, create layers, set the perimeter, and perform precision haircutting work.
A straight blade is useful for blunt cuts and clean lines. A convex blade supports smoother slicing, point cutting, and advanced cutting techniques when the edge is correctly maintained.
Thinning Scissors
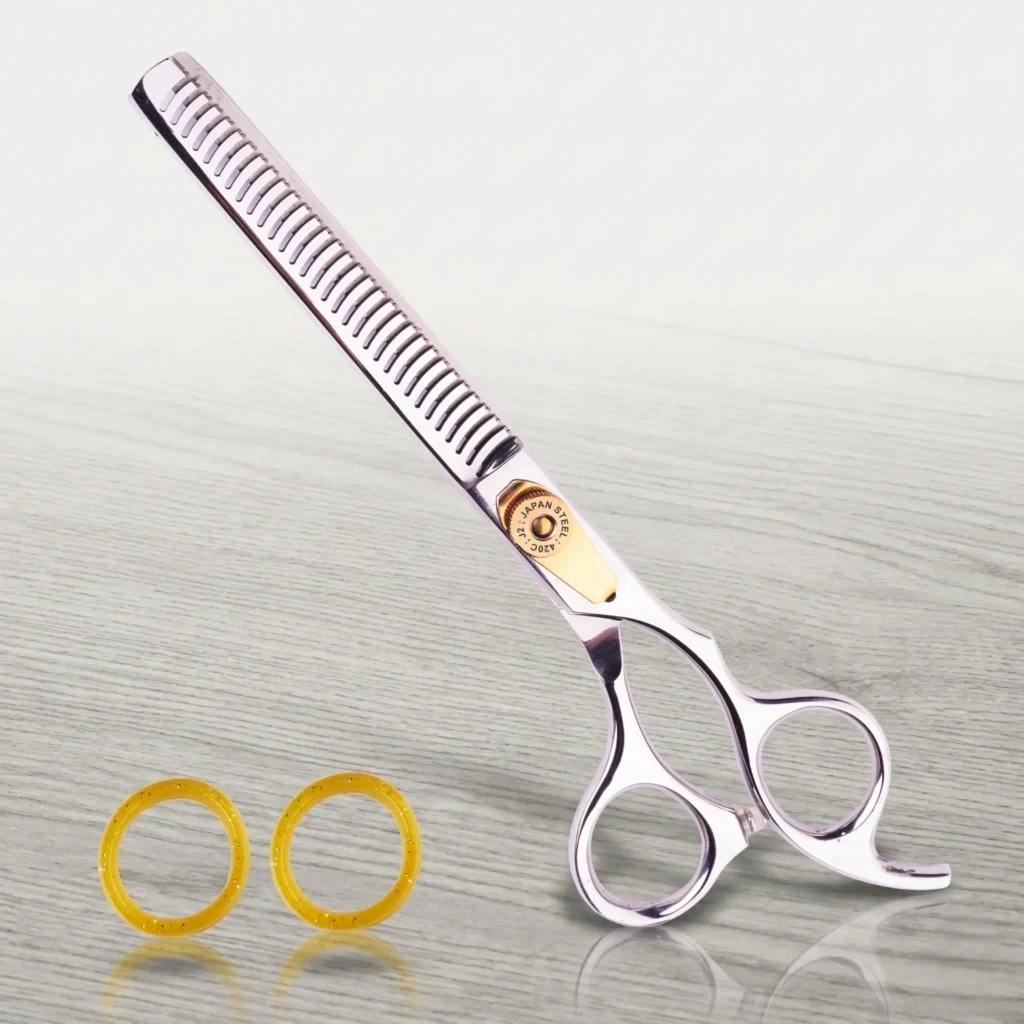
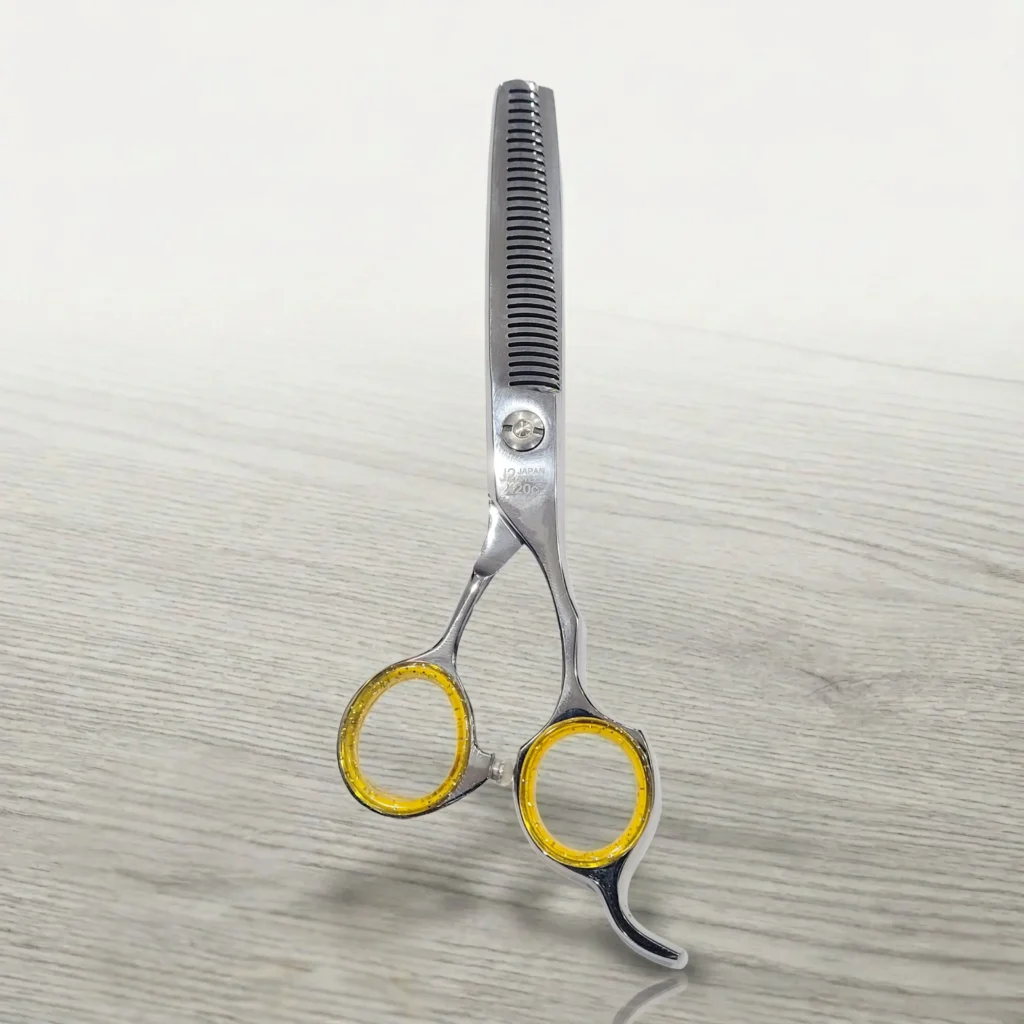
Thinning scissors usually have one straight blade and one blade with fine teeth. They cut only part of the section, making them useful for blending and controlled weight removal.
These tools are best for softening a heavy area, blending layers, or reducing visible bulk. They are not automatically volume-creating scissors. On fine hair, excessive thinning can reduce fullness.
Texturizing Shears
Texturizing shears generally use fewer, wider teeth than fine blending tools. They remove hair in separated groups, creating visible texture and movement.
The terms thinning and texturizing are sometimes used interchangeably, so check tooth count, spacing, and expected removal rate rather than relying only on the name.
Texturizing Scissors
Texturizing scissors can add texture to short crops, shags, bobs, and layered styles. Their value comes from controlled negative space: selected strands become shorter while others stay long, changing texture and volume.
Some manufacturers serrate one blade, creating a serrated blade, or shape each tooth to grip the section. The geometry affects how smoothly the tool enters and releases the hair.
Fine Teeth vs. Wider Teeth
Fine Teeth for Soft Blending
Fine teeth distribute the cut across many small groups of strands. This can soften a weight line or blend a transition without producing a strongly piecey finish.
They are generally the safer option when the goal is subtle refinement rather than dramatic texture.
Wider Teeth for Visible Separation
Wider teeth remove larger groups of hair and create stronger separation. They may suit thick hair, textured crops, or styles that need obvious movement.
The larger removal pattern can create holes in fine hair or weak areas when used repeatedly. Start with one controlled closure, release the section, and check the result.
Cutting Techniques That Add Volume
Layering
Layers reduce the weight carried by upper sections. Shorter internal pieces can support longer hair, creating volume and movement without making the perimeter disappear.
Layer placement matters more than the number of layers. Too many short layers can create frizz or collapse the shape instead of adding controlled lift.
Point Cutting
Point cutting uses the tips of the scissor to enter the ends at an angle. Shallow point work softens a blunt line and creates gentle separation.
Deep point cutting removes more internal weight and should be reserved for a stylist who understands the density and desired style. It is one of several precision cutting techniques, not a fix for an inaccurate haircut.
Slide Cutting
Slide cutting moves a partly open convex shear through the section. It can create flowing layers and movement in the hair, particularly through longer lengths.
The blade must glide without scraping or pulling. This is a dry cutting or damp-cutting technique for trained hands, not a sawing motion.
Notching and Chipping
Notching removes more visible pieces than shallow point cutting. It can add volume and a piece effect to short or medium styles.
Keep the placement intentional. Random notches may create gaps, uneven growth, or harsh lines.
Scissor-Over-Comb
Barbers use scissor-over-comb to control weight and shape around the sides and back. The comb establishes the angle while the shear follows its spine.
This technique can blend layers and create a smooth transition between short and longer sections. Longer cutting shears often provide more coverage, while shorter scissors help with detail.
Match the Technique to the Hair Type
Fine Hair
Fine hair usually needs density preserved. A strong perimeter, limited layering, and shallow point cutting may create a fuller appearance without excessive thinning.
Use thinning shears sparingly, if at all. The goal is to add movement without turning solid ends into wispy ones.
Thick Hair
Thick hair may carry enough weight to flatten the crown or create a bulky outline. Strategic layering and controlled texturizing can remove bulk and allow the shape to lift.
Do not confuse less bulk with less control. Work section by section and check the amount of hair removed after each pass.
Straight Hair
Straight hair shows every cutting mark. Clean sectioning, stable tension, and precise cuts help avoid visible steps.
Fine-tooth thinning or shallow point cutting can soften a line, while wider-tooth tools create a more deliberate, separated texture.
Wavy and Curly Hair
Wavy and curly hair may gain visible volume when weight is released, but shrinkage and pattern changes make over-texturizing risky. Check the result dry before removing more.
Different types of hair on the same head may need different placements. Follow the natural pattern rather than applying one technique everywhere.
Why Root Texturizing Requires Caution
Very short internal pieces can support longer hair and create lift, but cutting too close to the scalp can produce spikes, visible gaps, or difficult regrowth. This is especially risky on fine, sparse, curly, or damaged hair.
Root texturizing should be performed only by an experienced professional after checking density, growth direction, and the intended hairstyle. Most clients get safer, more predictable volume from well-placed layers, styling, and controlled mid-length texture.
Choose Scissors by Blade, Length, and Handle
Blade Design
A straight blade creates firm lines and basic structure. A convex edge supports smooth slicing and precision cutting. Thinning and texturizing tools use teeth to control how much of the section is cut.
The blade should close cleanly from heel to tip. Dull, loose, or damaged edges reduce cutting performance and make the hand compensate with extra pressure.
Scissor Length
Shorter shears offer tip control for point work, fringe, and detail. Longer shears cover more hair during scissor-over-comb, long layers, and broad sections.
Choose the length that suits the hand and technique rather than assuming one size works for every haircut. The right hairdressing scissors should feel controlled in the user’s normal cutting positions.
Ergonomic Design
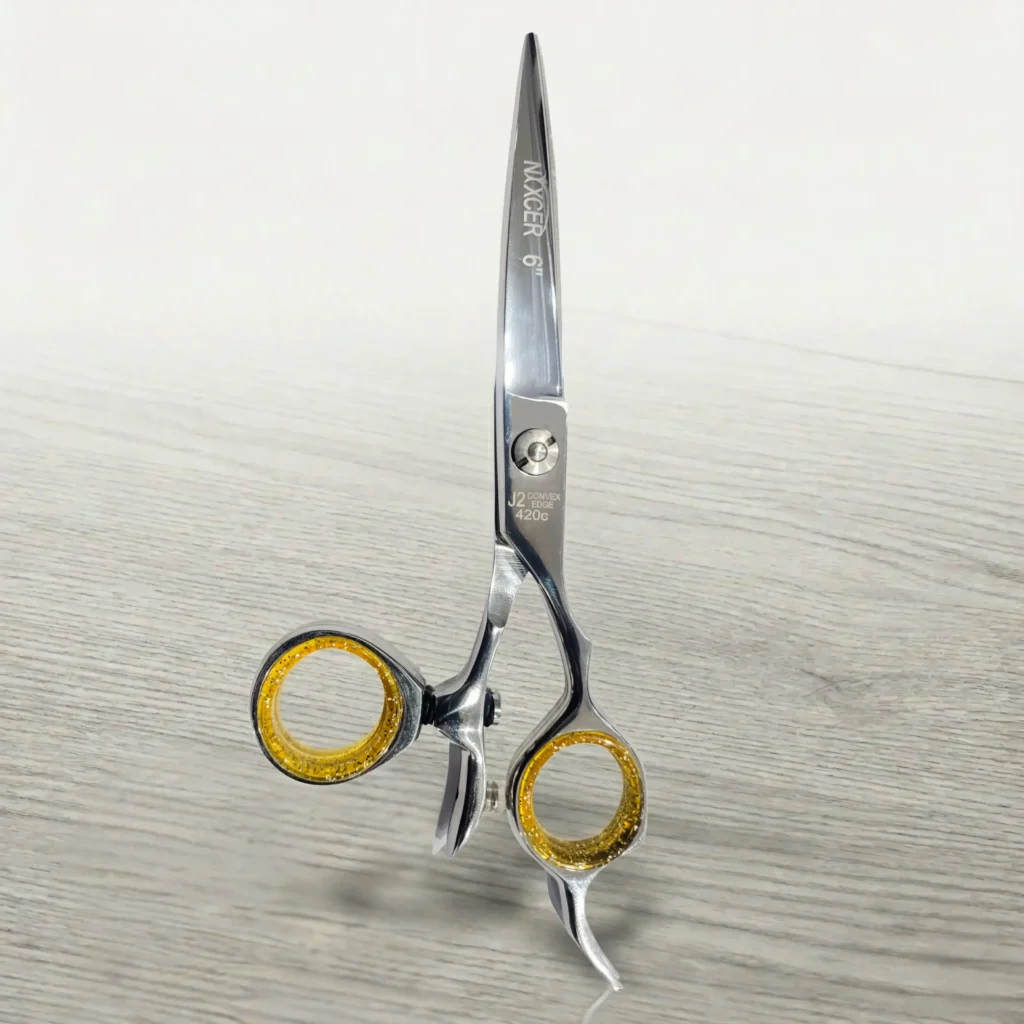
An offset handle reduces thumb reach, while a swivel thumb ring follows changes in hand position. Swivel scissors and swivel shears can support flexible angles during long cutting sessions.
An ergonomic handle should allow a relaxed grip and neutral wrist. This may help with reducing fatigue and unnecessary wrist strain, but it must still fit the individual user.
Tension and Maintenance
Correct tension keeps the blades engaged without making the thumb work too hard. Clean, oil, and check the pivot regularly.
Use professional sharpening for the exact edge type. Convex blades and toothed shears require technicians who understand their geometry.
Nixcer Outlet Scissors for Structure and Texture
Professional Sharp Series Razor Edge Scissors
Best For
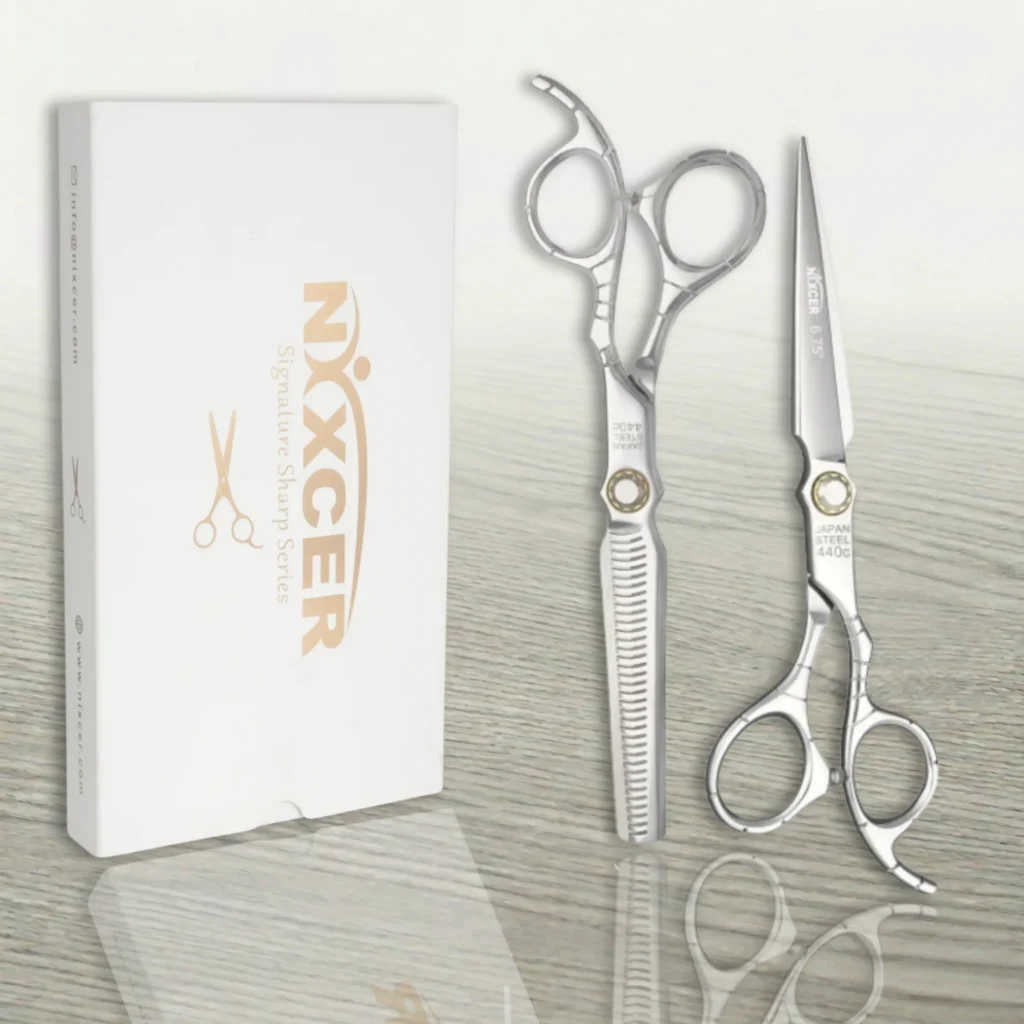
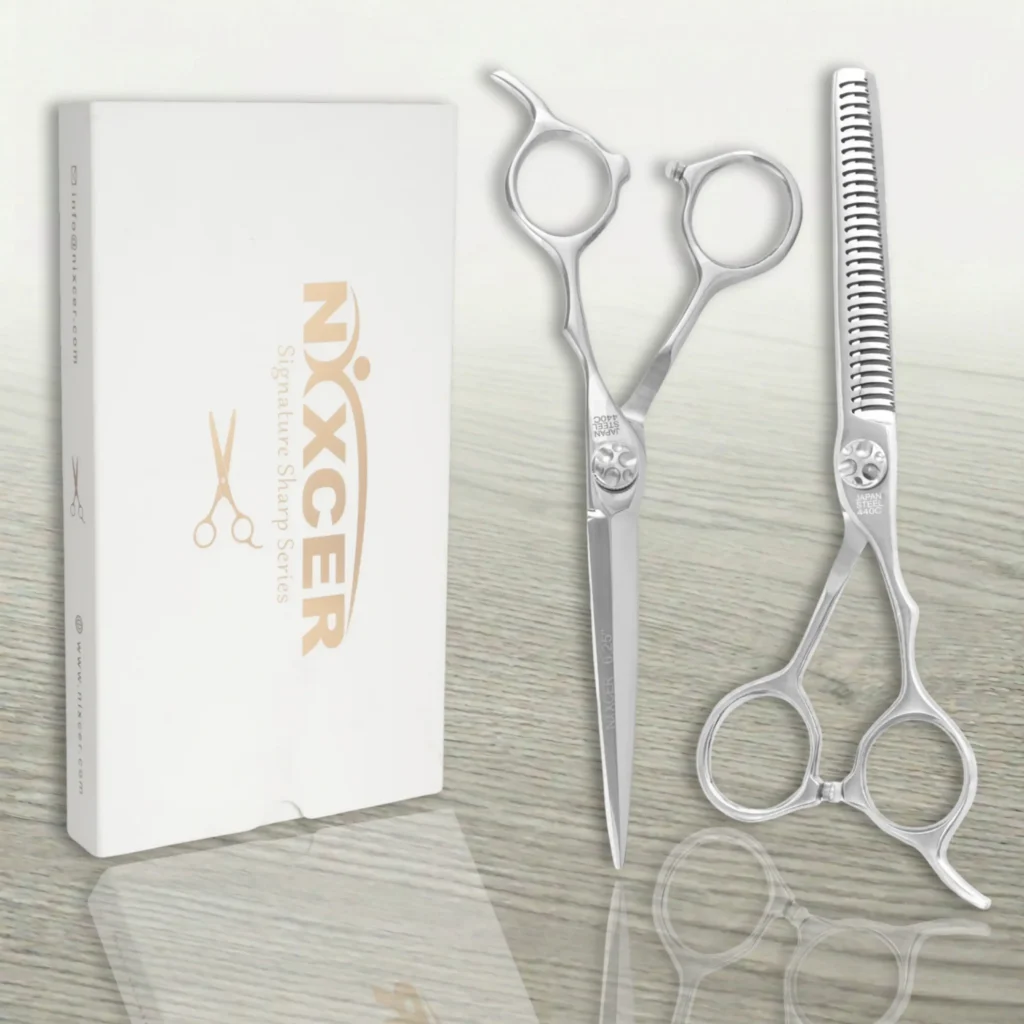
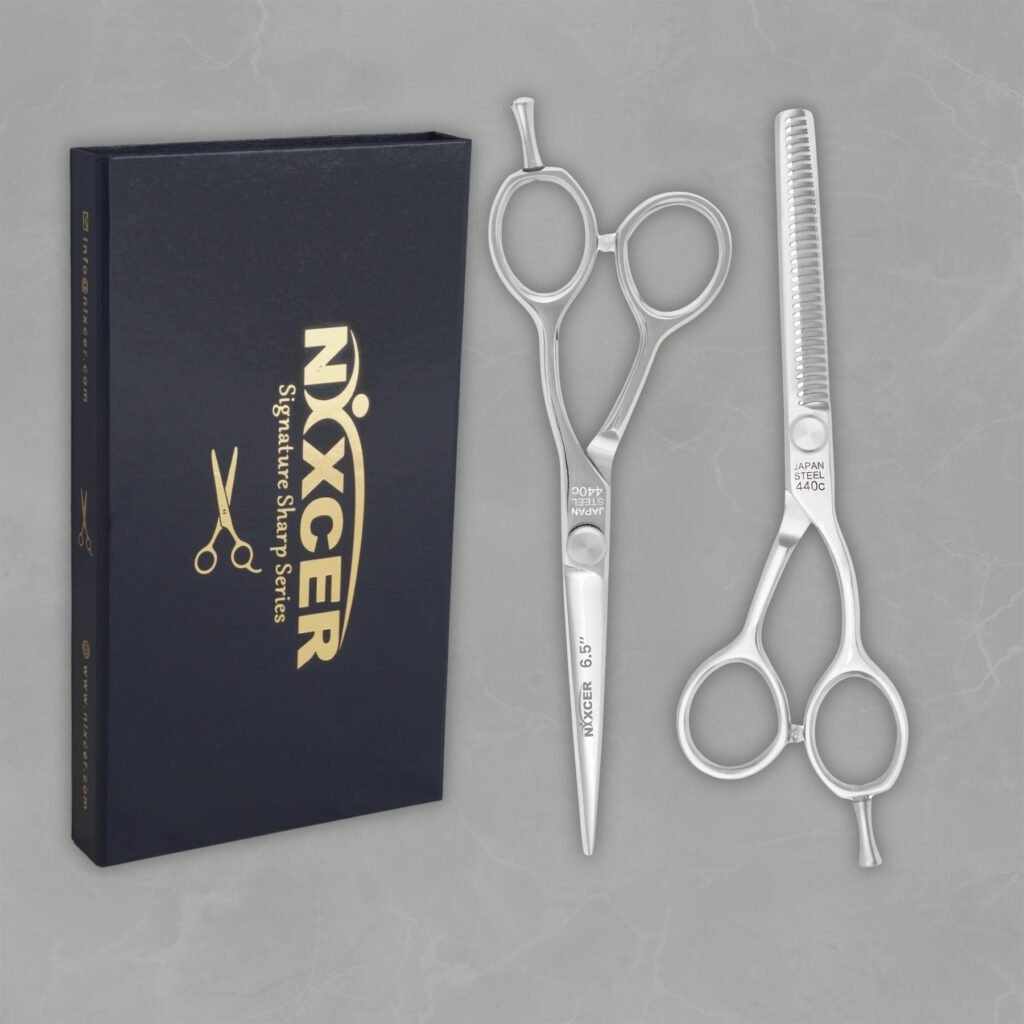
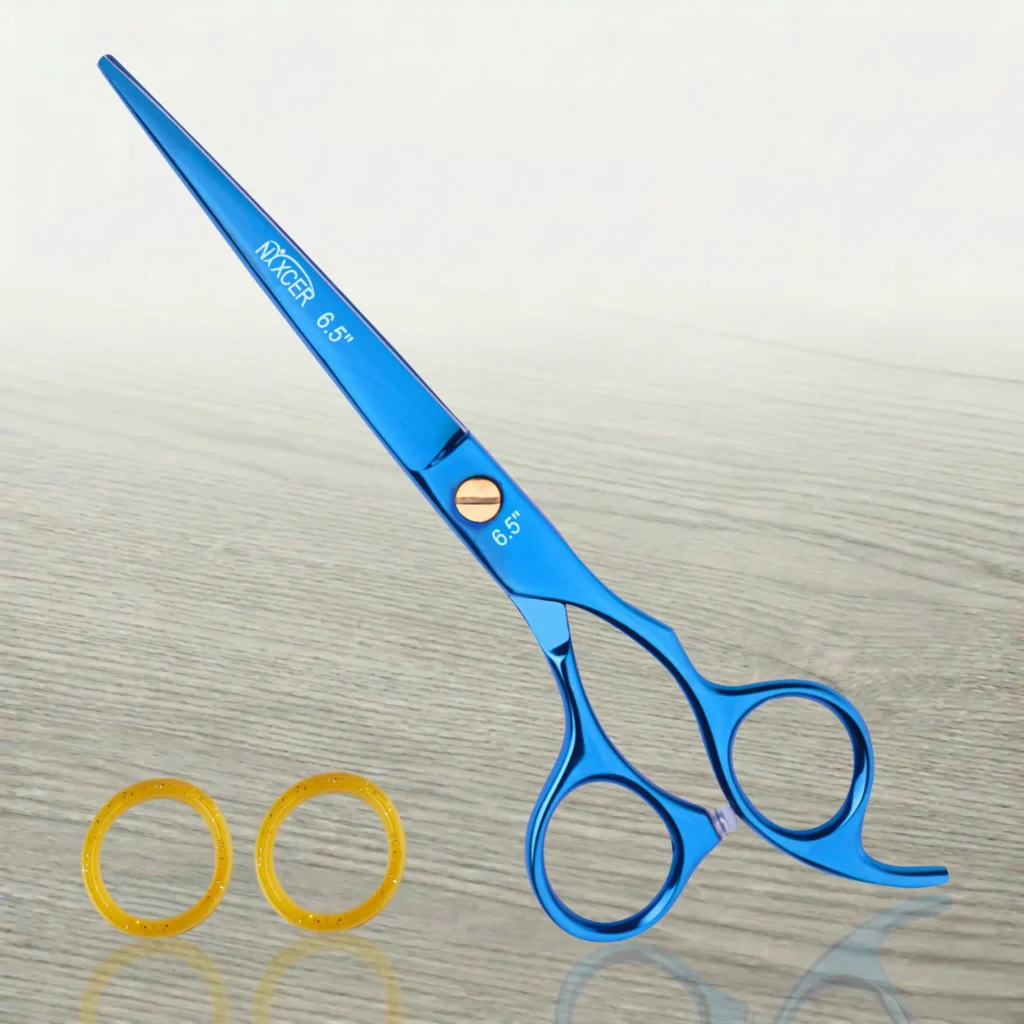
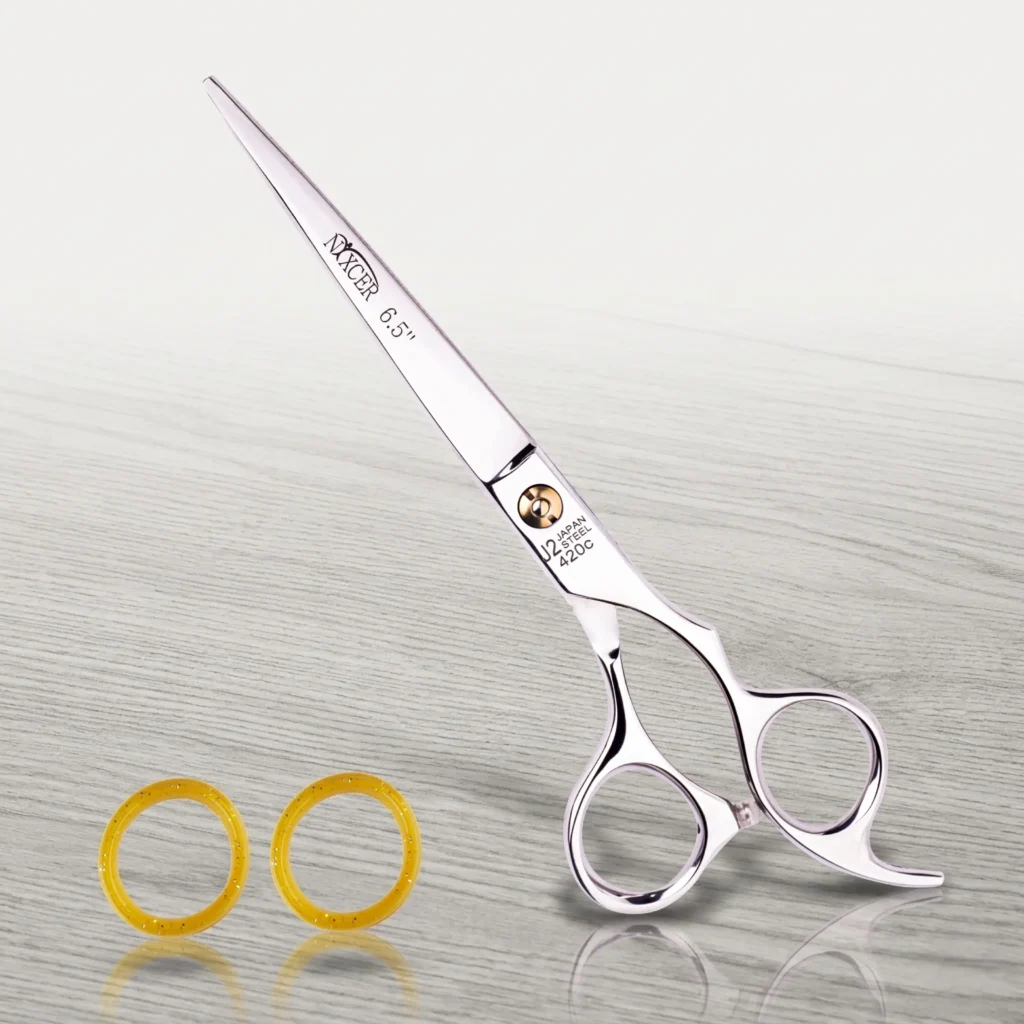
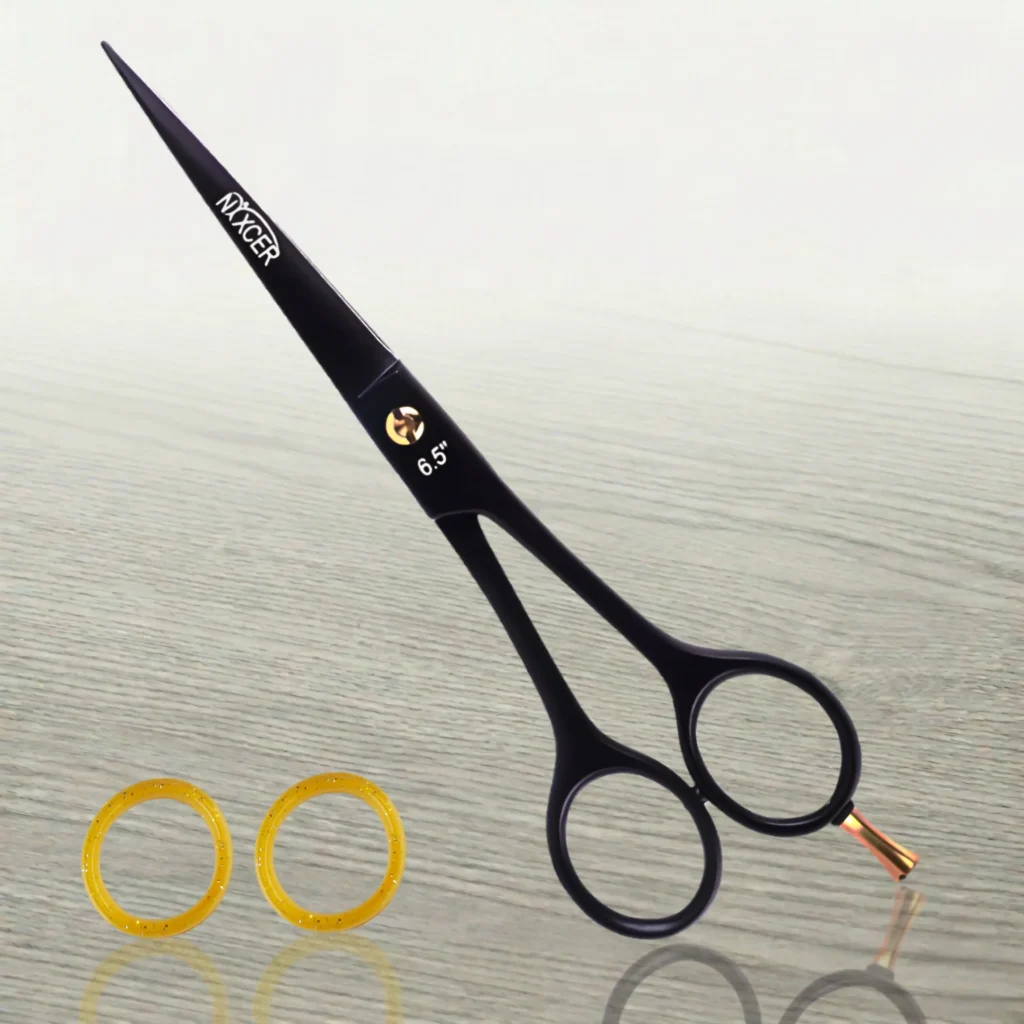
The Professional Sharp Series Razor Edge Hair Cutting Scissors can establish the main shape, create layers, and perform controlled point work. The adjustable tension helps the stylist tune the cutting feel.
Volume Role
Use the standard cutter to build support and shape before reaching for a toothed tool. Good volume begins with the structure of the hair cut.
Professional Series Hair Thinning Scissors
Best For
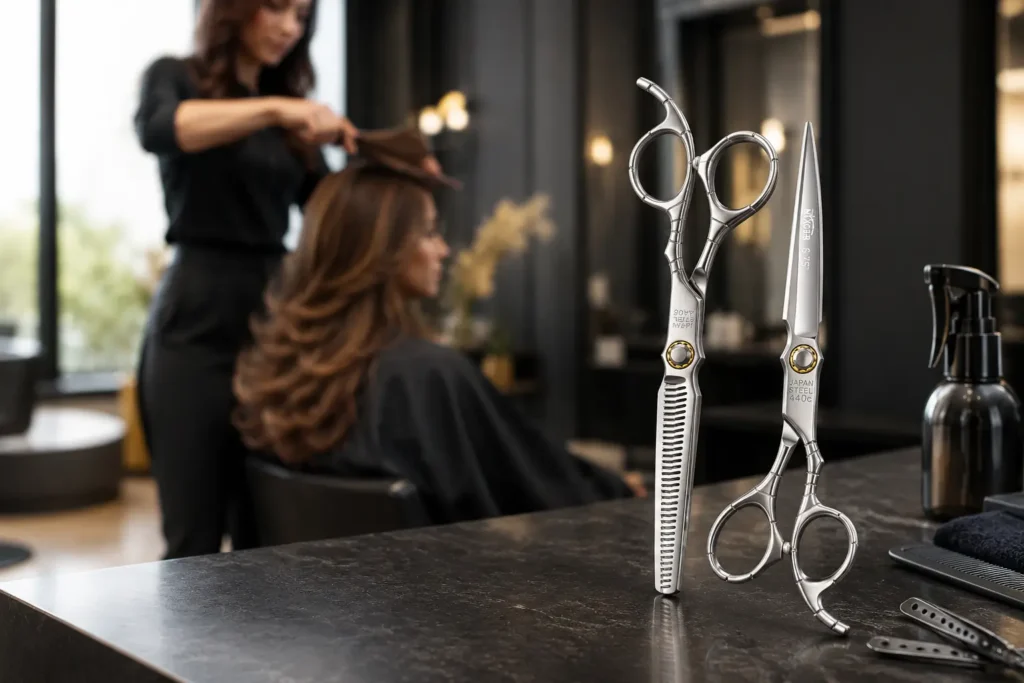
The Nixcer Professional Series Hair Thinning Scissors can blend a heavy transition or soften selected density after the main haircut is complete.
Volume Role
Use a light, controlled pass where excess weight blocks movement. Avoid repeated closures, fragile ends, and the outer surface of fine hair.
Build a Two-Tool Kit
A professional hair cutting kit should include a reliable standard cutter and a separate texture tool when the service requires it. This keeps the main cutting edge dedicated to structure while the toothed shear handles refinement.
Browse the Nixcer Outlet scissors collection.
Common Volume-Cutting Mistakes
- Removing too much hair at once. Texture is permanent until the section grows back.
- Using the same placement on every hair type. Fine, thick, straight, and curly hair respond differently.
- Texturizing wet hair without a dry check. Moisture can hide the amount removed and the final movement.
- Cutting too close to the roots. Short regrowth may stand up or show through the top layer.
- Closing the shears repeatedly in one spot. This can create holes or visible marks.
- Using dull cutting tools. Dull blades may pull, fold, or roughen the section.
- Ignoring the perimeter. Removing too much weight can weaken the outline and final look.
A Safe Professional Workflow
Analyze the Hair
The hairdresser should check strand thickness, density, growth patterns, damage, curl, and the client’s styling routine. Ask where the hair feels flat and where it feels bulky.
Build the Shape
Use regular cutting scissors to establish the length, perimeter, and layers. Cross-check before adding texture.
Dry and Reassess
Dry the hair in the client’s normal style. Observe hair volume, movement, and areas that still hold excess weight.
Add Texture Conservatively
Choose fine teeth for soft blending or wider teeth for deliberate separation. Make one controlled pass, comb or shake the section out, and reassess.
Finish and Educate
Check the silhouette from multiple angles. Explain how styling, product choice, and future trims will affect volume and movement.
Final Verdict
Hair cutting scissors create volume by shaping layers, releasing weight, controlling density, and adding texture. Standard cutting scissors build the foundation; thinning shears soften bulk; texturizing shears create separation and movement.
The right tool depends on hair type, density, length, and the intended style. Professional stylists, hairstylists and barbers should start with structure, remove weight conservatively, and check the hair dry before making another pass. Volume is most convincing when the haircut moves naturally rather than looking over-thinned.
Frequently Asked Questions
Can thinning scissors add volume?
They can help heavy hair lift by removing selected weight, but they do not create new density. On fine hair, excessive thinning may reduce visible fullness.
What is the difference between thinning and texturizing shears?
Thinning tools usually have more fine teeth for subtle blending. Texturizing tools often have fewer, wider teeth for visible separation and stronger texture.
Which cutting technique creates the most volume?
Well-placed layering often creates the most dependable lift because it redistributes weight. Point cutting, slide cutting, and controlled texturizing can refine the result.
Should texturizing be done on wet or dry hair?
Many stylists prefer dry or nearly dry hair because the final density and movement are easier to see. The correct choice depends on the hair type and technique.
Are ergonomic scissors worth using?
Ergonomic scissors can support a more relaxed thumb and wrist position. Offset and swivel designs may improve comfort during repeated professional work.
Can texturizing shears be used near the roots?
Root work carries a high risk of spikes, gaps, and difficult regrowth. It should be reserved for trained professionals working on suitable density and growth patterns.
How do I avoid harsh lines with thinning scissors?
Use the correct tooth pattern, vary placement, avoid repeated closures in one spot, and fully open the tool before removing it from the section.
How often should texturizing shears be sharpened?
Service them when they pull, fold, catch, or lose clean release. Use a specialist who sharpens toothed hairdressing scissors without changing the tooth geometry.