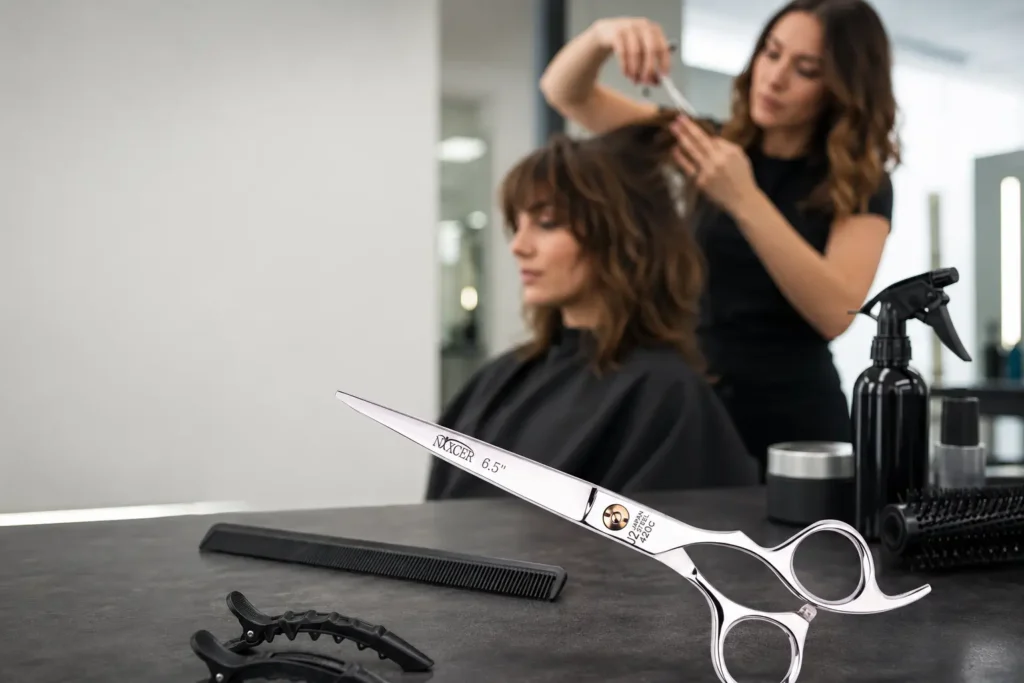
A precision shag haircut is not just a messy layer cut. It is a controlled haircut built with sharp hair cutting scissors, clean sectioning, smart texture, and a clear plan for movement. The right scissor, shear, and technique help the stylist cut the hair in a way that looks natural, soft, and precise.
At Nixceroutlet, the goal is to help barbers, hairdressers, hairstylists, and salon professionals use the right tools for better control. If you want to master a shag haircut, you need the right technique, a sharp blade, a balanced pair of scissors, and enough time to learn how to hold hair scissors correctly.
What Makes a Precision Shag Different?
A shag haircut is known for layers, texture and movement, and a soft undone style. A precision shag keeps that relaxed finish but builds it with professional hair cutting control.
It has a planned shape
The cut may look effortless, but the section of hair at the crown, sides, bang, and ends must connect. Each layer should blend into the next.
It keeps movement without losing density
Too much texturizing can make the hair look thin. Too little texture can make the shag look heavy. The precise cut sits in the middle.
Quick rule
Create the haircut shape first, then use texturizing shears or point cutting only where the hair needs softening.
Why Hair Cutting Scissors Matter for Shags
Hair cutting scissors control the shape, layer, and final finish. Dull scissors can fray the ends and create split ends, while sharp professional shears give cleaner cutting hair results.
Scissors build the foundation
A scissor is the main tool for building length, crown volume, fringe, and the outside shape of the shag.
Shears refine the style
A smooth shear helps soften the perimeter, connect layers, and create a natural finish without harsh lines.
Thinning tools remove weight
Thinning shears and thinning scissors can help with removing weight from thick hair, but they should be used carefully.
Tool caution
Do not use thinning shears to create the entire shag. Use them after the main cut to refine density.
How to Hold Your Scissors Correctly
The way to hold hair cutting scissors affects precision, comfort, and safety. Learning to hold your scissors correctly gives you better control and reduces hand fatigue.
Use the ring finger
Place your ring finger in the lower handle hole. The ring finger gives stability while the thumb controls opening and closing.
Place the thumb in the bottom
Your thumb in the bottom ring should move gently. Do not push the thumb too deep because it can reduce control.
Keep the finger in the top stable
The finger in the top handle should stay relaxed. The index finger can rest along the shank to guide the blade.
Use the little finger on the rest
The little finger rests on the tang or finger rest. This supports the hand and helps with maximum control during precision work.
Correct way to hold
The correct way to hold hair scissors is relaxed, not tight. A loose grip gives smoother motion and reduces fatigue.
Choosing the Right Shears for a Precision Shag
You need the right tools for a shag because the haircut uses different sizes, different lengths, and different techniques.
5.5 inch scissors
A 5.5 inch scissor is useful for fringe, face-framing, point cutting, and controlled detail work. Many stylists like 5.5 for precise shag work.
4.5 inch scissors
A 4.5 scissor can help with very detailed trimming around the bang, short layers, or small face-framing pieces.
Longer shears
Longer professional shears can help with perimeter work, slide cutting, and larger sections of medium or long hair.
Hair shears set
A hair shears set may include cutting shears and texturizing shears. A good pair of shears is better than a large kit of low-quality tools.
Material note
Japanese steel and 440c stainless steel are common terms in professional hair shears. Always check the product details before buying.
Scissor Features That Improve Control
Good shears are designed for comfort and clean cutting. Features like balance, sharpness, and a tension screw can make a real difference.
Sharpness
Sharpness matters because shag layers need clean ends. Dull blades can fray the hair and make the finish look rough.
Ergonomic handle
An ergonomic handle helps reduce hand fatigue during long cutting sessions. This is useful for detailed shag work and salon use.
Thumb ring comfort
A comfortable thumb ring supports reducing fatigue because the hand can stay relaxed while the blades move smoothly.
Tension screw
A tension screw controls how the blades open and close. If the tension is too loose or too tight, the scissors may not cut smoothly.
Professional-quality balance
Professional-quality shears made for hairdressing can feel smoother and give better control than household scissors.
Hairdressing scissors and barber scissors
Hairdressing scissors are useful for detailed salon layering, while barber scissors can help with short shag shapes, fringe control, and clean perimeter work.
Maintenance tip
Sharpen your shears when they push, bend, or pull the hair instead of cutting cleanly.
Prepare the Hair Before Cutting a Shag
Preparation gives the stylist a cleaner plan. Before you cut the hair, study the natural fall, density, length, and client style goals.
Start with consultation
Ask the client whether they want a soft modern shag, a bold retro shag, curtain bangs, or a shorter textured finish.
Check the hair type
Fine hair needs light texture. Thick hair may need removing weight. Curly hair needs shrinkage awareness. Straight hair shows every line.
Use a comb for control
A comb helps create clean sections and steady tension. Without a comb, it is harder to make a precise cut.
Wet or dry
Wet cutting helps with the base. Dry cutting helps check texture, movement, and the final style.
Step-by-Step Guide to Cutting Precision Shags
This step-by-step guide explains the basic workflow. For a full transformation, a professional stylist or hairdresser is safest.
Step 1: Section the hair
Divide the hair into crown, sides, back, and fringe sections. A clean section of hair keeps the cutting plan organized.
Step 2: Set the guide
Create a guide length for the shortest crown layer and the longest perimeter. This guide keeps the shag balanced.
Step 3: Build crown layers
Lift the crown and cut carefully to create volume. The crown should feel light but not disconnected.
Step 4: Blend the sides
Blend side layers into the crown and perimeter. The goal is texture and movement without holes.
Step 5: Shape the bang
The bang can be curtain, wispy, or full. Cut small amounts first, especially if the hair is wet.
Step 6: Refine the ends
Use point cutting, light slide cutting, or texturizing for softening. Keep the outer shape strong enough to support the style.
Precision reminder
Cut less than you think, comb the section down, then check the balance before cutting again.
Point Cutting for Shag Texture
Point cutting is one of the best techniques for a precision shag. It creates softness without removing too much length.
Use the scissor tips
Angle the tips into the ends of the hair. Small cuts create soft texture and reduce bluntness.
Control the depth
Shallow point cutting works for fine hair. Deeper point cutting can work on thick hair when done carefully.
Keep the layer connected
Point cutting should blend the layer, not break it apart. Check movement after every few cuts.
Texturizing and Thinning a Shag
Texturizing is useful, but it is not the same as simply making hair thin. A precision shag needs texture, not weak ends.
Use texturizing shears for heavy areas
Texturizing shears can soften dense areas around the sides, crown, or ends. Use them only where the hair feels bulky.
Use thinning scissors carefully
Thinning scissors can remove bulk, but overuse can create gaps and split-looking ends.
Keep the finish full
The finished shag should move easily but still look healthy. Avoid removing too much density from the top layer.
Best result
The hair should look lighter and more mobile, not thin or frayed.
Shag Cutting by Hair Type
A master stylist adjusts the technique based on hair type, texture, density, and daily hairstyling habits.
Fine hair
Fine hair needs gentle layers and very light texturizing. Keep the outline strong to avoid a stringy finish.
Thick hair
Thick hair can handle more internal weight removal. Use thinning shears or slide cutting only in heavy zones.
Curly hair
Curly hair should be checked dry because curls spring up. Preserve natural curl groups while adding movement.
Straight hair
Straight hair needs clean blending because every line shows. Work slowly and cross-check the cut.
Shag hairstyles
Modern shag hairstyles can be soft, edgy, short, long, curly, or straight, but the best result always depends on controlled layers and balanced texture.
Can You Cut a Shag at Home?
Many people search for how to cut my own hair, but a shag can be tricky. Hair at home cutting should stay simple unless you have experience.
When home trimming is okay
You can trim small ends, soften bangs, or clean tiny uneven pieces if you have sharp hair scissors.
When to see a professional
See a salon professional for major layering, big length changes, heavy texturizing, or corrective cutting.
Safety tip
If you are unsure, stop early. It is easier for a professional to adjust a small trim than fix a large mistake.
Nixceroutlet Tools for Precision Shags
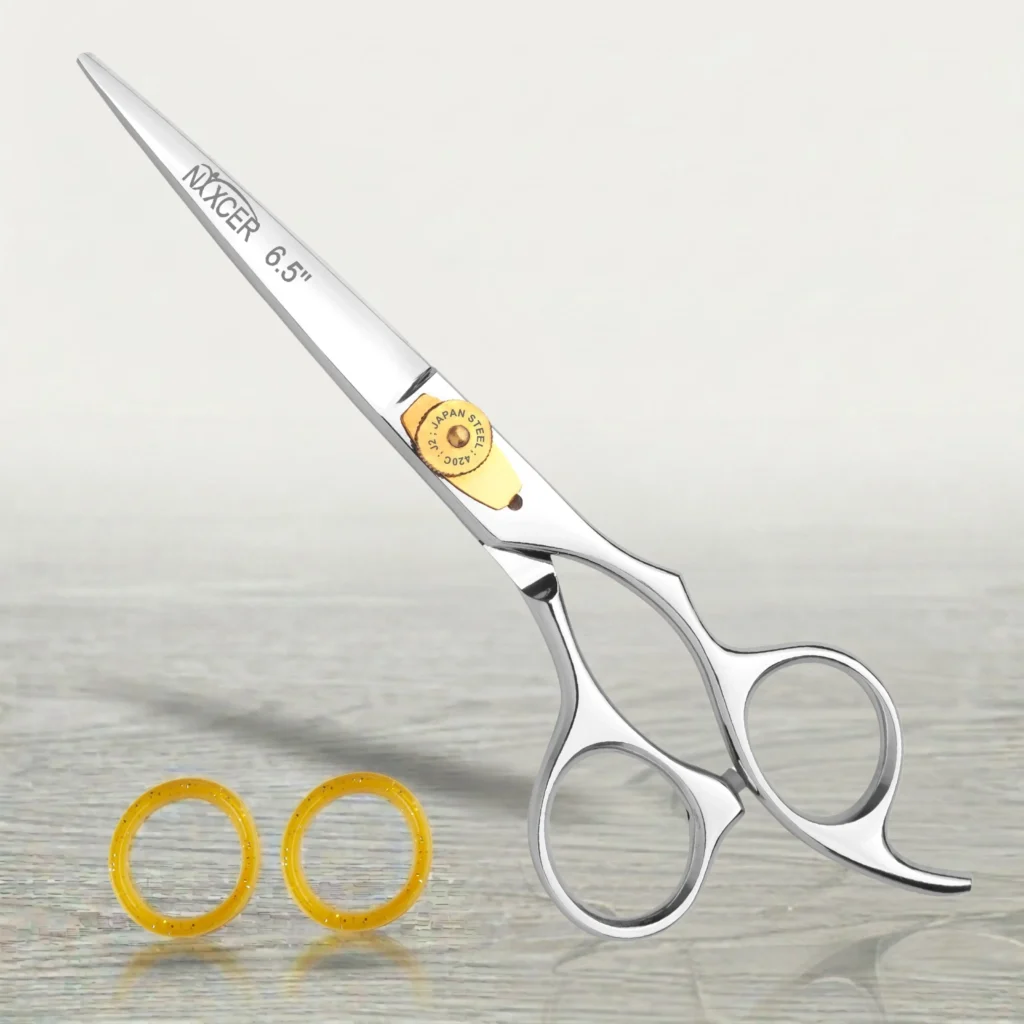
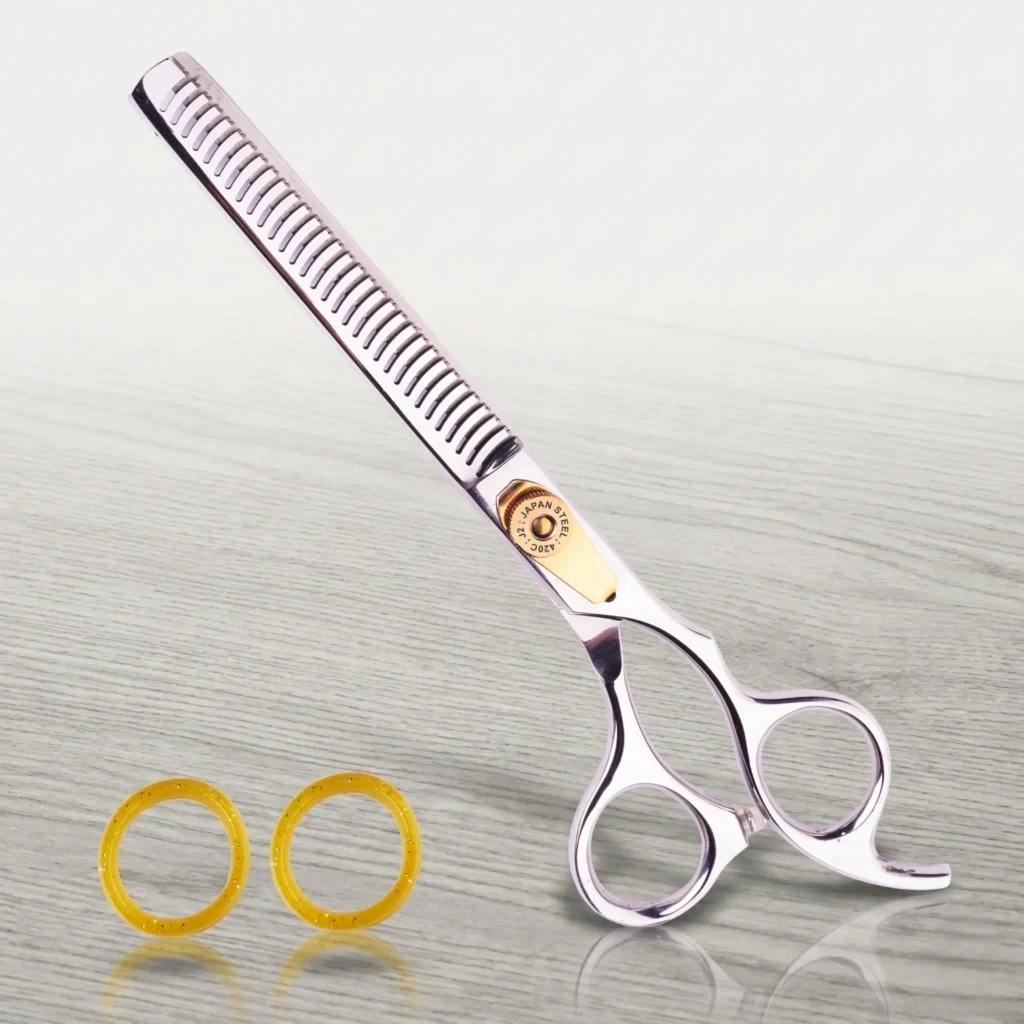
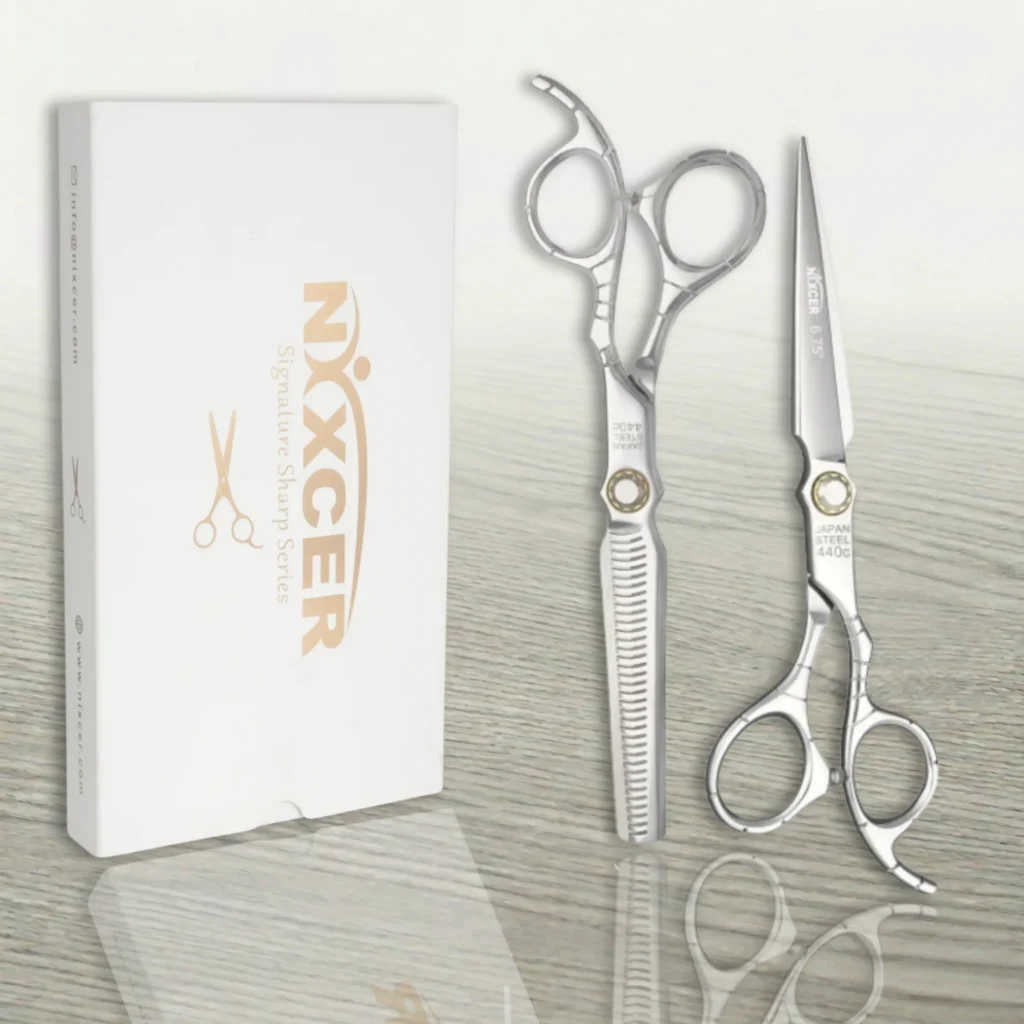
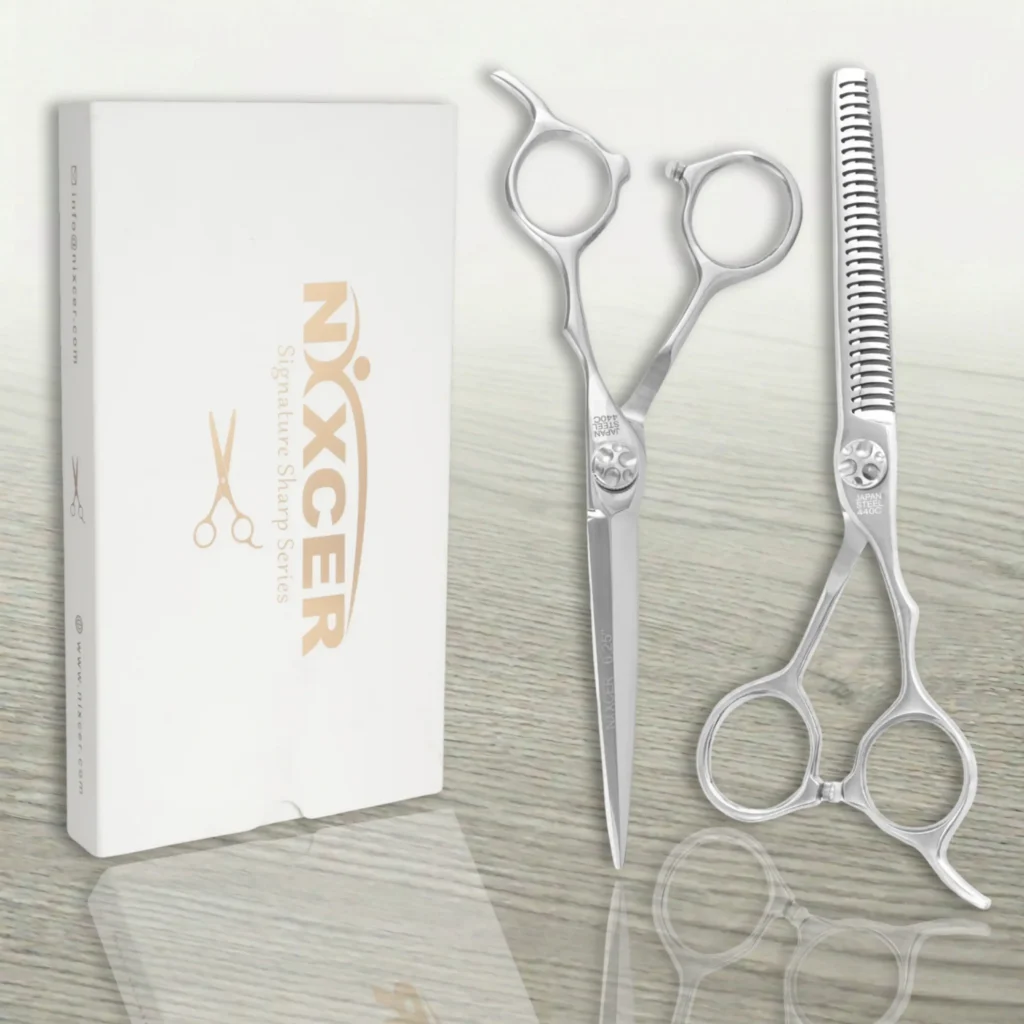
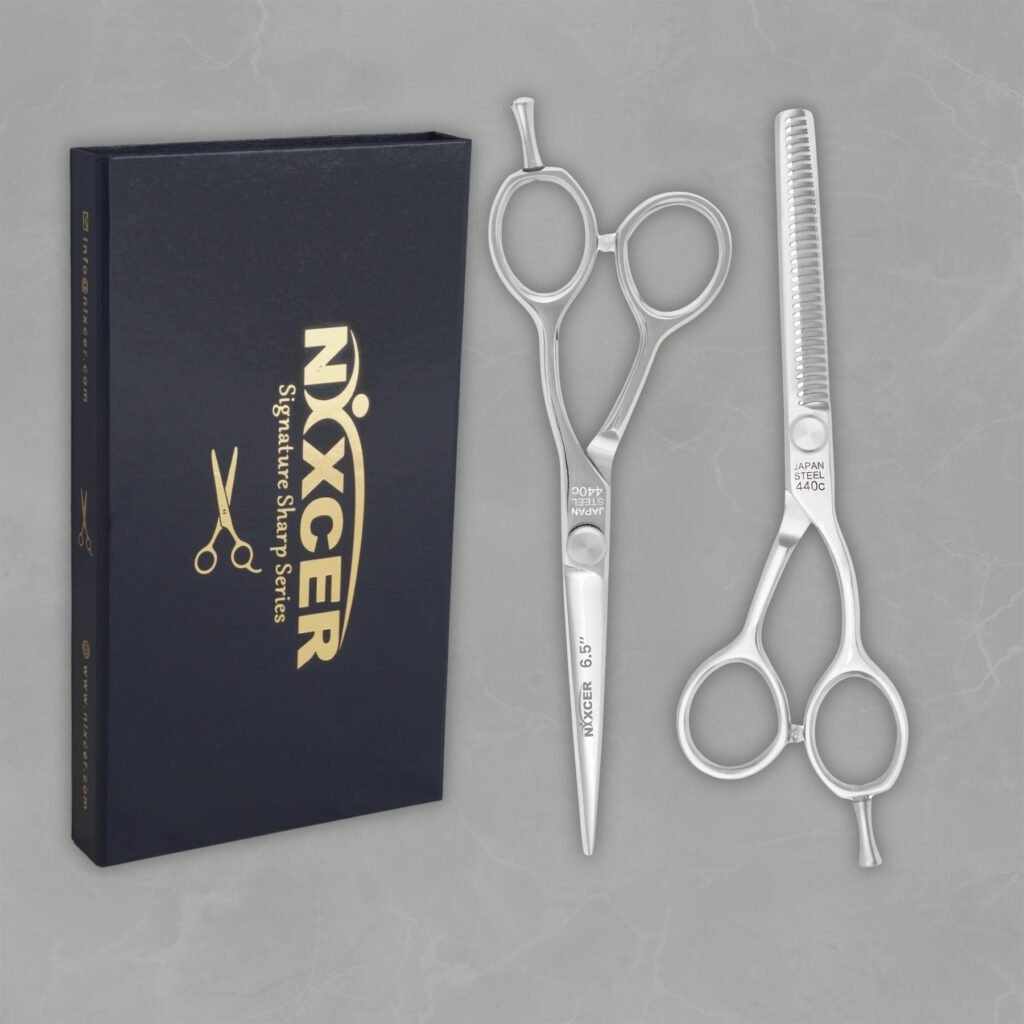
For precision shags, start with sharp hair cutting scissors and add texturizing shears only for refinement. You can compare options on the Nixcer Outlet.
For clean scissor cutting
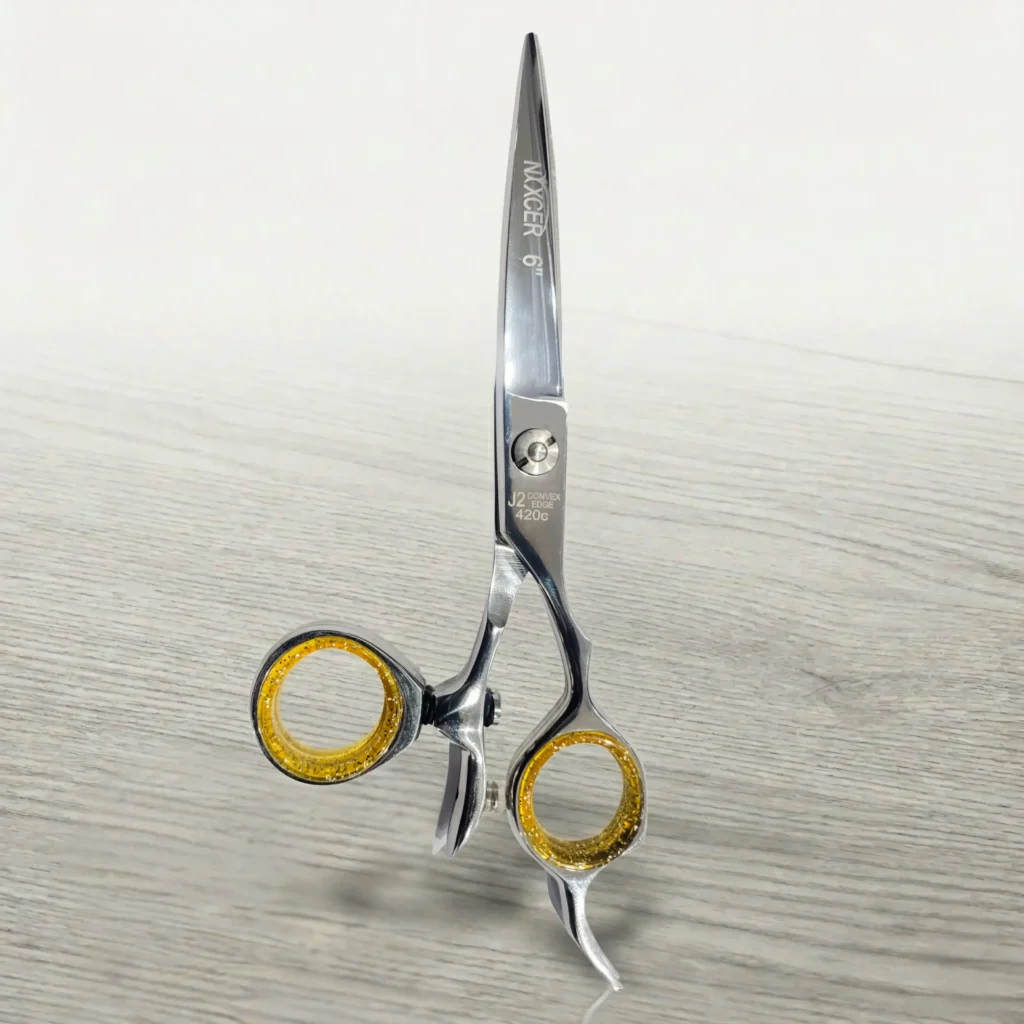
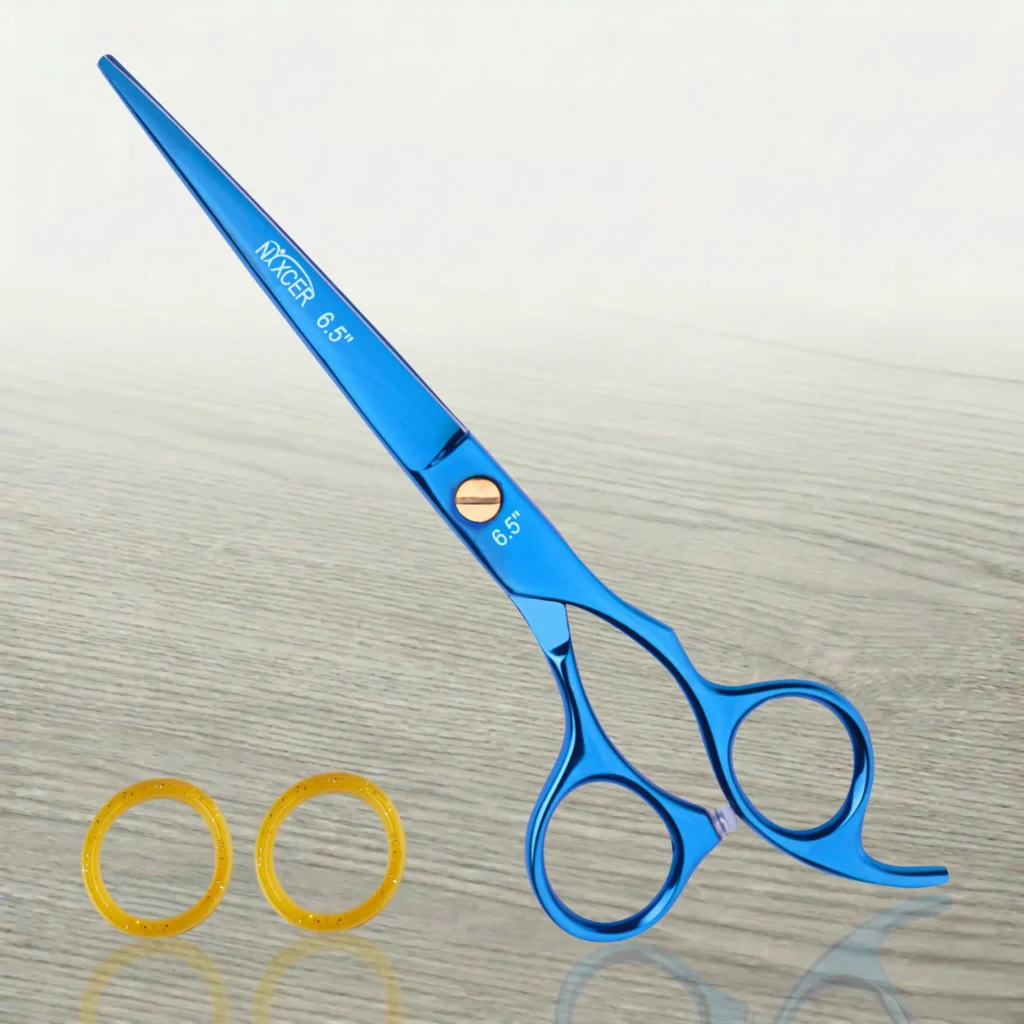
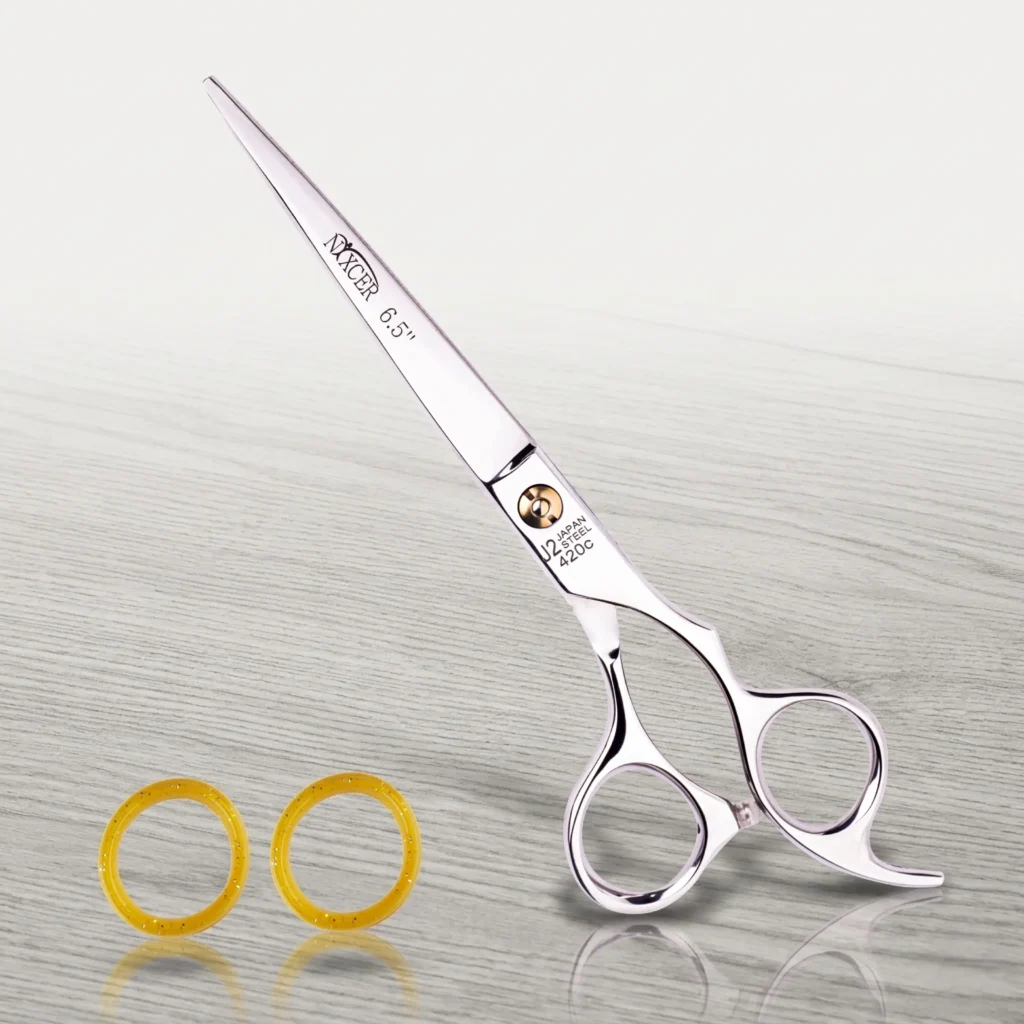
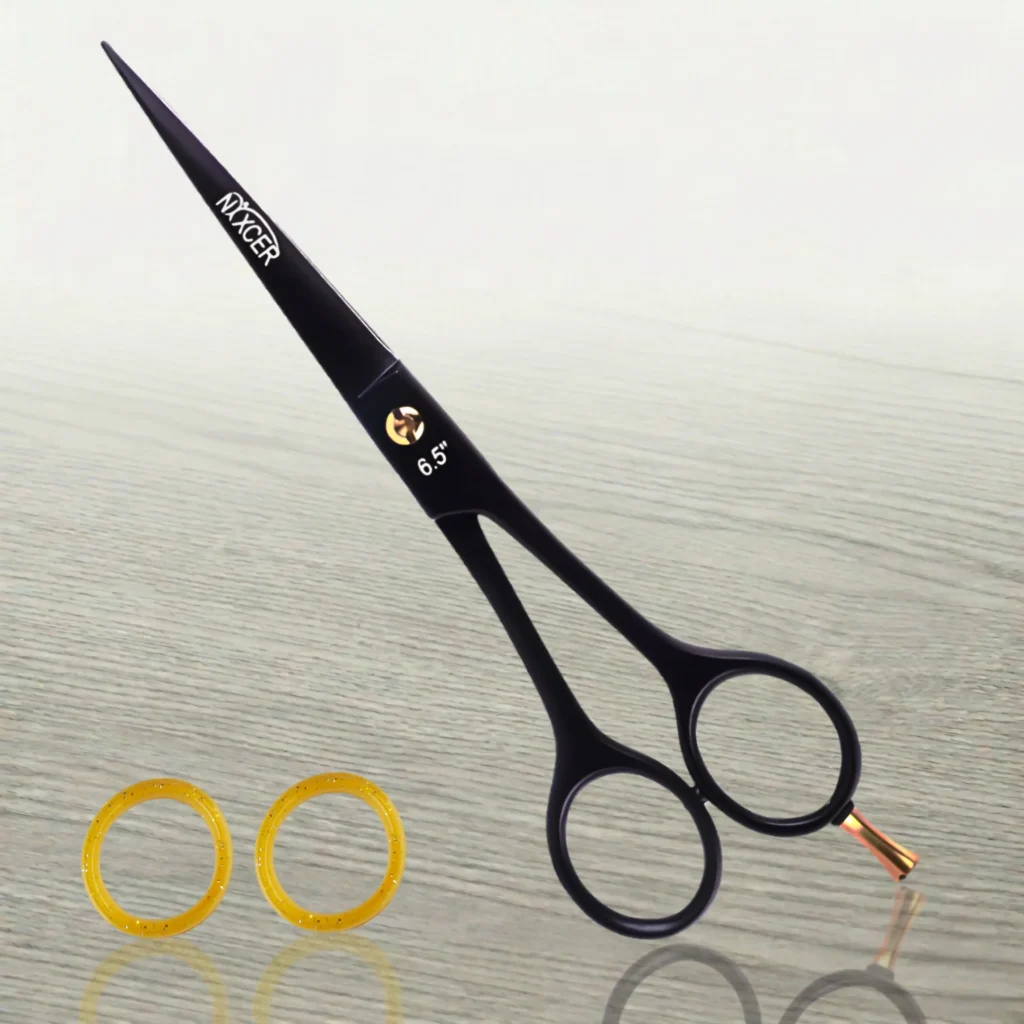
The Professional Sharp Series Razor Edge Hair Cutting Scissors can help with face-framing, point cutting, and clean layer work.
For soft weight removal
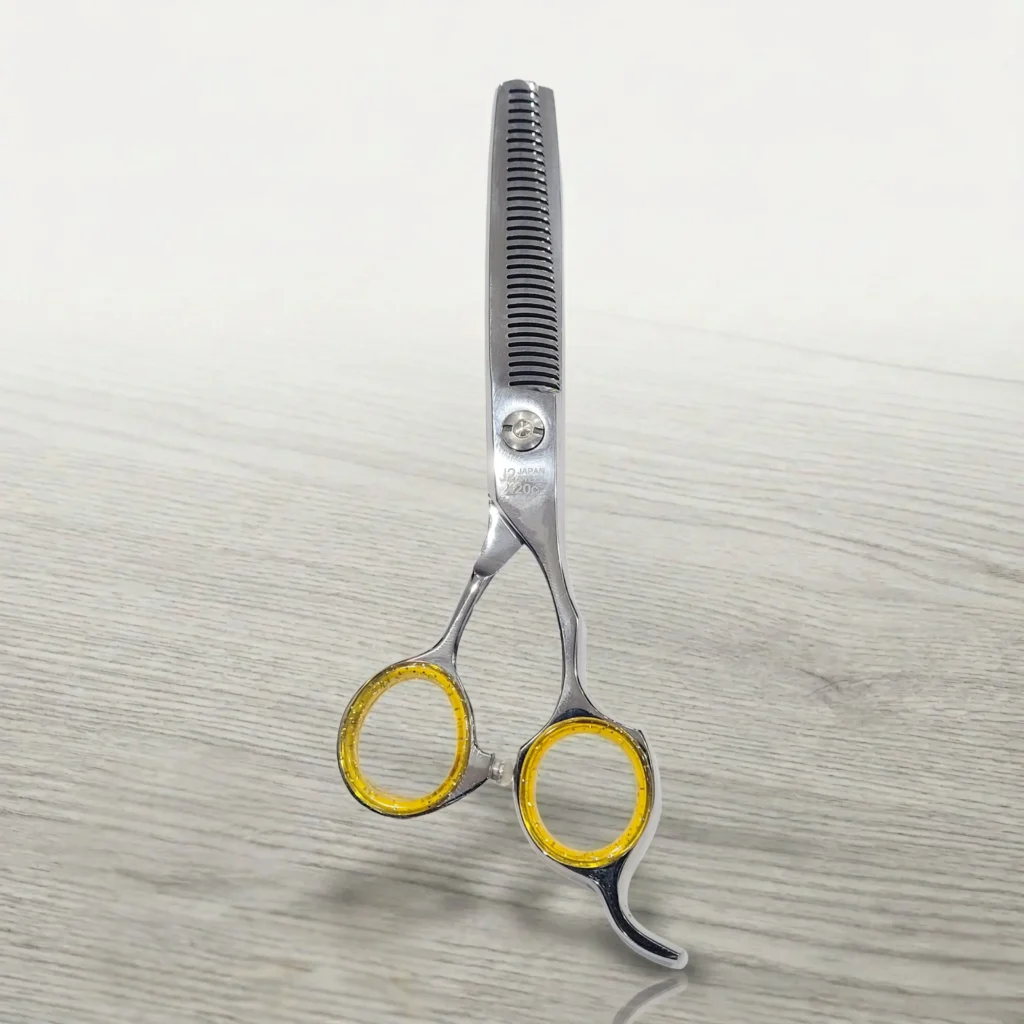
The Nixcer Professional Series Hair Thinning Scissors can help soften dense areas after the main shape is finished.
Buying note
Choose tools based on comfort, sharpness, different sizes, hand fit, and the hair type you cut most often.
Common Mistakes to Avoid
A precision shag can go wrong if the stylist rushes or removes too much weight.
Over-texturizing
Too much texturizing can make the haircut look weak, frizzy, or uneven.
Cutting crown layers too short
Short crown layers can add volume, but if they are too short, the haircut may look disconnected.
Ignoring natural movement
The shag should support the natural fall. Fighting the natural pattern makes the style harder to wear.
Using dull tools
Dull scissors damage the ends and reduce precision. Keep professional tools clean and sharp.
Final Thoughts
Using hair cutting scissors for precision shags is about control, comfort, and smart layering. Learn how to hold the scissors correctly, work with small sections, and use the right technique for the hair type.
A shag should feel soft, wearable, and full of movement. With the right tools, better control, and careful cutting, the final hairstyle can look modern, natural, and professional.
FAQs
What scissors are best for a precision shag?
Sharp hair cutting scissors are best for building the shape. Texturizing shears can help refine weight after the main cut is complete.
How do I hold hair scissors correctly?
Place the ring finger in the lower hole, thumb in the bottom hole, index finger along the shank, and little finger on the finger rest.
Can I use thinning scissors on a shag haircut?
Yes, but use them carefully. Thinning scissors should remove bulk, not replace proper layers.
Is a shag good for fine hair?
Yes, if the layers are soft and the perimeter stays strong. Avoid heavy thinning on fine hair.
Should a shag be cut wet or dry?
Many stylists build the base wet and refine dry. Dry checking is important for bangs, curls, and texture.