Meta description: Learn how to use hair cutting scissors for creating texture, movement, softness, and volume without removing too much hair.
Suggested URL slug: how-to-use-hair-cutting-scissors-for-creating-texture
Creating texture is not just about cutting more hair. It is about knowing where to soften weight, where to leave strength, and which scissor, shear, or texturizing shear gives the cleanest result for the haircut. The right hair cutting scissors can add texture, thin bulky areas, shape movement, and make a style feel lighter without ruining the outline.
At Nixcer Outlet, this matters because a good pair of scissors should help both salon pros and careful at-home users work with control. Whether you want to texturize hair, blend layers, remove hair weight, or create texture in short hair, fine hair, thick hair, curly hair, wavy hair, or straight hair, the goal is the same: cut less, check more, and keep the final shape balanced.
Why Texture Matters in a Haircut
Texture changes how hair moves, sits, and responds after styling. A blunt haircut can look strong and polished, but too much solid weight may feel heavy, flat, or bulky. Texturizing helps break up that heaviness.
In professional hair cutting, texture is used to:
- Add volume where the hair looks flat
- Remove bulk from thick hair
- Blend layers without harsh lines
- Help curly hair and wavy hair sit more naturally
- Give short hair a softer, lived-in finish
- Create separation around the ends of the hair
The key is control. A stylist or hairdresser should never use texturizing as a shortcut for fixing a poor haircut. Texture should support the shape, not hide mistakes.
The Best Tool to Use for Creating Texture
The best tool to use depends on the hair type, density, length, and desired finish. A straight scissor, texturizing scissors, thinning shears, and hair thinning scissors all remove weight differently.
Straight Hair Cutting Scissors
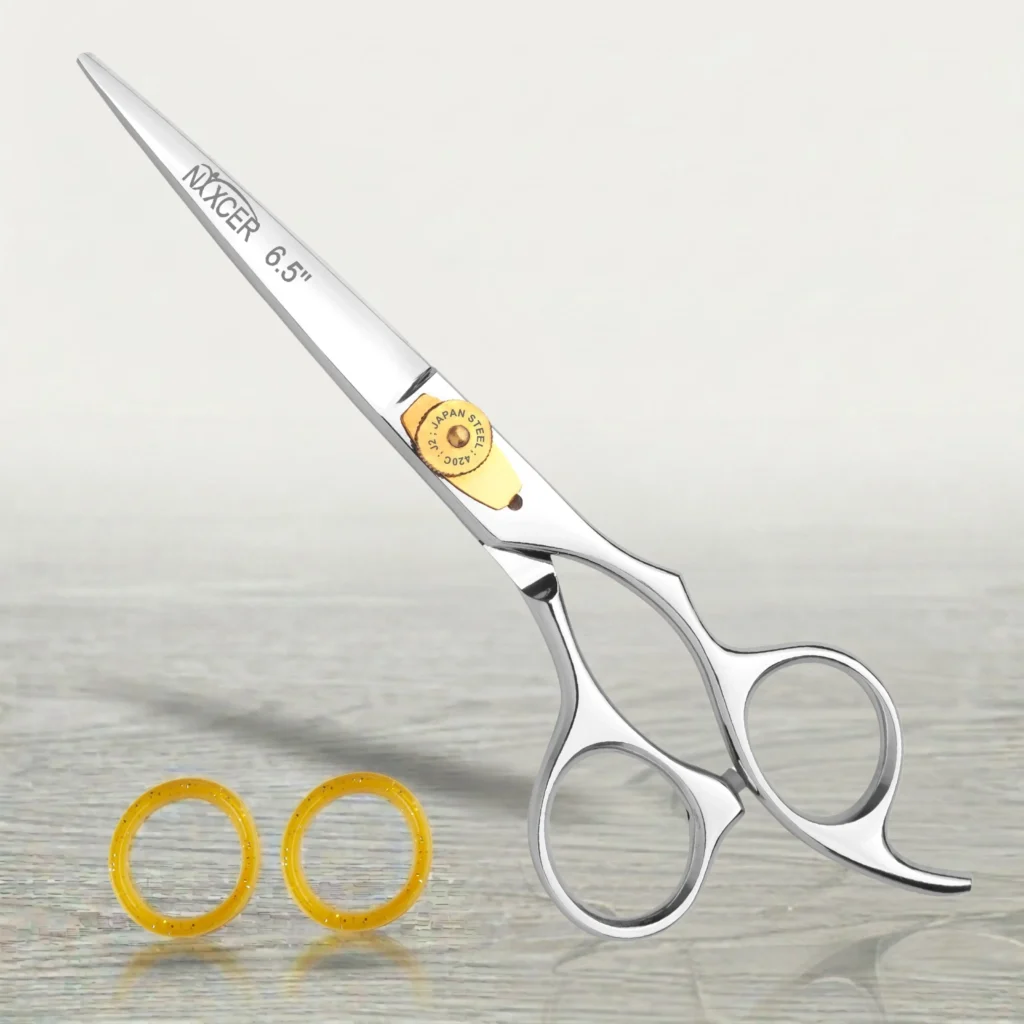
Straight bladed shears are ideal for point cut work, slide cut work, clean detailing, and precise shape building. These cutting scissors are the foundation tool because they can cut hair cleanly while still allowing soft texture when used with the right cutting technique.
Straight shears to create texture are useful when you want:
- Softer ends
- Small notches in a line
- Movement without heavy thinning
- Control around face-framing layers
- A more customized haircut
If you use normal scissors from a drawer, the blade can bend or crush the hair shaft instead of cutting cleanly. Sharp scissors made for hair are safer for the hair and easier to control.
Texturizing Shears
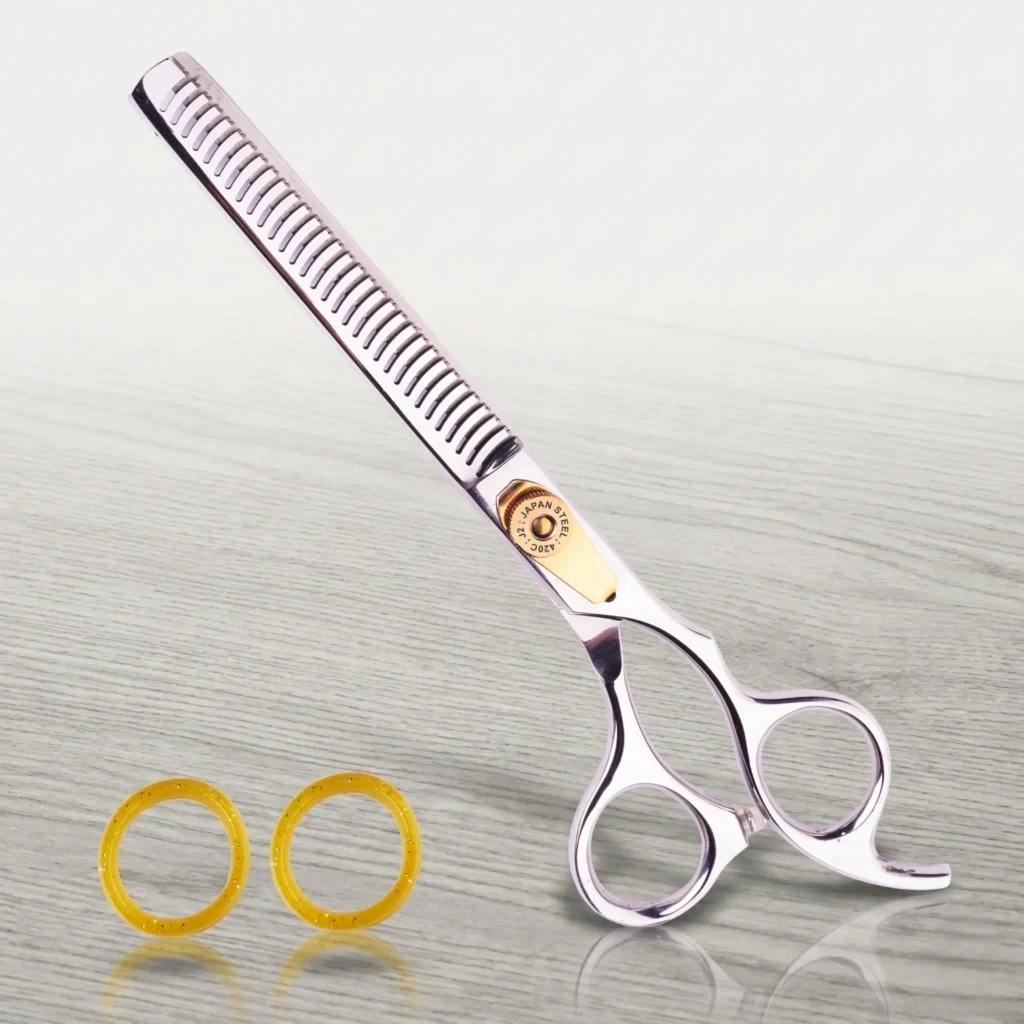
Texturizing shears have teeth that remove some strands while leaving others. A texturizing shear is great when you want softness, separation, and texture and movement without creating a choppy hole.
Use texturizing shears when the goal is to:
- Add texture to the mid-lengths or ends
- Blend layers
- Soften a heavy perimeter
- Reduce bulk in selected areas
- Create airy movement in thicker hair
For many haircuts, texturizing and thinning look similar, but they are not always the same. Texturizing usually focuses on shape, detail, and movement. Thinning focuses more on reducing density.
Thinning Shears
Thinning shears, thinning scissors, or a thinning scissor remove hair in a more general way. They can be helpful for thick hair, coarse hair, and areas where there is a lot of hair, but they should be used carefully.
Use thinning shears only where the hair can afford to lose density. If you remove too much hair, the shape may collapse, frizz, or look stringy.
Chunking Shears and Texture Shears
Chunking shears remove more hair than standard texturizing scissors. They can be useful on very thick hair or bold short hair, but they are not forgiving. A small mistake can take pieces out of the hair and leave visible gaps.
Texture shears with wider teeth create stronger separation. Shears with finer teeth remove less hair and create softer blending.
Texturizing Shears vs Thinning Shears
Many people search for thinning scissors and texturizing shears as if they are the same. They overlap, but the result can be different.
Texturizing shears are usually used to create texture, soften shape, and add visible movement. Thinning shears are often used to thin hair and remove bulk. Hair thinning shears may remove less hair or more hair depending on tooth count, blade design, and how deeply they are placed inside the hair.
When to Use Texturizing Scissors
Use texturizing scissors when you want movement, separation, and a softer finish. They work well for layered cuts, pixie shapes, bobs that need movement, and styles where the ends should not look too solid.
Best use case
They are a great tool to use when the haircut already has a good shape and only needs softness, blending, or light separation.
When to Use Thinning Scissors
Use thinning scissors when the hair is too dense and needs weight reduction. They can help with thick hair, but they are risky on fine hair because they may make the ends look weak.
Biggest caution
Do not use them repeatedly on the same area. Too many cuts can remove density faster than expected.
When to Use Straight Scissors
Use straight hair scissors when you need precision, clean lines, point cutting, slide cutting, and small custom details. For beginners, straight shears are often easier to understand than aggressive texturizing tools.
Why control matters
Straight scissors let you decide exactly where each small cut goes, which is why they are useful for visible areas around the face and outline.
How to Prepare Hair Before Texturizing
Before you texturize the hair, finish the main shape first. Texture should come near the end of the haircut, after the length, layers, and outline are already correct.
Check the Hair Type
Different types of hair react differently:
- Fine hair needs light detailing, not heavy thinning.
- Thick hair can handle more weight removal.
- Curly hair needs careful placement because cutting too much inside the shape can create frizz.
- Wavy hair usually benefits from soft point cutting and light texturizing.
- Straight hair can show every mistake, so small cuts matter.
- Coarse hair may need deeper weight removal, but only in controlled areas.
The hair type tells you how much hair to remove and where the texture should sit.
Decide Wet Hair or Dry Hair
Texture is often best done on dry hair because you can see how the hair naturally falls. A lot of professional stylists prefer dry hair for final texturizing because wet hair stretches and can hide the true result.
Wet hair can be useful for the main haircut, but wet hair to remove bulk is risky if you cannot judge shrinkage, curl pattern, or density. A safer rule is: cut structure wet if needed, then refine texture dry.
Section the Hair
Always lift a section of hair before cutting. Working with one section of hair at a time prevents uneven holes and helps you control how much hair is removed.
Start with less hair in each section. It is easier to take another small cut than to fix over-thinning.
How to Use Hair Cutting Scissors for Creating Texture
The best way to create texture is to work slowly and choose the right cutting technique for the finish you want.
Start With the Main Shape
Do not texturize before the haircut is built. Create the length, layers, and outline first. Then look at where the hair feels heavy, flat, or too blunt.
Ask:
- Does the client’s hair need movement at the ends?
- Is there too much bulk inside the hair?
- Does the cut need volume and texture?
- Are the layers blending smoothly?
- Is the shape too heavy around the bottom?
Texture should answer a specific problem.
For a salon appointment, always look at the client’s hair in natural fall before deciding how much texture to add. Density, growth pattern, and styling habits matter as much as the requested look.
Hold the Scissors at an Angle
For most texturizing work, avoid cutting straight across unless you want a blunt result. Angle the scissor into the ends and make small controlled cuts. This breaks the line and creates softer movement.
This is one of the most common texturizing methods because it keeps the style natural.
Cut Less Than You Think
A great technique for curly hair, fine hair, and shorter hair is to remove little hair first. Check the movement, shake the section, and then decide if it needs more.
Over-texturizing can make hair look thin, dry, and uneven. The biggest mistake is trying to create texture by cutting too much at once.
Point Cut Technique
Point cut work is one of the safest ways to create texture with hair cutting scissors. Instead of cutting a straight line, you point the tips of the scissors into the ends of the hair.
How to Point Cut
Hold a small section of hair between your fingers. Place the tips of the scissors into the ends of the hair at a slight angle. Make small cuts, then check the line.
Point cutting is useful for:
- Softening blunt ends
- Blending layers
- Adding small texture
- Creating a natural finish
- Reducing harsh lines
The deeper the point cut, the stronger the texture. For fine hair, keep the cuts shallow. For thick hair, you can go slightly deeper, but still work slowly.
Slide Cut Technique
Slide cut work creates a smooth, flowing texture. The scissor is opened slightly and glided along the hair instead of making a full close-and-open chop.
When Slide Cutting Works Best
Slide cutting is useful for longer hair, face-framing layers, soft movement, and removing weight without creating obvious marks. It can help create texture in wavy hair and straight hair when done with sharp scissors.
Never force a dull blade through the hair. If the scissors drag, they can damage the hair shaft and make the ends feel rough.
Using Texturizing Shears the Right Way
Use texturizing shears after the main cut is finished. Comb the section smoothly, decide where the weight lives, and place the shears only where you want softness.
Step-by-Step Method
- Dry and style the hair close to its natural finish.
- Lift a section of hair where bulk needs softening.
- Place the texturizing shear away from the scalp.
- Make one controlled cut.
- Comb out the section.
- Check the result before cutting again.
For most people, one or two careful cuts per section is enough. If you keep cutting the same area, you can remove too much hair.
Where Not to Use Texturizing Shears
Avoid placing thinning shears or texturizing shears too close to the scalp unless you are trained and working on a specific professional technique. Cutting too close can leave short hairs sticking out and create frizz.
Also avoid overusing them on the top layer of fine hair. The top layer is visible, so any mistake is easier to see.
Texturizing Hair With Scissors at Home
Texturizing hair with scissors at home should be simple and conservative. If you are not a stylist, focus only on softening the ends, not reshaping the whole haircut.
Safe At-Home Approach
Use a real pair of scissors made for hair, not kitchen scissors. Work on dry hair, take a small section, and point cut only the very ends. Check after every few cuts.
If you want to texturize hair with scissors, do this:
- Start at the ends of the hair
- Keep the scissors angled
- Use tiny cuts
- Stop before the hair looks thin
- Do not cut deep into the interior
Using scissors carefully can refresh a style, but major texturizing is better left to a hairdresser or barber.
When to See a Professional
See a stylist if you want to remove bulk from thick hair, blend short layers, fix a heavy bob, reshape curly hair, or use texturizing scissors across a full head. Professional scissor tech matters because placement is everything.
How to Texturize Different Hair Types
Different texturizing choices work for different types of hair. The same shear can create a beautiful result on one client’s hair and a bad result on another.
Fine Hair
Fine hair needs very light texture. Too much thinning can make it look sparse. Use shallow point cutting and avoid heavy use of thinning shears.
For fine hair, the goal is usually movement, not density removal.
Thick Hair
Thick hair often needs internal weight removal. Texturizing shears, thinning shears, and slide cutting can help remove hair from heavy areas while keeping the outside shape full.
Do not remove more hair from every section. Focus only on bulky zones.
Curly Hair
Curly hair should usually be texturized dry or close to its natural shape. A great technique for curly hair is careful point cutting at the ends or selective interior softening.
Avoid random thinning through the curls. It can break curl groups and create frizz.
Wavy Hair
Wavy hair responds well to soft point cutting, light slide cutting, and gentle texturizing hair with scissors. The goal is to support the wave, not remove the wave’s structure.
Straight Hair
Straight hair shows lines quickly. Use a light hand, sharp scissors, and small controlled cuts. A mistake in straight hair is often more visible than in textured or curly hair.
Short Hair
Short hair can look bulky if the ends are too solid. Use small point cuts, texturizing scissors, or texture shears to break up the shape. Be careful near the crown because removing too much can make hair stick out.
Longer Hair
Longer hair often needs movement through the mid-lengths and ends. Slide cutting and point cutting are usually safer than aggressive thinning.
Common Texturizing Techniques
Common texturizing techniques include point cutting, slide cutting, notching, channel cutting, and controlled thinning. Each way of texturizing has a different purpose.
Point Cutting
Point cutting softens a line and adds natural separation.
Slide Cutting
Slide cutting creates fluid movement and can remove weight from longer hair.
Notching
Notching removes small pieces out of the hair to create a stronger separated look. It works best when done carefully with sharp scissors.
Interior Texturizing
Interior texturizing removes weight inside the hair while leaving the outer shape intact. This is useful for thick hair but risky for fine hair.
Thinning
Thinning reduces density. It should be used only when there is much hair or a heavy area that truly needs weight removal.
Mistakes to Avoid When Creating Texture
Texture can improve a haircut, but it can also ruin one if done too aggressively.
Removing Too Much Hair
The most common mistake is removing too much hair. Once the density is gone, it cannot be put back. Start with little hair and increase only if needed.
Cutting Too Close to the Scalp
Cutting too close to the scalp with thinning shears can create short, spiky pieces. These short hairs may poke through the style and cause frizz.
Using Dull Scissors
Dull scissors can bend, pull, or roughen the hair. Good hairdressing scissors should feel smooth and controlled. If the blade drags, get the scissors sharpened before using them again.
Texturizing Wet Hair Without Checking Dry Movement
Texture done on wet hair can surprise you after drying. Hair shrinks, waves appear, curls spring up, and density can look different. Final checks are safest on dry hair.
Using the Same Technique on Every Hair Type
Fine hair, thick hair, straight hair, curly hair, and coarse hair all need different pressure. There is no one universal way to create texture.
Choosing the Right Scissors for Texture Work
The right scissors make texturizing easier and safer. A quality shear should feel balanced, sharp, and comfortable in the hand.
Blade Quality
The blade should cut cleanly without pushing the hair away. Sharp scissors give cleaner texture and reduce pulling.
Comfort and Control
An ergonomic handle helps reduce hand strain during detailed work. If the scissors feel awkward, your cutting technique becomes less controlled.
Teeth and Removal Rate
For texturizing scissors, look at the teeth. Finer teeth usually remove less hair. Wider teeth can remove more hair and create stronger separation.
Straight Shears and Texturizing Shears Together
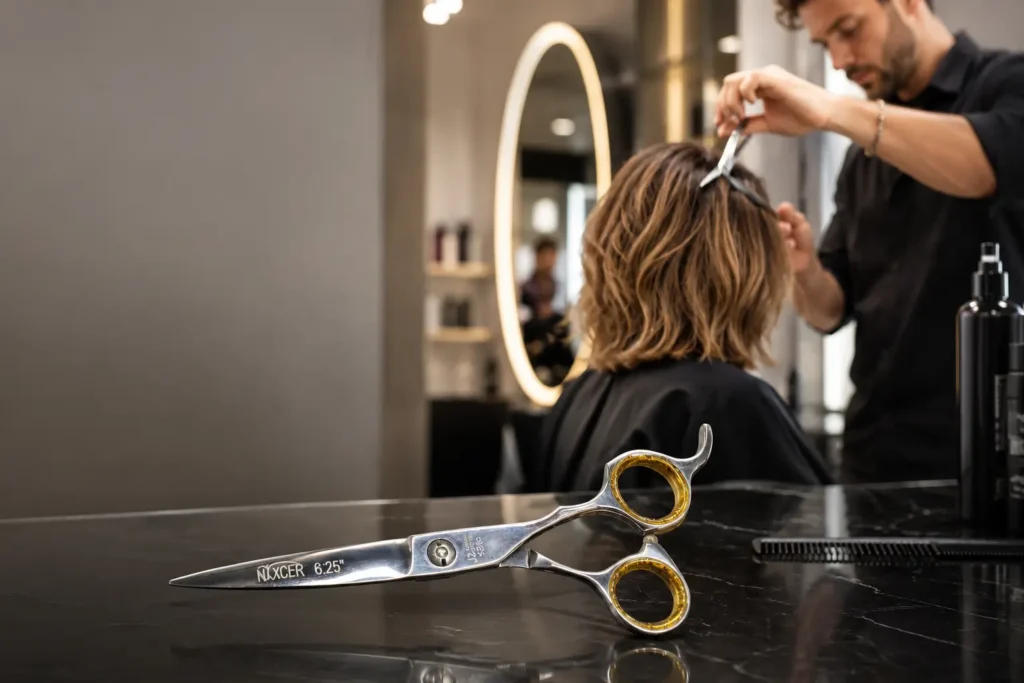
A professional setup often includes straight hair shears for shape and texturizing shears for refinement. This gives more control than relying on one tool for every job.
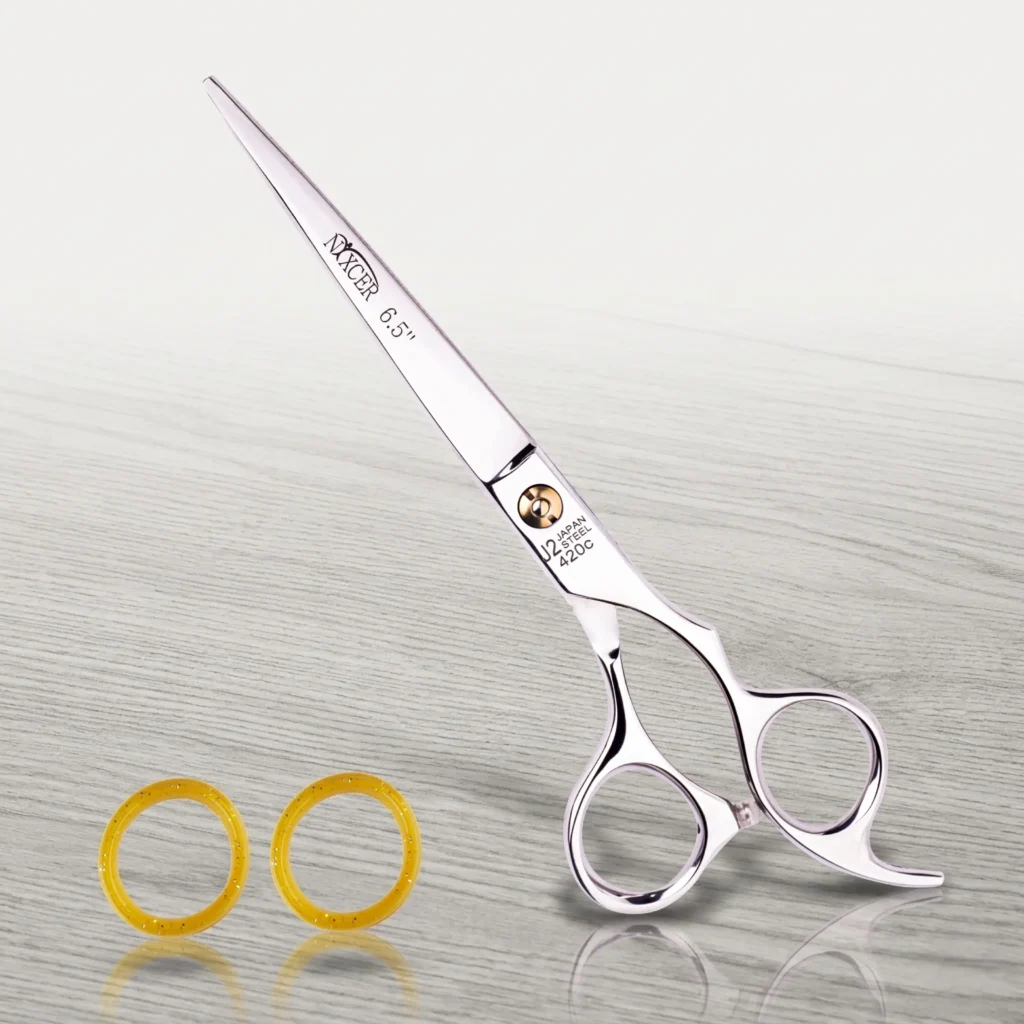
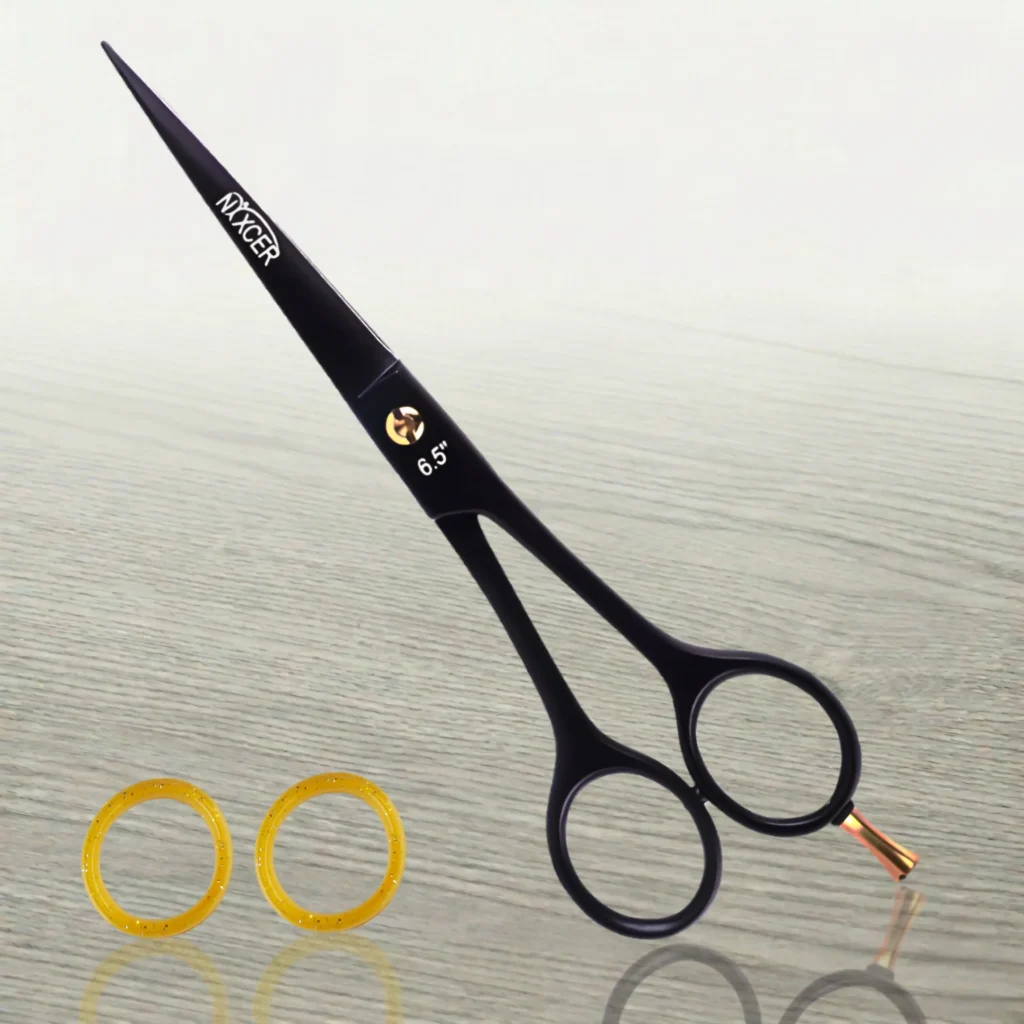
You can view suitable cutting tools on the Nixcer Outlet shop and compare straight cutting scissors, thinning tools, and texture-focused options before choosing.
Product Picks for Texture-Focused Cutting
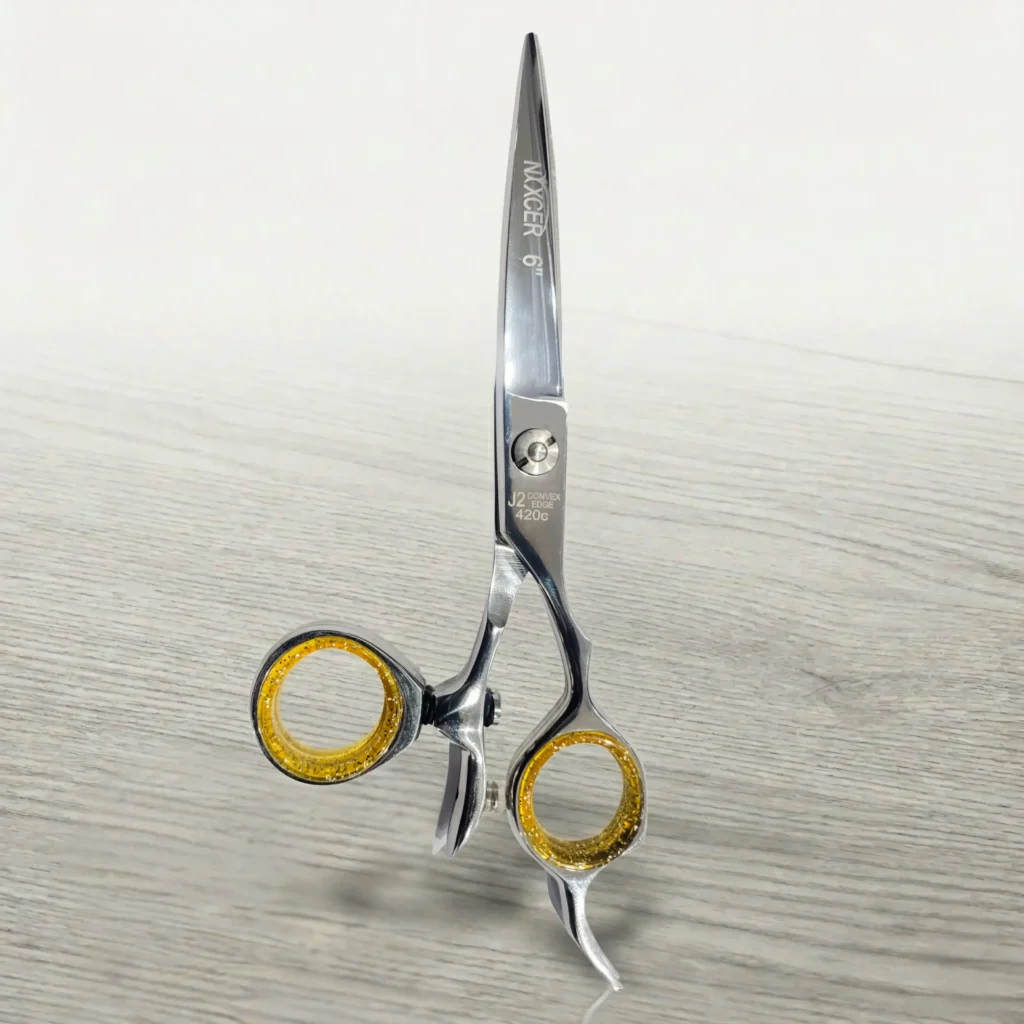
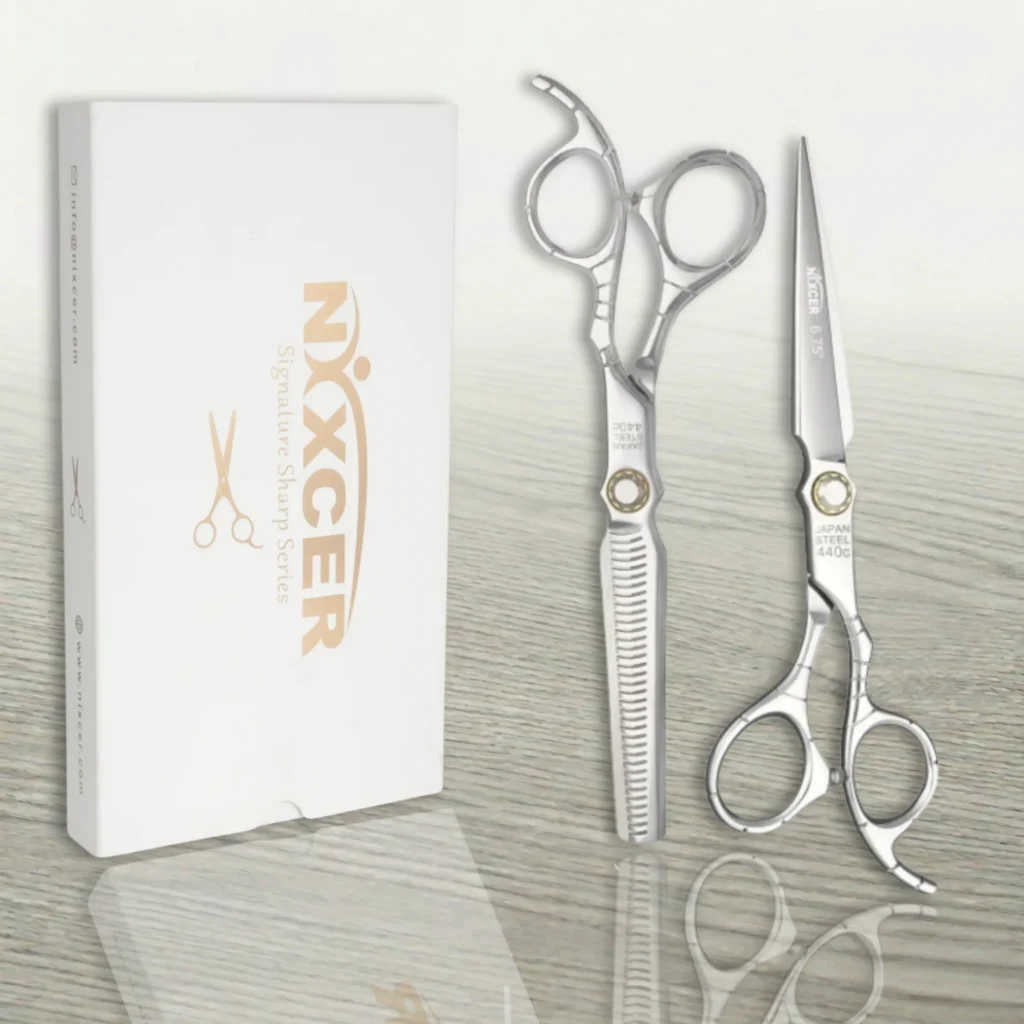
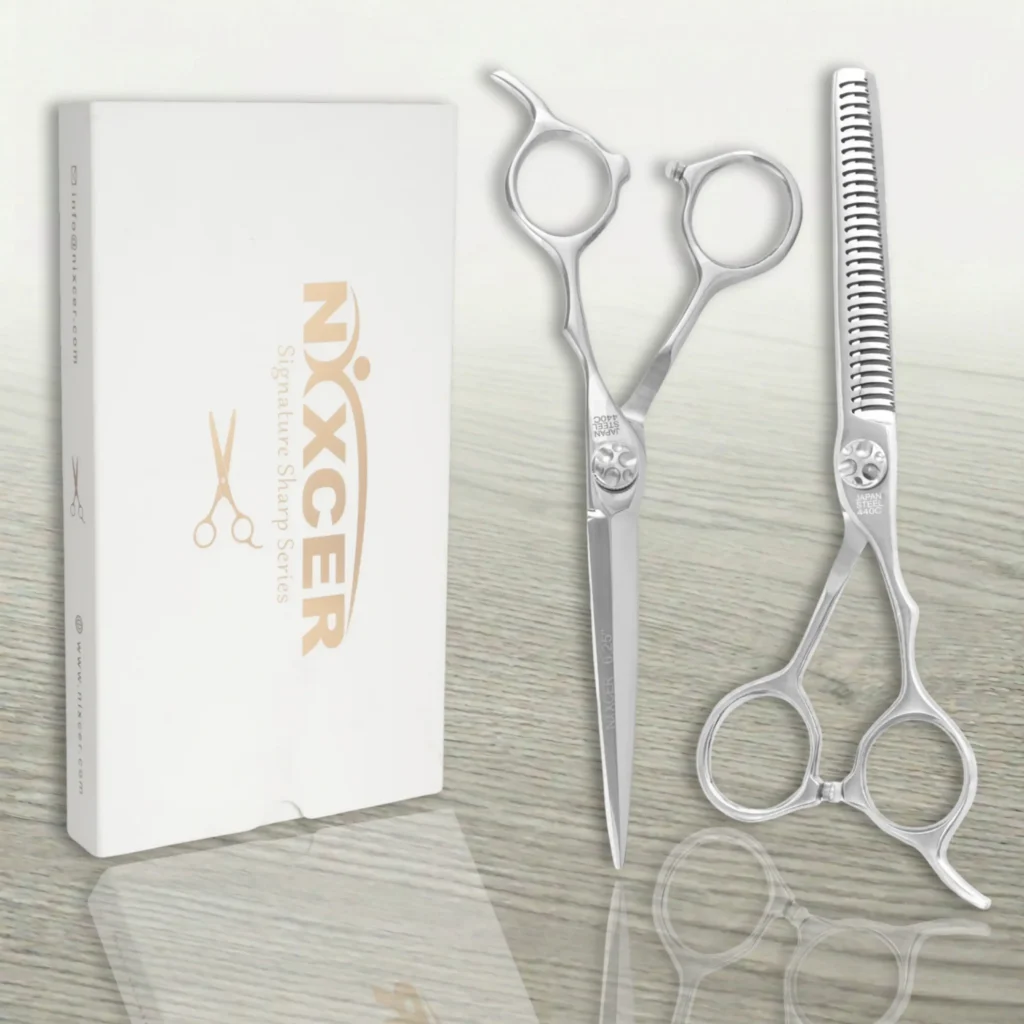
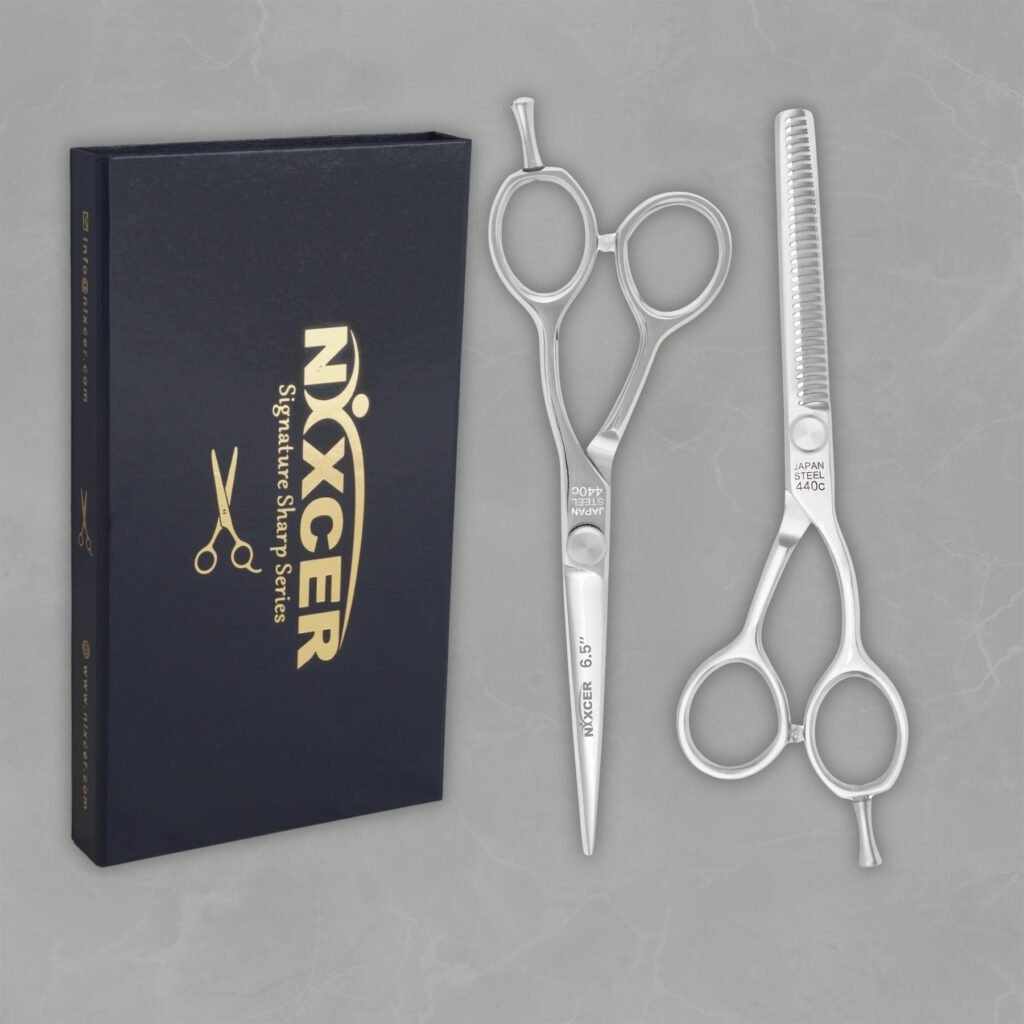
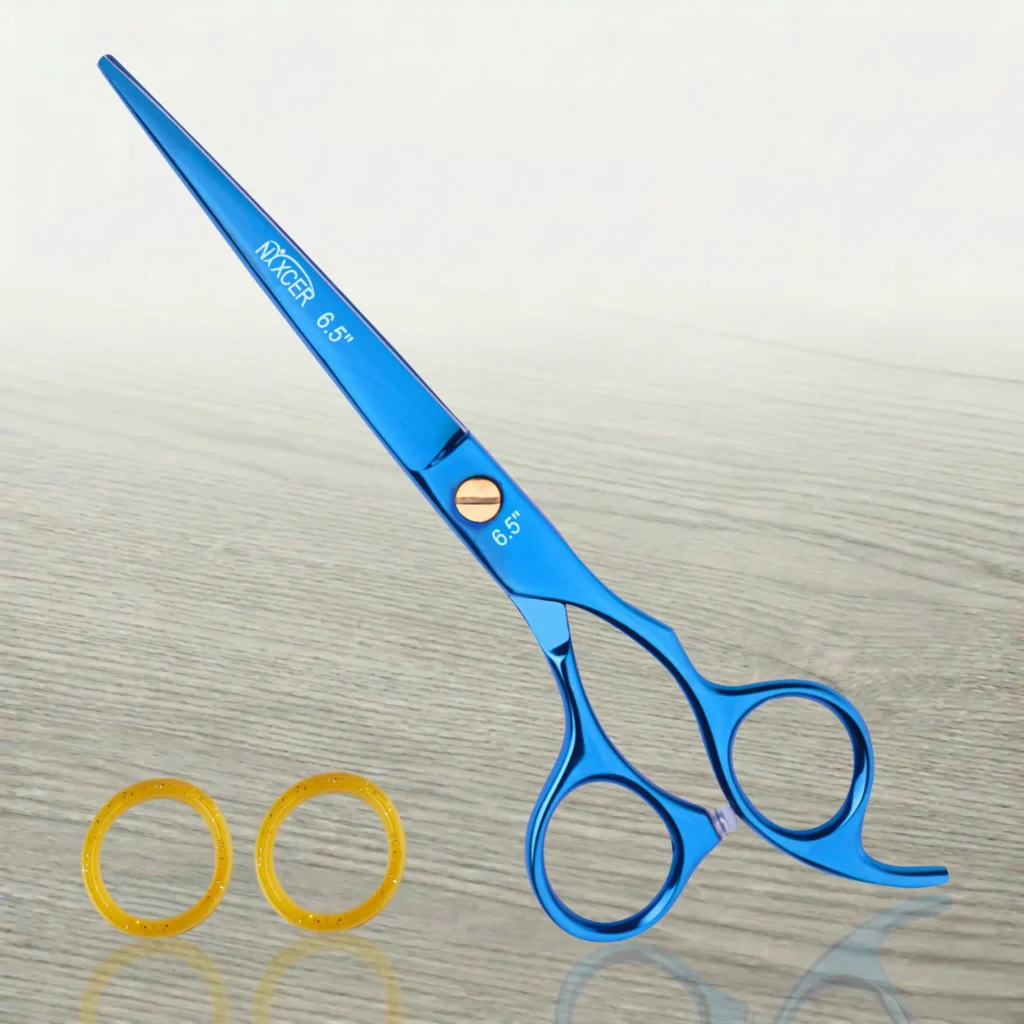
For controlled point cutting and slide cutting, a sharp straight shear is a strong starting point. The Professional Sharp Series Razor Edge Hair Cutting Scissors can be used for clean detailing, shaping, and soft texture work.
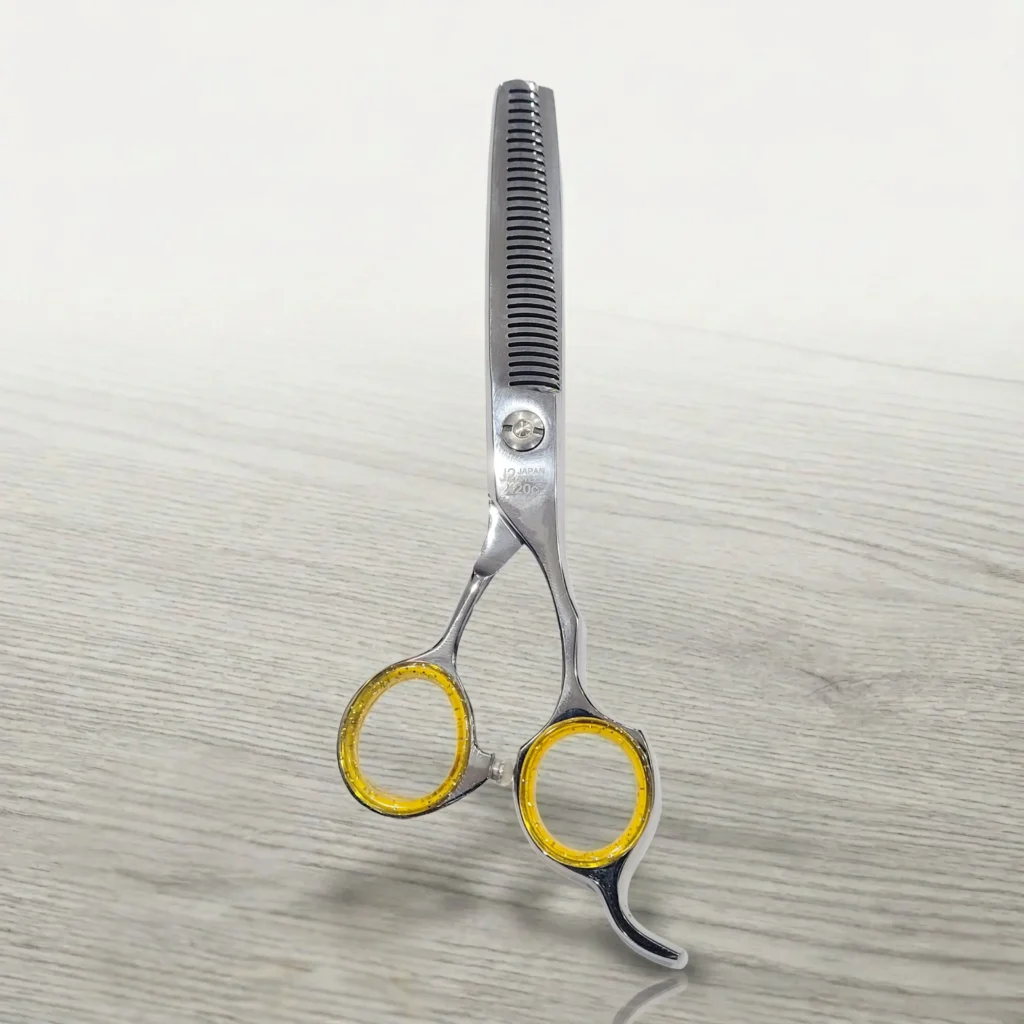
For reducing bulk and refining texture, the Nixcer Professional Series Hair Thinning Scissors are a helpful option when used carefully. Always check the product details and choose based on your hair type, cutting comfort, and experience level.
A Simple Texture Workflow for Stylists
A stylist can use this workflow to keep the result clean:
- Build the haircut shape first.
- Dry the hair and check natural movement.
- Identify heavy areas.
- Choose point cut, slide cut, or use texturizing shears.
- Work in small sections.
- Comb out every cut.
- Step back and check balance.
- Stop before the hair becomes thin or weak.
This workflow prevents overcutting and keeps the haircut wearable.
A Simple Texture Workflow for Home Users
If you are doing light touch-ups at home, keep it even simpler:
- Use sharp hair cutting scissors.
- Work on dry hair.
- Take a very small section.
- Point cut only the ends.
- Check both sides.
- Stop early.
Do not use texturizing shears all over your head unless you understand how much hair they remove.
How Much Hair Should You Remove?
Less hair is almost always the safer answer. Remove a small amount, comb it out, and see how the hair falls. If the shape still feels heavy, remove a little more.
Think in small adjustments:
- Fine hair: very little hair
- Medium hair: light to moderate texture
- Thick hair: controlled interior weight removal
- Coarse hair: deeper but strategic softening
- Curly hair: minimal cuts, placed carefully
The goal is texture, not emptiness.
Signs You Added the Right Amount of Texture
You know the texture is working when:
- The hair moves more easily
- The ends look softer
- The shape still looks full
- There are no holes or gaps
- The haircut styles with less effort
- The texture and movement look natural
Good texturized hair should not look chopped unless the style intentionally calls for that.
Final Thoughts
Learning how to use hair cutting scissors for creating texture is about restraint. A scissor, shear, texturizing shear, thinning scissor, or pair of scissors can all help shape better movement, but the tool only works well when the technique is thoughtful.
Start with the right hair scissors, work on the right section of hair, choose the right texturizing technique, and remove less hair than you think. That is how you create texture that looks soft, balanced, and professional.
FAQs
Can I use regular scissors to texturize hair?
You should not use regular household scissors. Use hair cutting scissors or professional hair shears because they are sharper and designed to cut the hair shaft cleanly.
Is texturizing good for fine hair?
Yes, but only lightly. Fine hair can lose fullness quickly, so use shallow point cutting instead of aggressive thinning shears.
Should texturizing be done on wet hair or dry hair?
Many final texture decisions are best done on dry hair because you can see the true shape, movement, and density.
What is the safest way to create texture at home?
The safest method is light point cutting on the ends with sharp hair cutting scissors. Avoid deep cuts and avoid using thinning shears throughout the head.
Do texturizing shears damage hair?
Texturizing shears do not damage hair when they are sharp and used correctly. Damage usually comes from dull blades, poor placement, or removing too much hair.
What is the difference between texturizing and thinning?
Texturizing creates movement and softness. Thinning reduces density. Some tools can do both, but the intent and placement are different.
How often should I texturize my hair?
Only when the haircut feels heavy, bulky, or too blunt. Over-texturizing too often can make the hair look thin or uneven.