If you want to learn how to customize your hair cutting scissors for optimal performance, begin with safe, reversible adjustments: fit the finger rings, set the pivot tension, position or remove the finger rest, choose a suitable handle design, and dedicate each pair to a specific cutting technique. Keep the blades clean and lightly oiled. Leave blade grinding, major pivot repairs, reshaping, and professional sharpening to a qualified scissor technician.
Customization is not only about engraving or color. The most useful changes improve fit, control, cutting performance, and comfort. This guide shows what a stylist can adjust safely, what should be selected when buying, and what must never become a do-it-yourself experiment.
How to Customize Your Hair Cutting Scissors for Optimal Performance Safely
| Customization | Safe for the user? | Why it matters |
| Add or change finger inserts | Yes | Improves ring fit and reduces unwanted movement |
| Adjust a removable finger rest | Yes, if designed for it | Changes hand support and balance |
| Make small tension adjustments | Yes, with the correct tool and instructions | Helps blades meet cleanly without excess pressure |
| Apply scissor oil at the pivot | Yes | Reduces friction and helps flush fine debris |
| Dedicate shears by technique | Yes | Protects the edge and improves consistency |
| Choose offset or swivel handle geometry | At purchase | Supports a more neutral hand position |
| Change blade angle or edge profile | No | Can destroy geometry, alignment, or the ride line |
| Grind or sharpen a convex blade | No | Requires specialist equipment and experience |
| Bend handles or alter the pivot | No | Can make the tool unsafe or permanently misaligned |
| Apply aftermarket coatings | Professional only | Heat or poor preparation may affect fit and finish |
The rule is simple: customize fit and setup yourself; let a specialist customize or restore metal geometry.
1. Start With Your Cutting Style and Hair Types
Before changing anything, list the services and cutting motions you perform most often. A stylist who does precision cutting and point cutting needs different tip control than a barber doing scissor-over-comb. A hairdresser who works mainly on dry hair may prioritize a stable, sharp edge and easy pivot cleaning.
Consider:
- Your most common type of hair: fine, thick, straight, wavy, curly, or coily
- Whether you cut hair wet, damp, or dry
- Your primary haircut and cutting style
- The amount of slide cutting, point work, blunt cutting, or texturizing
- Your hand size, thumb movement, and preferred blade length
- Whether shorter shears or longer shears fit your daily work
Do not try to turn one pair of scissors into every tool. A dedicated hair shear, a thinning shear, and a longer barber shear may provide better results than repeatedly changing one setup. This task-based approach creates a more dependable professional cutting kit.
2. Match the Blade to the Technique
The type of scissors and blade geometry affect grip, glide, and the finish left on the hair.
Convex Blade
A convex blade has a finely curved cutting edge that can move through hair with low resistance. It suits slide cutting, slicing, point cutting, and other advanced cutting techniques when the edge is correctly finished.
Convex scissor blades are sensitive to poor sharpening. Sharper is not automatically better if the original edge geometry has been changed. Never flatten or file the edge at home. If a convex tool catches after cleaning and tension correction, schedule professional sharpening.
Beveled or Micro-Serrated Blade
A beveled edge is durable and can provide a controlled feel for blunt lines and general haircutting. Fine serrations help grip slippery strands, which can be useful during dry cutting or standard barber work.
Thinning and Texturizing Teeth
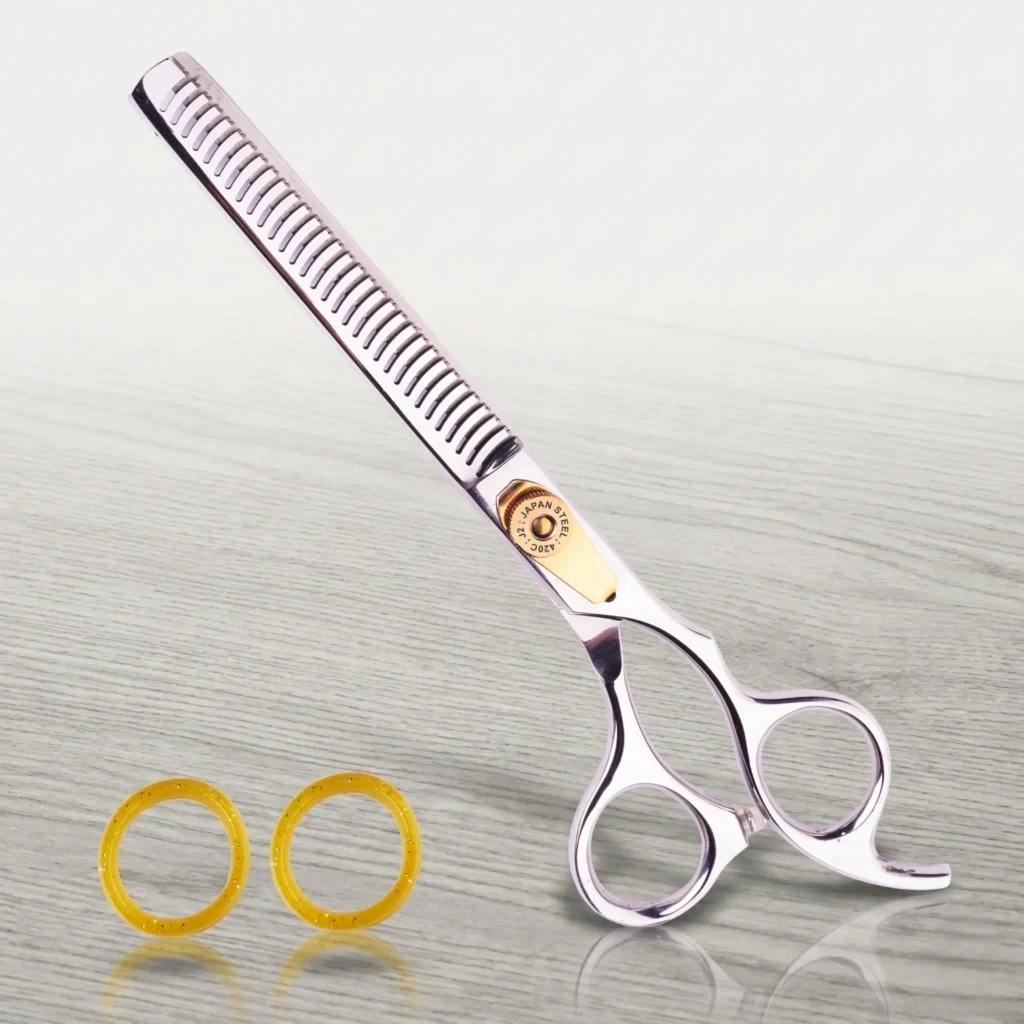
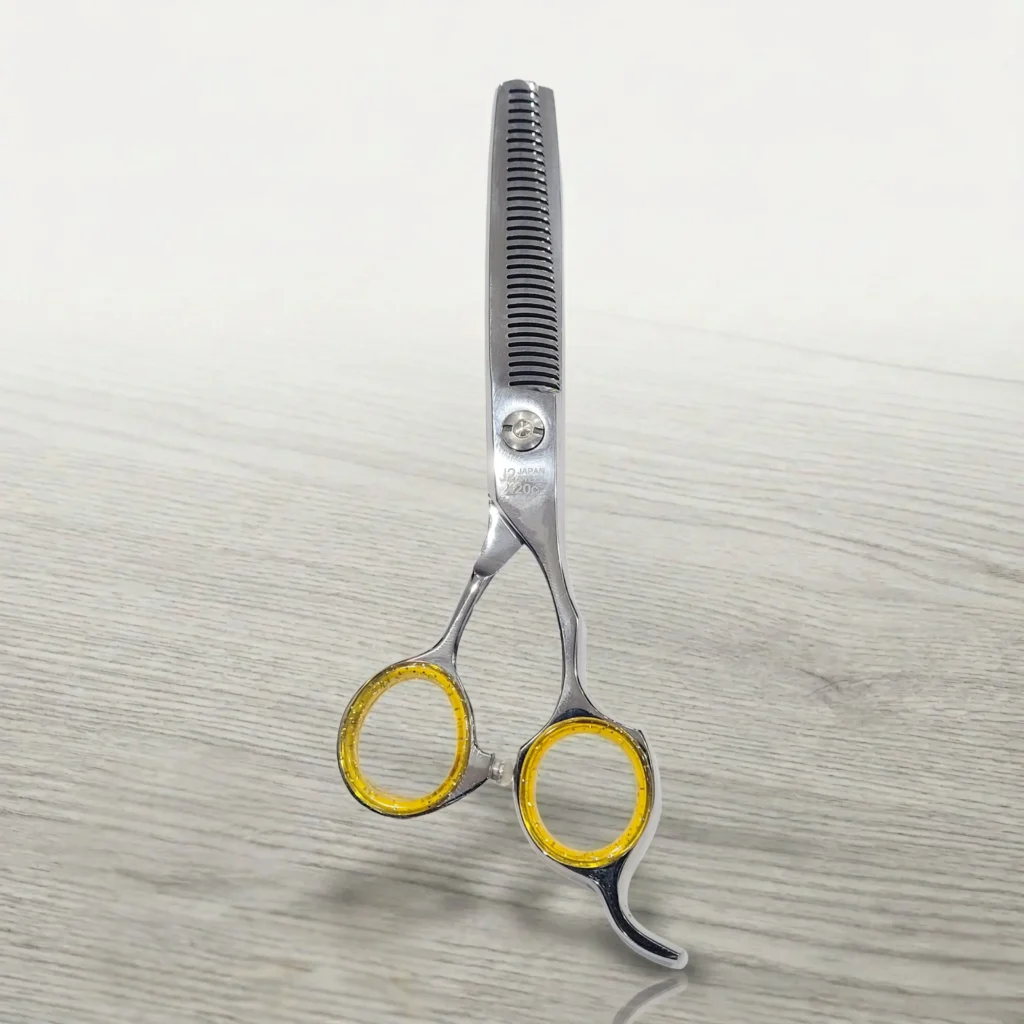
Thinning scissors use a toothed blade to remove only part of a section. Tooth count and spacing affect how much hair is removed and how visible the texture becomes.
Use thinning shears for planned hair thinning, blending, or softening—not to rescue an inaccurate shape. Thinning hair without a clear density plan can create gaps or short flyaways. A texturizing shear with wider tooth spacing may add stronger texture to hair, while a finer tooth pattern creates softer diffusion.
The user can select the correct edge, but should not attempt to convert one blade type into another. Changing the cutting edge requires precision machinery and can permanently damage a professional shear.
3. Choose the Right Scissor Length
Length is a performance setting chosen at purchase rather than changed later.
- 5.0–5.5 inches: Detail, fringe, point cutting, and work close to the fingers
- 5.75–6.0 inches: Versatile salon hair cutting and most general techniques
- 6.25–7.0 inches: Scissor-over-comb, long sections, and broader barber work
Shorter shears favor tip precision. Longer shears cover more hair in one closure and may make long lines more efficient. The best length depends on the hand, service, and technique—not simply the user’s height.
If one size forces awkward cutting motions, add a second length instead of modifying the blade. A coordinated pair of shears is safer and more predictable than a physically altered tool.
4. Customize the Finger Hole Fit
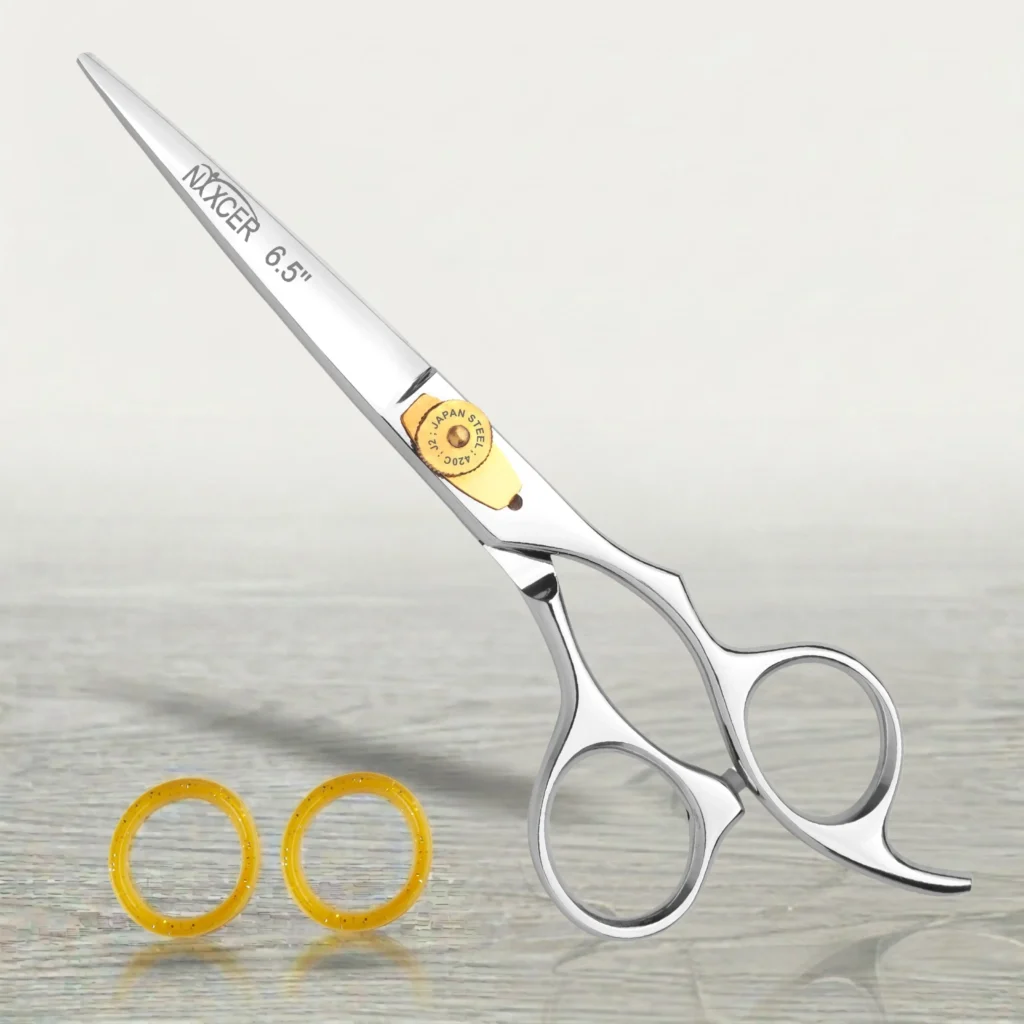
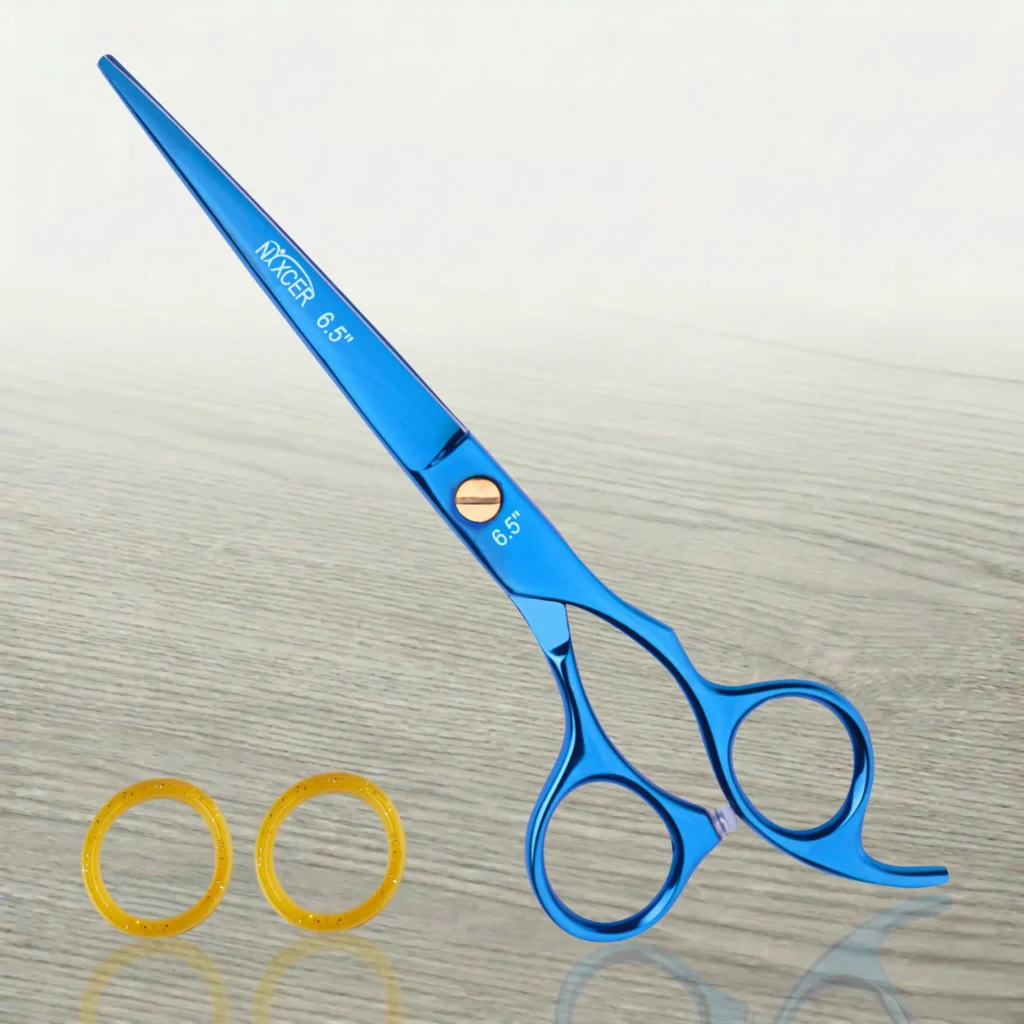
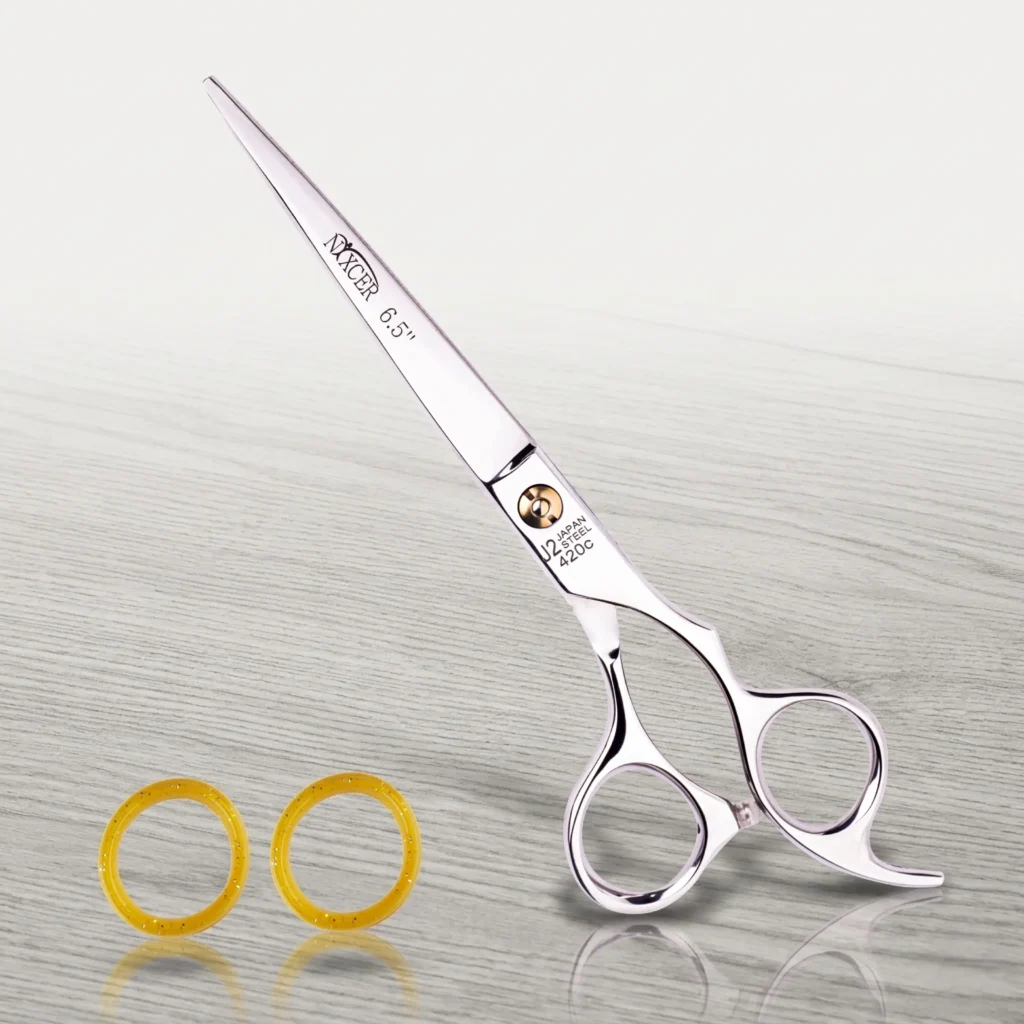
Finger inserts are removable rings placed inside the finger hole. They help a loose ring fit more securely and reduce the need to grip the handle tightly.
Use these steps:
- Clean and dry the rings.
- Install inserts made for the scissor model or ring size.
- Check that the ring finger enters comfortably without pressure or numbness.
- Confirm that the thumb can enter and exit without sticking.
- Open and close the shear several times with a relaxed hand.
The fit should be snug, not tight. If the thumb is trapped or the ring pinches during repeated movement, use a thinner insert or remove it. Never glue an insert permanently into a high-quality scissor.
5. Set the Finger Rest and Handle Support
A finger rest, also called a tang, supports the little finger and stabilizes the tool. Some rests are fixed; others are removable or replaceable.
If the rest is removable, test the scissor with and without it. Keep it only if it improves balance without forcing the little finger upward. Tighten it according to the manufacturer’s instructions and stop if the thread feels damaged.
Handle design matters beyond the finger rest:
- Classic opposing handle: Familiar symmetry but a wider thumb opening
- Offset ergonomic handle: Shorter thumb reach and a more relaxed hand position
- Crane handle: More pronounced offset that can encourage a lower elbow
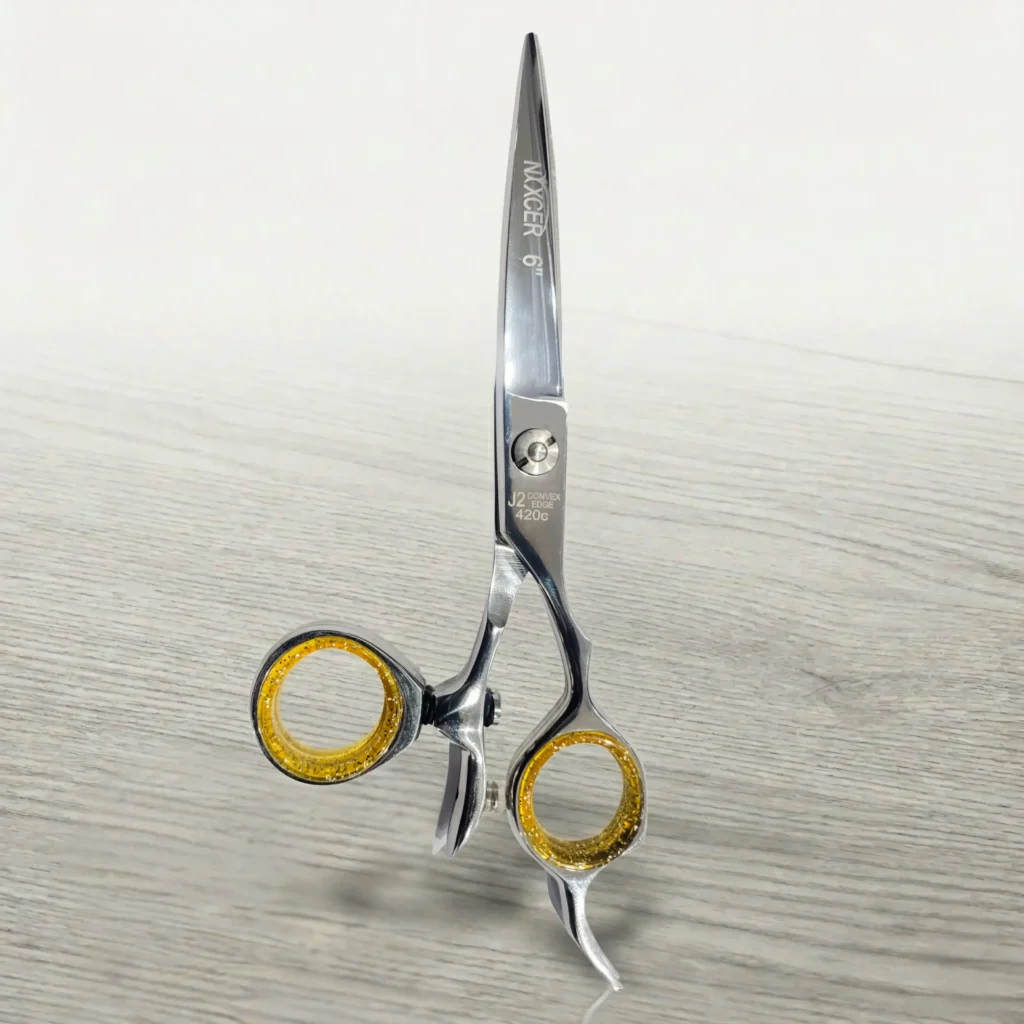
- Swivel thumb: Rotating ring that follows changes in hand and wrist angle
OSHA guidance for repeated scissor work identifies awkward wrist posture and repeated grip force as risk factors. It recommends tools that support neutral joint positions and well-maintained cutting equipment (OSHA Scissor Work guidance). Although the guidance is not specific to salons, the neutral-wrist principle is relevant to hairstylists who repeat the same motion throughout the day.
Ergonomic scissors are not medical treatment. If pain, tingling, weakness, or numbness persists, stop and seek advice from an appropriate healthcare professional.
6. Adjust the Pivot Tension Carefully
Tension is one of the most useful performance adjustments. Too loose, and the blades may separate, fold hair, or damage the cutting edges. Too tight, and the thumb works harder while the blades wear unnecessarily.
Safe Tension-Adjustment Process
- Clean your scissors and remove visible hair from the pivot.
- Add one small drop of scissor oil at the pivot.
- Open and close the blades several times, then wipe away excess oil.
- Hold one handle with the tips safely pointed away.
- Open the moving handle to roughly a right angle and release it.
- Observe whether it closes in a smooth, controlled motion rather than falling shut or barely moving.
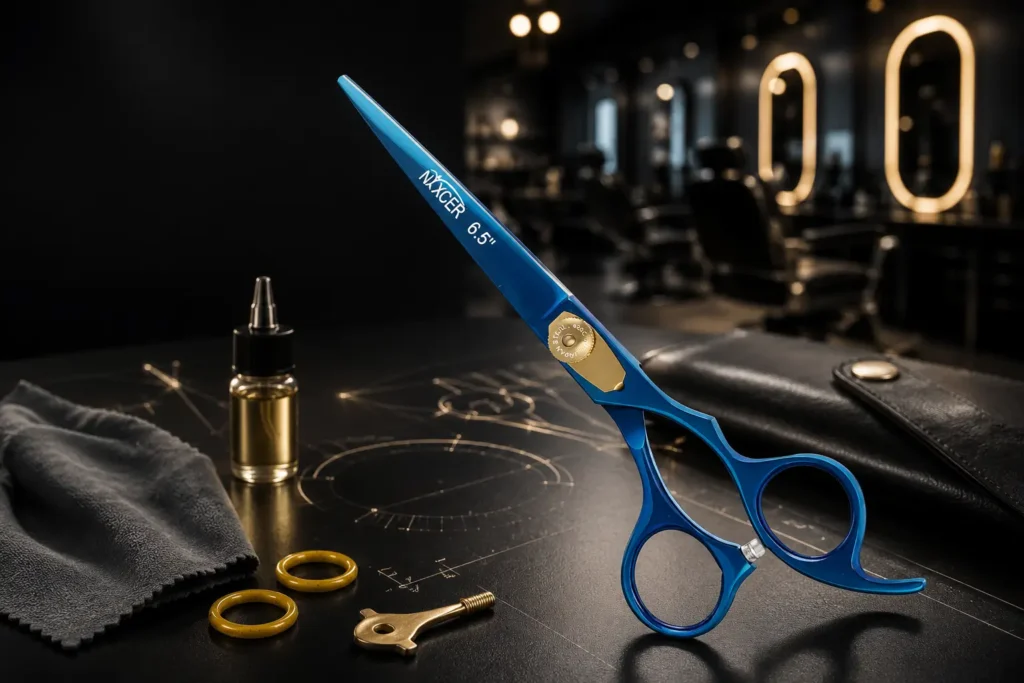
- Use the supplied tension key or dial and adjust only a small amount.
- Retest after every adjustment.
Different scissor brands use different pivots, so follow the instructions for the exact model. Do not force a screw, remove sealed hardware, or use general pliers on a decorative tension dial.
Tension cannot sharpen a dull blade. If the tool still pushes or folds hair after cleaning, oiling, and correct tension, stop adjusting and seek professional service.
7. Use Scissor Oil Correctly
Scissor oil reduces friction at the pivot and helps move fine hair or product residue away from the contact area. Use a light lubricant intended for precision scissors, not cooking oil, heavy grease, or a household water-displacing spray.
Apply one small drop to the pivot, work the blades through several slow closures, and wipe off the excess. Too much oil attracts dust and can transfer to the client’s hair.
Make oiling part of the routine needed to maintain your scissors. Frequency depends on workload, the manufacturer’s guidance, and whether the tool is used heavily for dry cutting, which can create fine debris around the pivot.
8. Dedicate Each Pair to a Specific Job
One of the best customizations is assigning professional tools by technique. Quality shears last longer when they are used only for their intended work:
- A short hair scissor for fringe and detailed point work
- A versatile pair of hair scissors for general salon services
- Dedicated haircutting scissors for clean structural work
- Longer haircutting shears for scissor-over-comb and long sections
- Thinning scissors for soft blending and controlled weight removal
- A texturizing shear for stronger separation or texture
- A dedicated dry-cutting pair that stays exceptionally sharp
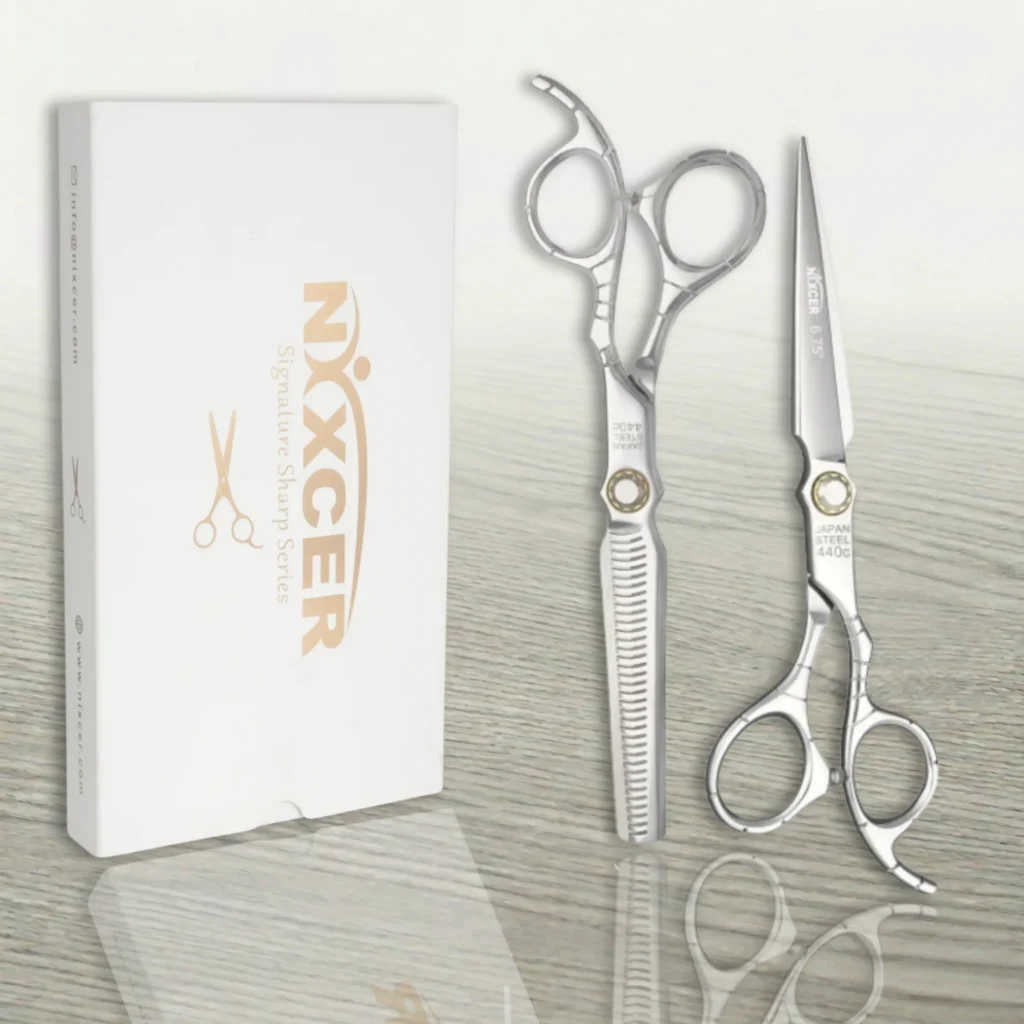
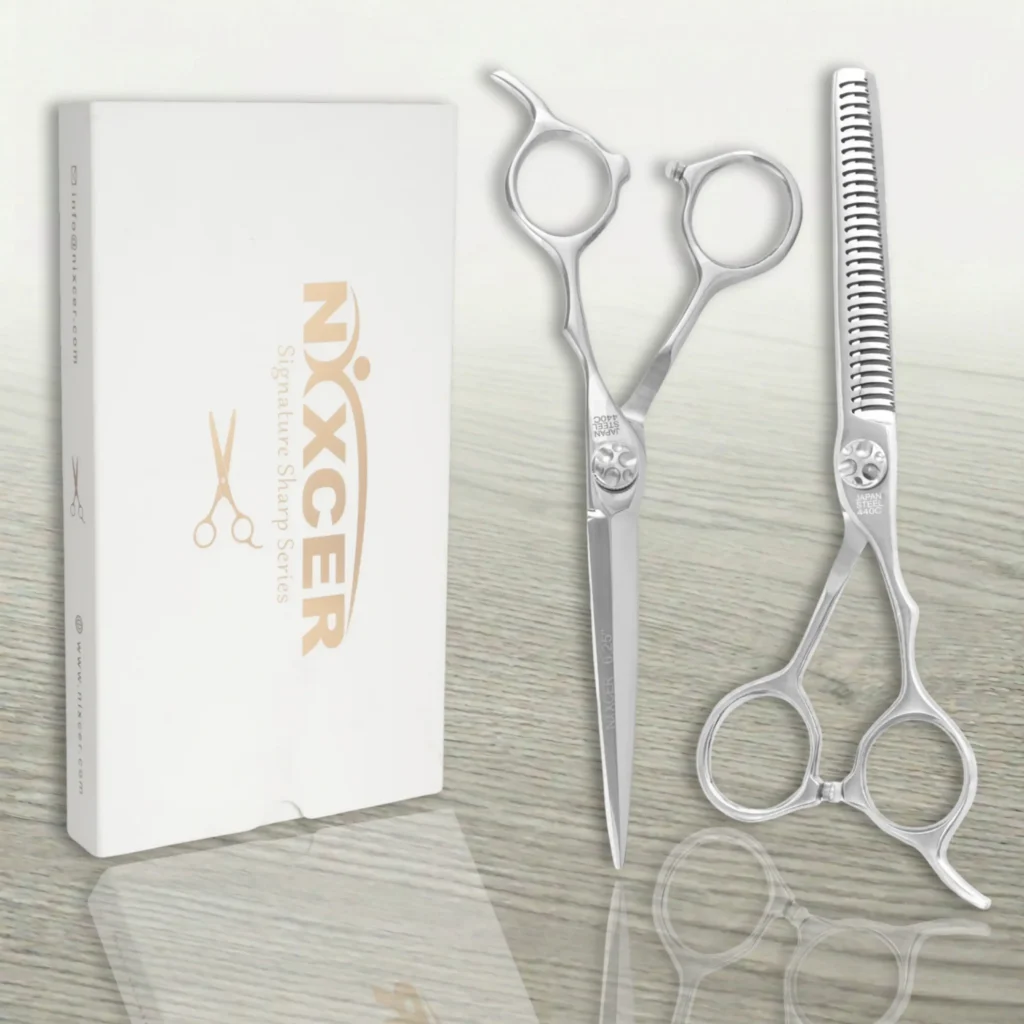
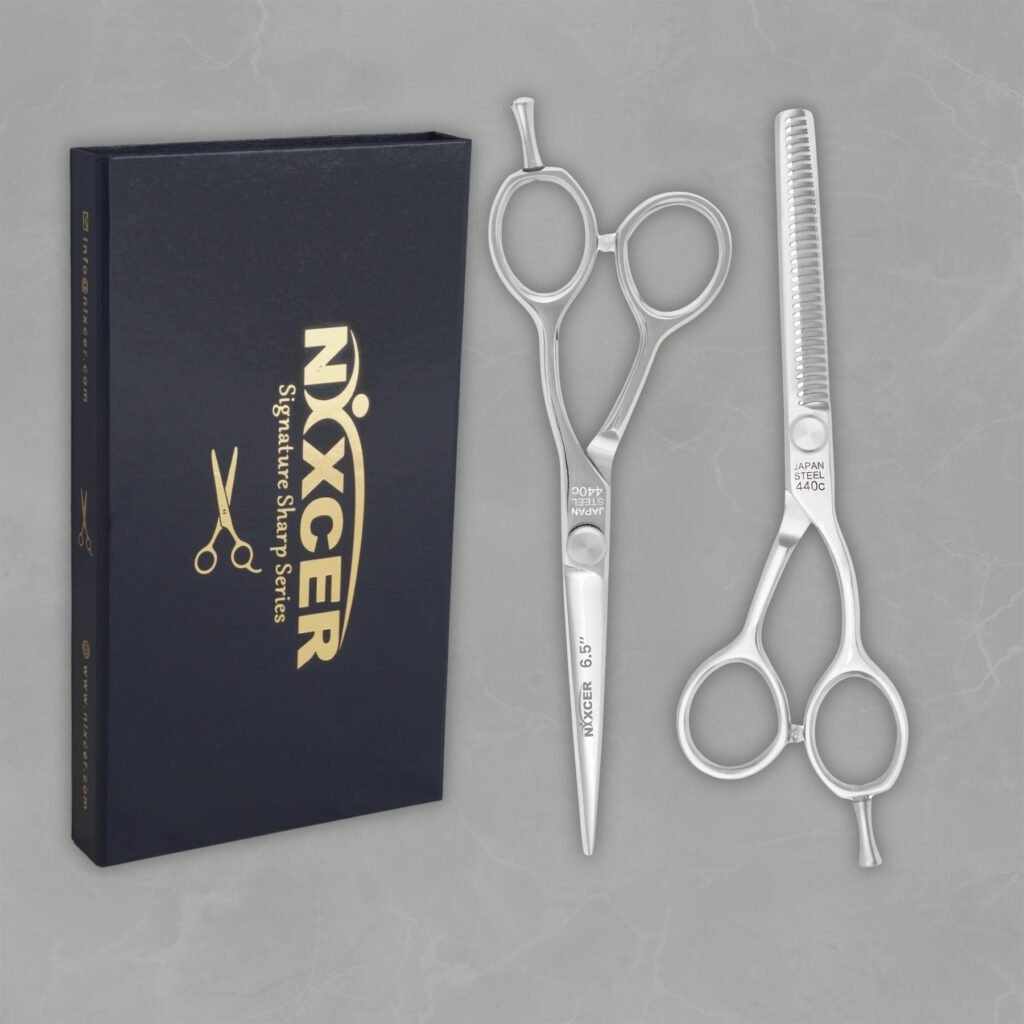
This setup protects the edge and makes results easier to repeat. The Signature Sharp Series SWORD Hair Cutting and Thinning Scissors provide a coordinated cutting-and-thinning option, while the Nixcer Professional Series Hair Thinning Scissors can complement an existing cutter.
Professional hair cutting shears are scissors for cutting hair and should be used only on human hair unless their manufacturer states otherwise. Regular scissors used on paper, packaging, or fabric should remain separate.
9. Select Steel and Build Quality Before Personalization
Customization cannot fix poor blade alignment or soft, inconsistent steel. Start with quality scissors made from a clearly identified material and assembled with a stable pivot.
Japanese steel is widely used in professional hair scissors because suitable alloys can hold a refined edge. “Japanese hairdressing” design language may also refer to convex geometry, refined finishing, or ergonomic craftsmanship, but the country label alone does not prove best quality.
Search results may show sellers such as Japan Scissors, along with many other scissor brands. Compare exact steel, hardness information when credible, blade profile, handedness, tension system, warranty, and service options. A familiar name does not replace specifications.
Nixcer Outlet offers several high-quality scissors for professional and careful home use. Verify the exact steel and feature set on each product page rather than assuming every model shares the same construction.
10. Clean and Disinfect Without Damaging the Tool
Cleaning removes hair, moisture, and product residue. Disinfection addresses salon hygiene. These are related but different steps, and the approved method depends on local rules and the product used.
The South Dakota Cosmetology Commission advises that multi-use implements such as shears should be cleaned and disinfected before use (consumer safety guidance). Follow the disinfectant label, local regulations, and the scissor manufacturer’s material guidance.
General routine:
- Remove visible hair and debris with a soft cloth.
- Clean the surfaces using the manufacturer-approved method.
- Apply an appropriate disinfectant for the stated contact time.
- Rinse if the product label requires it.
- Dry the tool completely, including around the pivot.
- Apply scissor oil after any process that removes lubrication.
- Store the closed shear in a dry protective case.
Do not soak a pivot, coated handle, insert, or decorative component unless both the scissor and disinfectant instructions permit it. Harsh chemicals and trapped moisture can affect coatings, fasteners, and steel.
For a fuller maintenance workflow, see Nixcer Outlet’s guide to caring for professional hair cutting scissors.
11. Know When to Sharpen Your Scissors
Sharpening restores edge geometry; it is not a routine adjustment to attempt with a kitchen sharpener or stone. Signs that a pair needs inspection include:
- Hair bends, folds, or pushes out of the blades
- Slide cutting catches or stalls
- The tips no longer cut cleanly
- The closing action has a rough spot
- A visible nick appears after a drop
- The stylist uses extra thumb pressure to complete a cut
Scissors can be sharpened many times when a trained technician removes minimal material and preserves the original geometry. How often scissors are sharpened depends on steel, workload, technique, care, and previous service.
Do not sharpen your scissors at home unless you are trained and equipped for that exact blade geometry. Convex work is especially sensitive; the wrong method can flatten the profile, damage the ride line, or make the blades push hair.
Choose professional sharpening from a technician who services hairdressing shears, not only household or industrial blades. Ask how the sharpener preserves convex geometry, checks alignment, resets tension, and tests the full blade and tips.
12. Personalize Appearance Without Sacrificing Function
Engraving can identify a tool and reduce mix-ups in a busy salon. Factory finishes, colored coatings, and decorative pivot caps can also reflect a stylist’s brand.
Treat appearance as secondary to performance. Engraving should avoid the cutting edge, ride line, pivot, and stress points. Coatings should be factory-applied or completed by a specialist familiar with professional hair scissors.
Never attach loose gems, tape, or heavy decorations that change balance or can fall near a client. The right hair scissors remain easy to clean, inspect, and store.
A Practical Performance Test After Customization
After changing inserts, rest position, tension, or lubrication, test the tool before a client service.
- Inspect the scissor blades under good light.
- Confirm the inserts and finger rest are secure.
- Open and close slowly to check for wobble, scraping, or rough spots.
- Test the pivot tension using the manufacturer’s method.
- Make a permitted test cut through an appropriate clean hair sample.
- Check heel, middle, and tip performance.
- Repeat the cutting motions used in your normal service without contacting skin.
- Stop if the tool feels unstable or pushes hair.
Optimal performance means more than sharpness. The shear should fit the hand, move predictably, cut cleanly across its usable length, and support the intended technique without unnecessary grip force.
Nixcer Outlet Options to Build a Customized Kit
Rather than physically altering one tool beyond its design, build a kit around specific tasks:
- Versatile cutting: Professional Sharp Series Razor Edge Hair Cutting Scissors
- Broad-blade coverage: Nixcer Broad Blade Razor Edge Hair Cutting Scissors
- Controlled hair thinning: Nixcer Professional Series Hair Thinning Scissors
- Cutting and texture pair: Signature Sharp Series SWORD Hair Cutting and Thinning Scissors
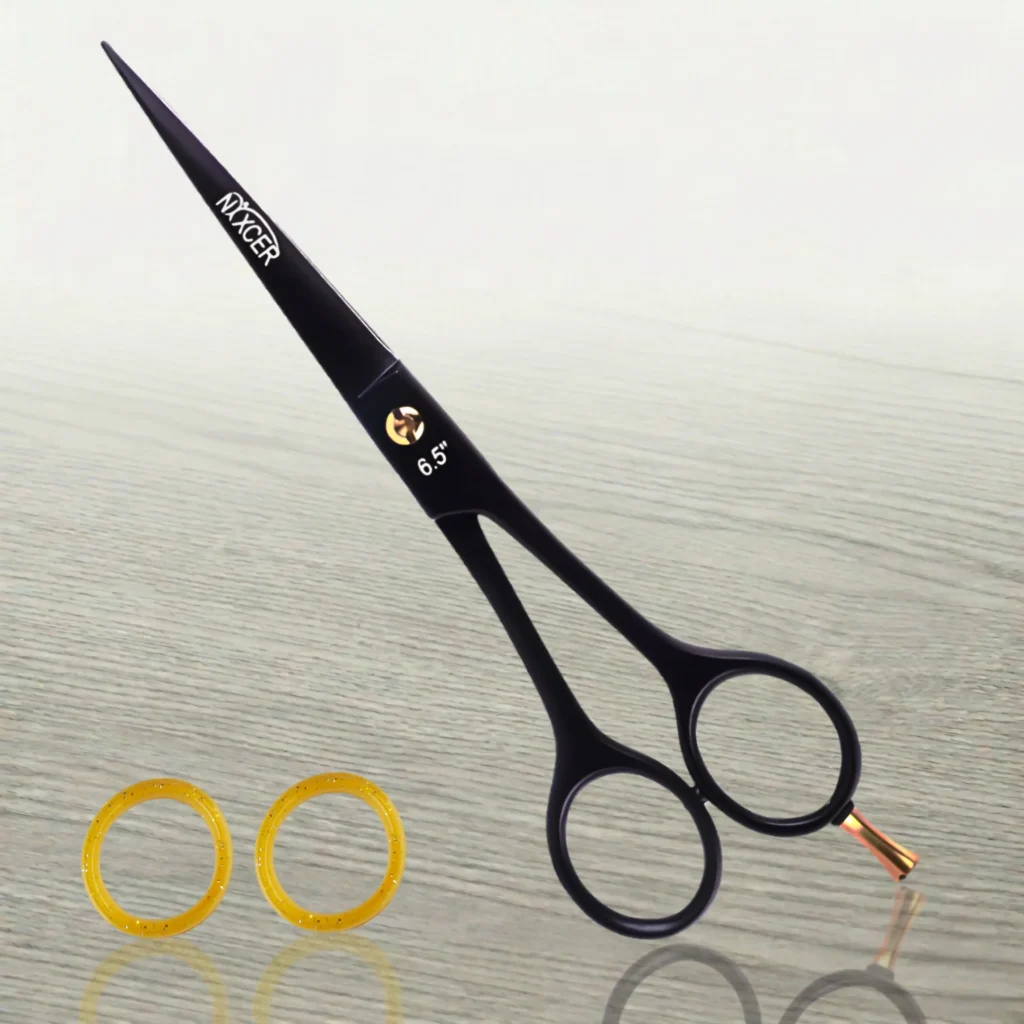
- Distinctive finish: Professional Series Hair Cutting Scissors – Black
Check each listing for its current size, steel, handedness, edge, and included accessories. Browse all Nixcer Outlet hair cutting shears.
Can You Customize Hair Scissors at Home?
You can make safe, reversible changes to scissors at home: install correct finger inserts, remove or position a designed finger rest, clean and oil the pivot, and make very small tension adjustments using the proper key.
Do not reshape handles, grind blades, drill holes, change the pivot, or apply heat. High-quality scissors are precision assemblies, and an improvised modification can ruin alignment or create a safety risk.
For people cutting at home, a suitable factory configuration is more valuable than extensive modification. Choose the right tools first, then maintain them carefully.
Final Verdict
The best way to customize a professional hair scissor is to improve fit, setup, and task matching without changing its engineered blade geometry. Adjust ring inserts, finger support, pivot tension, and lubrication. Choose an ergonomic handle, swivel mechanism, length, and blade that match your hand, hair types, and technique.
For optimal performance, keep the tool clean, dry, correctly tensioned, and professionally serviced. A properly configured pair of hair cutting scissors should feel predictable and balanced—like an extension of the hand rather than a tool the hand must fight.
Frequently Asked Questions
How do I customize hair cutting scissors for optimal performance?
Start with finger inserts, finger-rest position, tension, and lubrication. Match the blade, length, and handle to your cutting style. Leave sharpening, grinding, pivot repair, and structural changes to a professional technician.
How tight should hair cutting scissors be?
They should close smoothly without falling shut, separating under load, or requiring heavy thumb pressure. Use the maker’s tension test and adjust only in small increments.
Can I change a regular handle to a swivel thumb?
Not safely as a normal user. A swivel is an engineered handle and pivot system. Purchase a swivel model rather than cutting or rebuilding a standard handle.
How often should I use scissor oil?
Follow the manufacturer’s guidance and adjust for workload. Apply a small amount at the pivot, move the blades to distribute it, and remove excess. Heavy dry cutting may require more frequent pivot cleaning and oiling.
Can I sharpen hair-cutting scissors myself?
DIY sharpening can alter the edge, ride line, and blade contact. Use a technician experienced with professional hair cutting shears, especially for a convex blade.
What is the best ergonomic handle for a stylist?
Offset, crane, and swivel designs each change thumb and wrist position. The best choice is the one that keeps the hand relaxed and supports the stylist’s usual cutting motions.
Should I own separate thinning and cutting shears?
Yes, if you regularly perform both tasks. A cutting shear builds shape, while thinning shears remove only part of a section. Dedicated tools improve consistency and protect the primary edge.
How do I maintain my scissors between sharpening appointments?
Clean, disinfect, dry, oil, check tension, and store them in a case. Use them only on hair and have any dropped or misaligned pair inspected before the next client.